Before a food image is created, you should prepare the shoot as well as possible. Pre-production is almost more important than the actual shoot and includes creating a mood board, developing a color scheme and lighting concept, and organizing props.
Pre-production is so important
When it comes to food photography planning and prepping your shots are even more important than the actual shooting.
While the actual shooting usually is made under extreme time pressure (either because of your client or before the food is looking badly dead) everything should be in place and planned beforehand so that you haven’t any nasty surprises on location.
While the shooting is more or less a technical routine, planning and prepping your shoot is the place where – believe it or not – most creativity is done.
The different stages of pre-production
If I prepare myself for a food photography job I usually finish these tasks to get prepared as well as I could to satisfy my clients. I do the following routine to get prepared as good as possible:
- Online research for the right angle & food styling
- Creating a mood board
- Color scheme development
- Lighting considerations
- Thinking of and organizing props
Online research & creating a mood board
Just use Google picture search to get inspired. When it comes to food & beverage images Pinterest is the best place to get inspiration from. If you haven’t already a Pinterest account, go get one. You can create your own pinboards for different dishes or food and use them as a mood board.
Whatever dish or food you are planning to shoot, you can be sure you will find some amazing images to get inspired at Pinterest.
Find out and learn how other people approach the food or dish you have to shoot. Try to get a basic idea of what your final shot should look like.
Think of the right angle, the framing, the colors, the props you want to use in the shot, and the mood (lighting) you want to create.
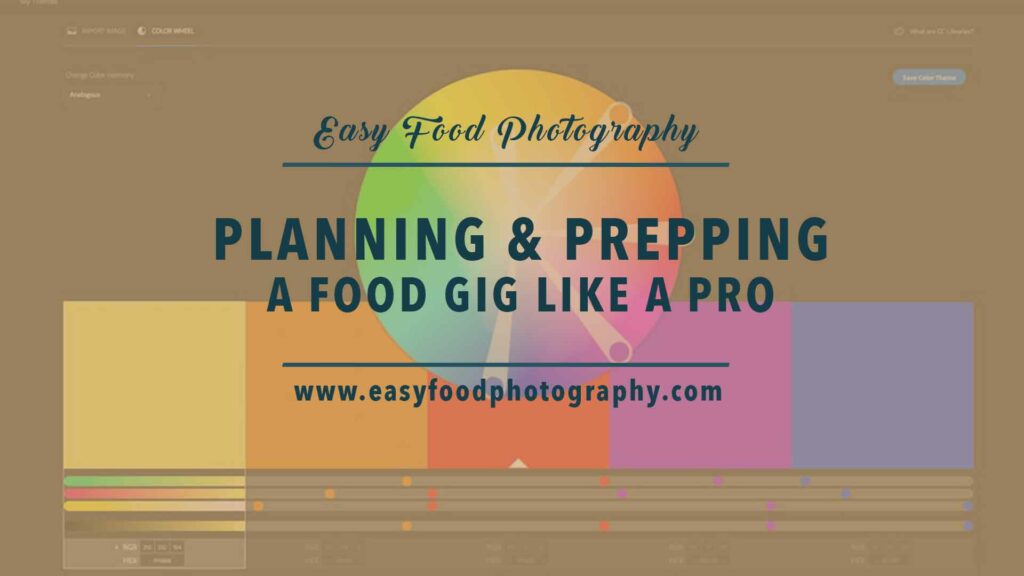
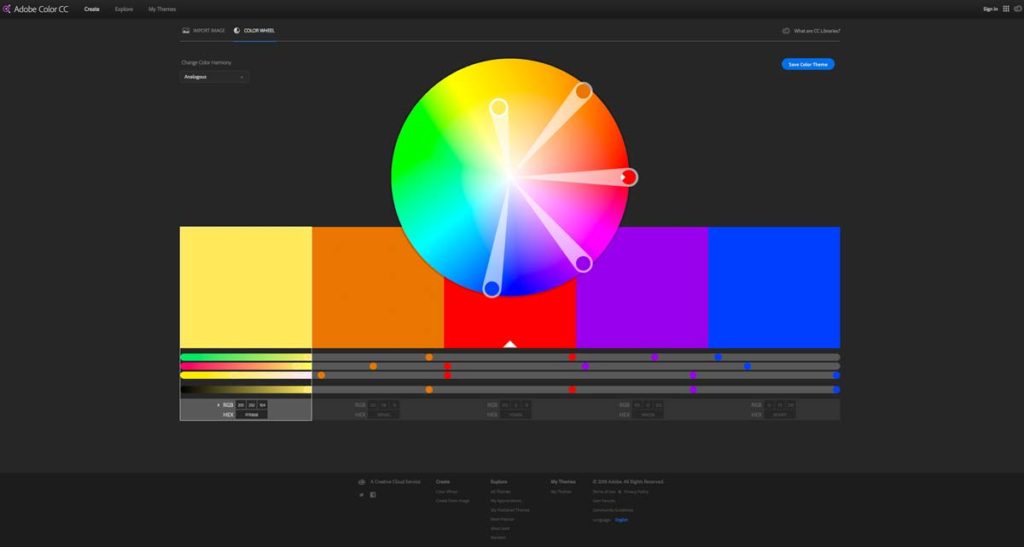
Develop a basic color palette
After finishing your research you should think a bit more specifically about what your shots should look like. Your origin should always be the food or dish itself. With that, you have a basic color.
What you can do to get the process speeded up is using free tools like Adobe Kuler to get a sense of which
Lighting considerations
Use your mood board also to get a sense of which light situation you want to achieve in your final image. There is no bad light at all, but there is bad lighting. Every light source can generate a beautiful light to your food, but if it’s the wrong angle and approach it won’t work.
I always try to shoot with artificial light, which means flashlight. The flashlight gives me the freedom to control the whole process. With a flashlight setup, I can reproduce and recreate every kind of shoot even if in the future the client maybe want a similar shot with a different product.
Another big advantage of shooting with a flashlight is that I always can decide by myself where the light is coming from. I can put my “artificial sunlight” wherever I want.
As a universal rule you can take it like that: for food back or side lighting for the main light source will work in every case. Never ever place your main light fully frontal. This will make your image very flat looking and the food will in most cases look really not as yummy as it could.
Study your ideas
Study your ideas: Is it a morning breakfast scene or is it a candlelight dinner? Is it outside or inside? Do you want to use hard light or soft light? How much do you see from the scene in the final picture? From where is your key light coming from?
As a good practice, I recommend educating your eyes wherever you are and in every kind of situation: Have a look at food in different daylight moods. When do you think it’s looking good? Does it have harsh shadows or nearly no ones? Try to train your eyes as much as you can and try to reproduce the light which works best for you.
It is good to have a basic idea of what kind of lighting mood and situation you want to create in an upcoming shooting.
You don’t have to be too precise at this stage because as experience shows you will end up often with something completely different. But it’s good to have a plan and be prepared as well as possible.
So ask yourself a bunch of questions: Which mood do you wanna create? Where does your main key light is coming from? Do you wanna go moody or broad? And as a basic tip: Keep it simple. Don’t get too complicated.
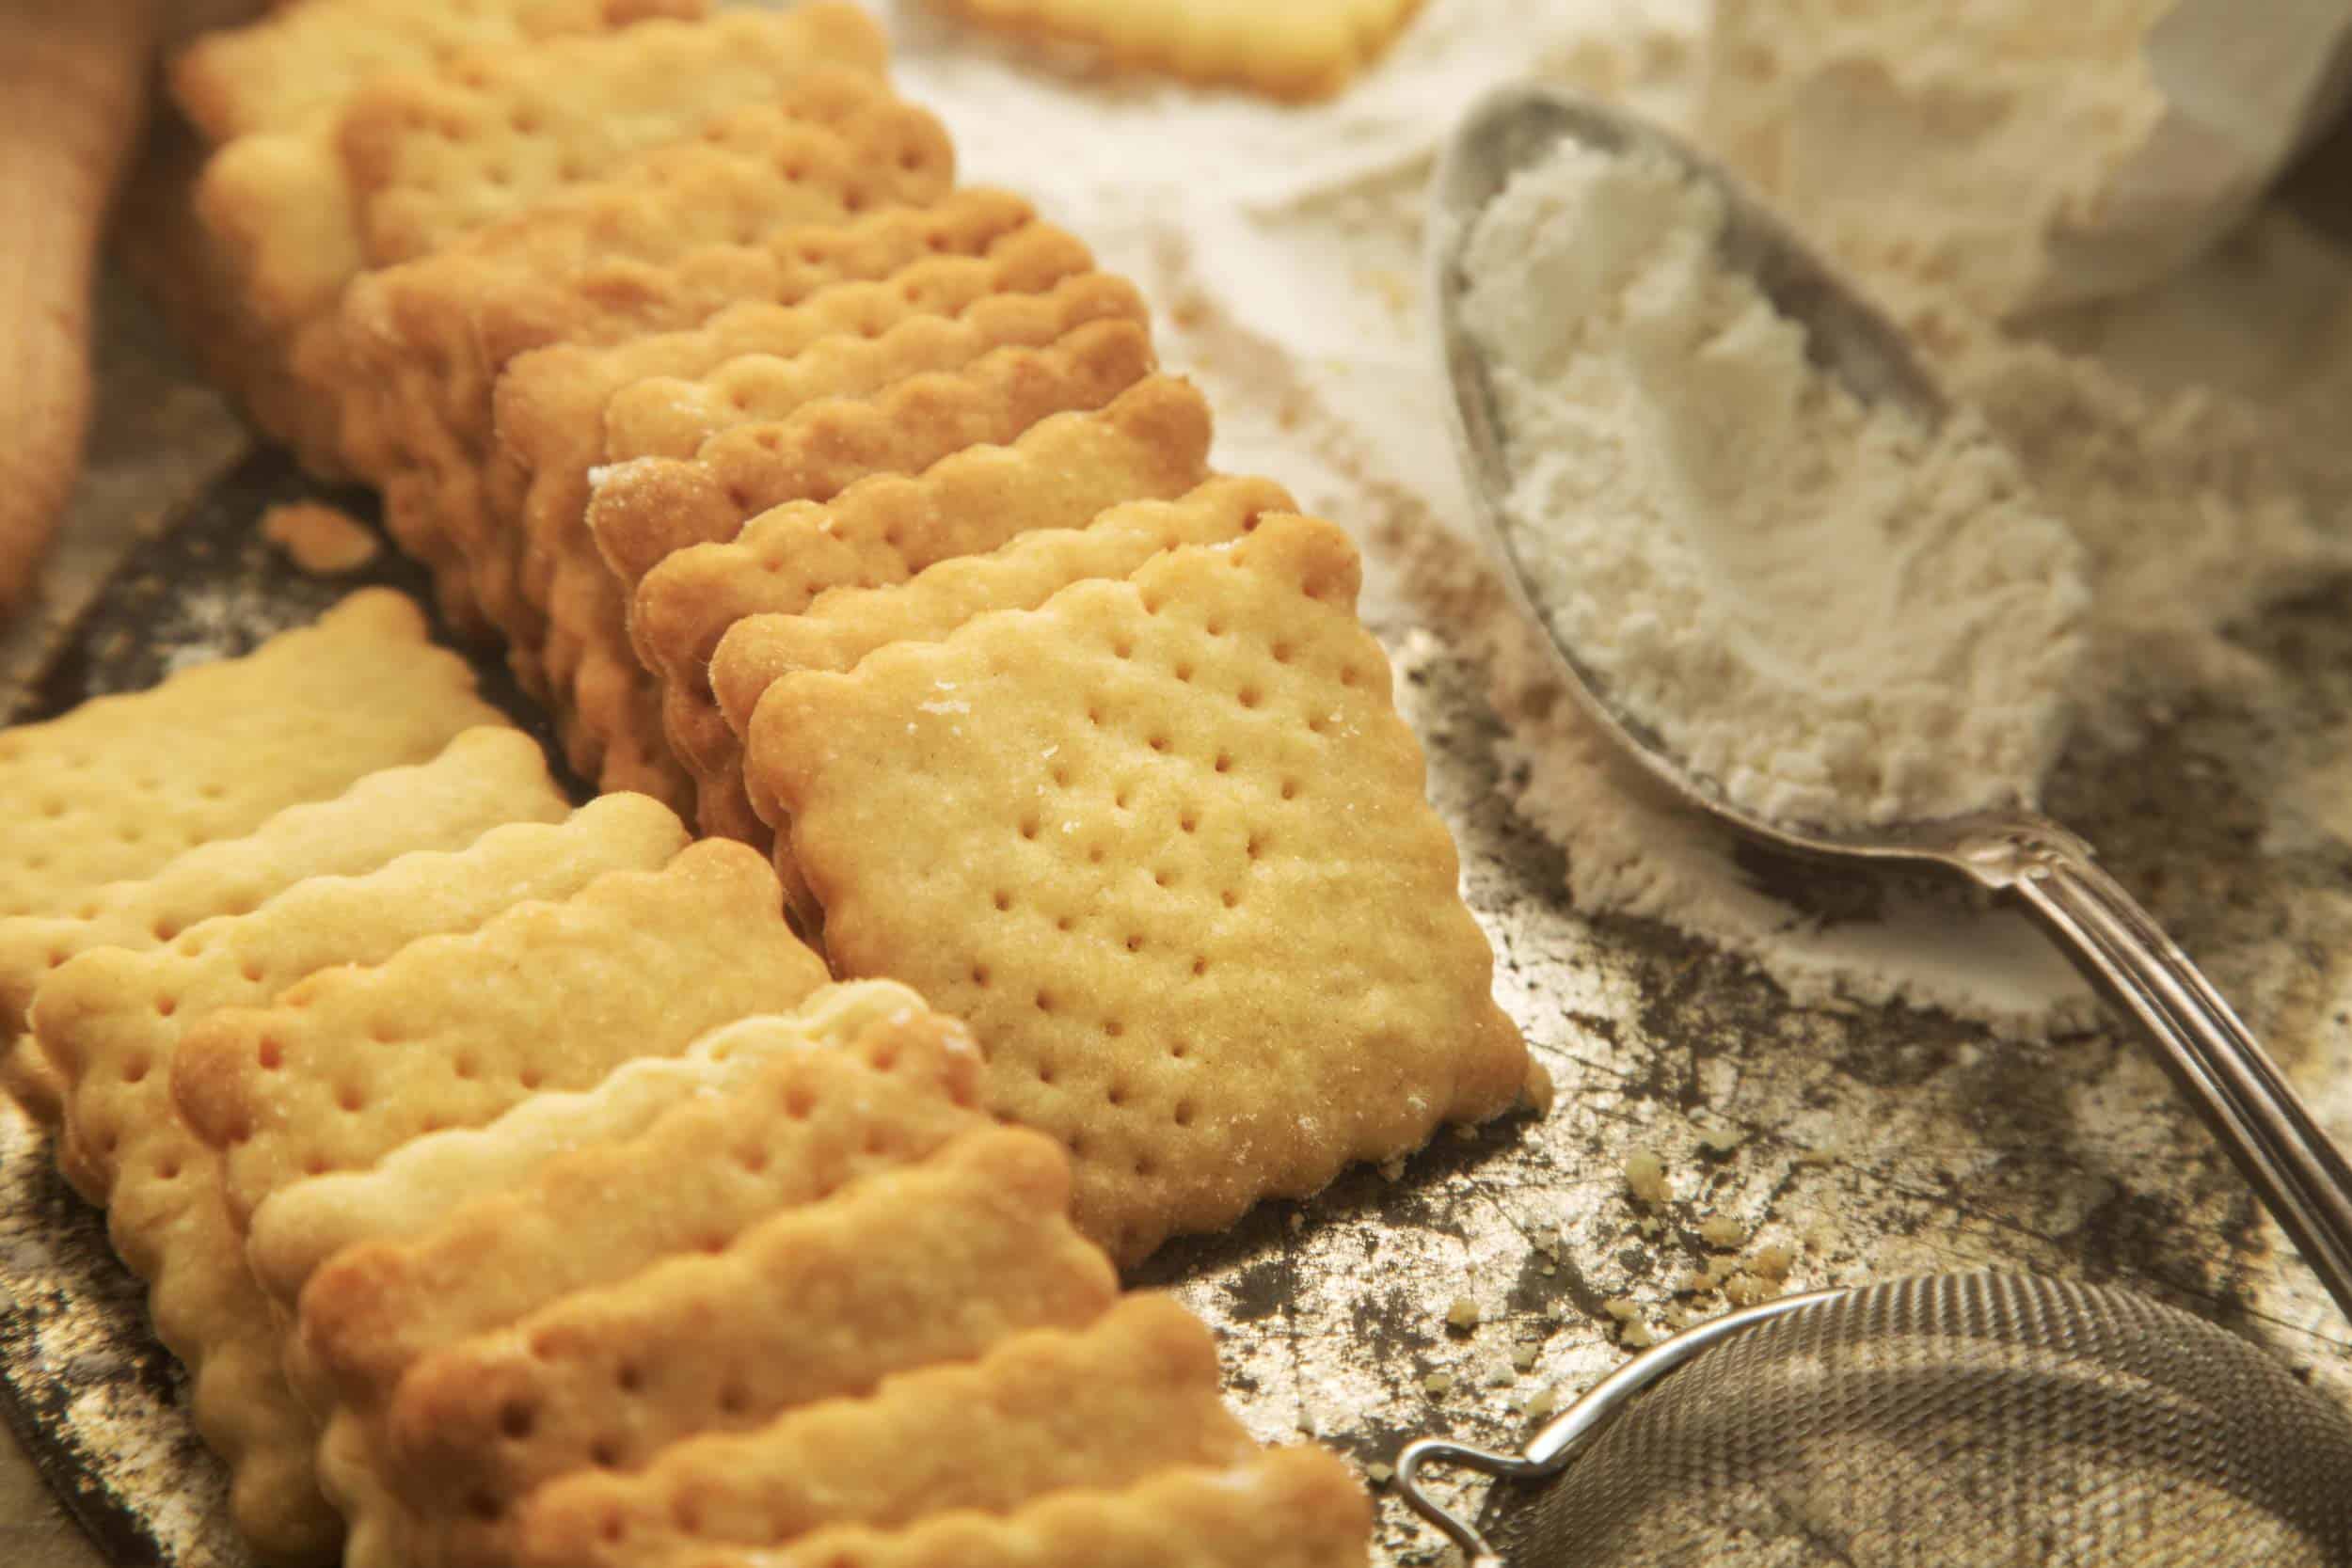
Organising props
Usually, you will need some props for your scene – either for a commercial or an editorial styled shoot. Props are essential to selling the mood and feel of your pictures. They are often making a difference.
Choosing the right props can be nearly anything that shows up in your picture: it could be particular ingredients or tools which are used for making your dish, it could be some seasonal detail.
Try to think about what detail could make your shot special. Try to remember that you find props that match or emphasize the
Often you will find stuff around: Just open the cupboard and I’m sure you will find something to use in one of your next shots.
Pro tips
1 Plan & prepare your shots as well as possible! This will save you time at the location and let you feel more secure. If a client is around you will be possibly stressed. If you are prepared you can focus on pampering them either than concentrate too much on the shoot itself.
2 Do web research and have a look at how other photographers approach your dish? At the beginning analyze as many pictures as you can get. Find an angle that works for you. Find out about the different options in styling your dish.
3 Create a mood board. The easiest way to do it is by creating a (hidden) Pinterest pinboard. The big advantage of that is that you can share these pinboards with your client or food stylist or set designer before the shoot for precision tuning.
4 Develop a specific
5 Think about the way you want to lit the scene. Where is the main key light coming from? Which mood do you wanna create? What kind of modifiers will you need for that?
6 Think about your props? Always have some extra ingredients at hand to throw them into your scene. What kind of tools could you show? Be aware of the
Conclusion
Planning and preparing shots for food photography is essential if you want to get good-looking results. Establish your very own workflow.
Besides your personal preferences it should contain online research, finding the right angle and food styling, developing a specific color scheme, thinking about the mood to set and the lighting set-up, and last but not least thinking of the props to have to throw them in when it’s needed. And that’s basically it.
You should give yourself and your clients always the ability to change things right on the fly on location. But if you are feeling prepared the best possible way you will be working and acting in front of a client much more relaxed. Because there will things going wrong for sure. So better be prepared.
Just join the club
If you want to bring your food photography a step further you could enroll in my free 7-day-course “Shoot food like a pro”. Once enrolled you will get 7 challenges over the period of 7 days. I swear if you put the work into it this course will change your food photography forever. Just subscribe to the form down below and the course starts immediately.
If you liked this article feel free to share it. This would help me a lot to work harder on that page. If you have questions feel free to join the forum. Besides that have fun creating stunning pictures!
Cheers & have fun,

PLANNING AND PREPPING YOUR FOOD PHOTOGRAPHY LIKE A PRO was written by EasyFoodPhotography founder and editor Alex Fuchs. Alex loves photography and good heavy stoner rock music. His food styling skills are restricted, but he is working on that. When people approach him saying “You can’t do that” his maxim is always: I’ll do it in a minute. He loves to be challenged. Follow his Instagram feed. You read “Planning and prepping your food photography like a pro”.

THIS STORYTELLING TECHNIQUE WILL CHANGE YOUR FOOD PHOTOGRAPHY FOREVER
HOW TO START FOOD PHOTOGRAPHY

10 WAYS TO GET BACKDROPS FOR FOOD PHOTOGRAPHY IN 2022
FOOD STYLING BASICS

HOW TO TURN ANY LENS INTO A MACRO LENS FOR FOOD PHOTOGRAPHY
WHY SHOOTING TETHERED WILL IMPROVE YOUR FOOD PHOTOGRAPHY
HOW TO USE A SNOOT FOR FOOD PHOTOGRAPHY
THE CHALLENGES OF BECOMING A FOOD PHOTOGRAPHER
CREATING AWESOME FLAT LAYS IN NO TIME
33 MUST-HAVES FOR FOOD PHOTOGRAPHY IN 2022 THAT COST NEARLY NOTHING
HOW TO START FLASH FOOD PHOTOGRAPHY
15 THINGS YOU CAN DO TODAY WHICH WILL CHANGE YOUR FOOD PHOTOGRAPHY FOREVER
HOW TO ACCESS 10K PROPS FOR FREE

15 HACKS WHICH CHANGE YOUR INSTA FOREVER