Today we cover how to build up your very own toolbox full of useful little helpers which will enable you to develop a professional workflow on your food scenes.
- Tools make your food photographer life so much easier
- Food photography tools nearly cost nothing
- 1 Cotton gloves
- 2 Tweezers
- 3 Bubble level
- 4 Atomiser
- 5 Q-tips
- 6 Paintbrush
- 7 Eye-dropper
- 8 Toothpicks
- 9 Ring washers
- 10 Blu-tack
- 11 Some scissors
- 12 Syringes
- 13 Microfiber cloth
- 14 Duct tape/Gaffa tape
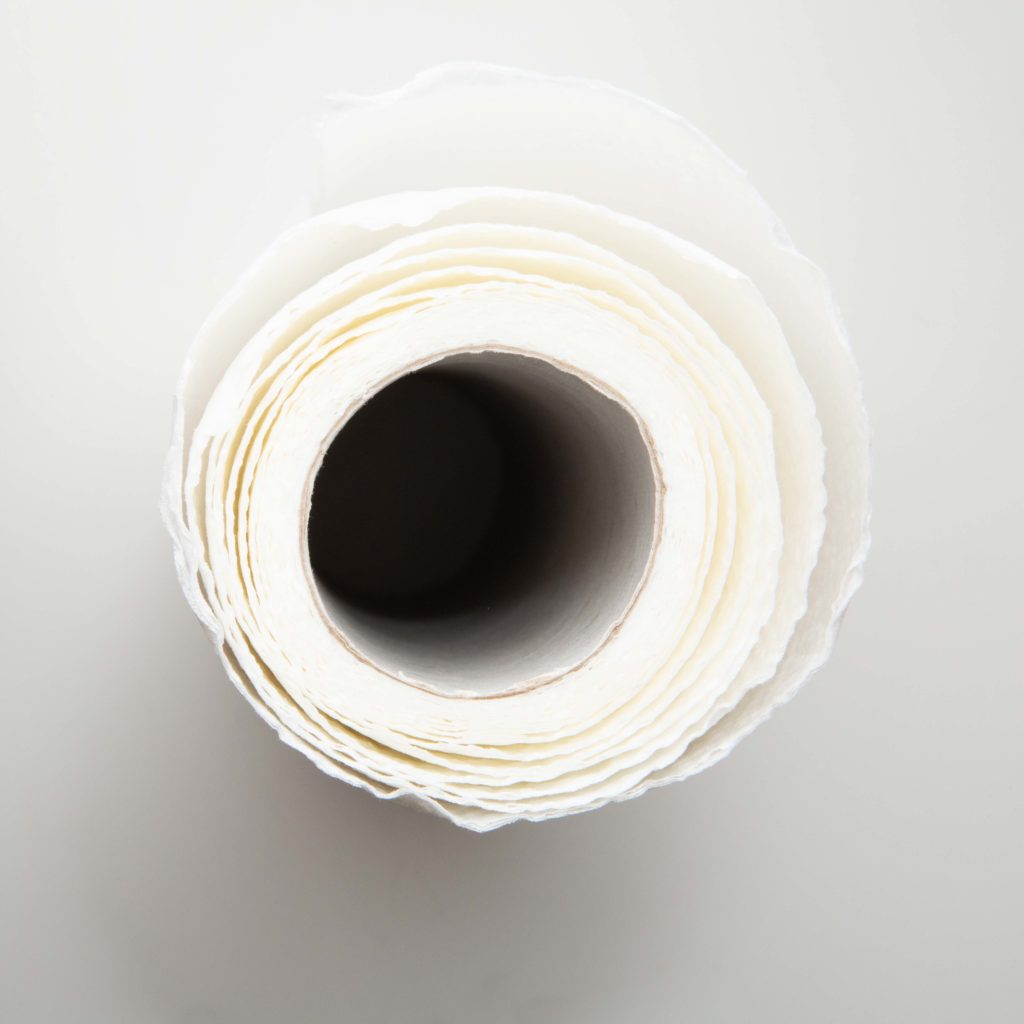
- 15 Kitchen and paper towels
- 16 Florist’s wire
- 17 A sponge
- 18 Razor blades
- 19 Paper clips
- 20 Chopsticks
- 21 Tampons
- 22 A-clamps
- 23 Funnels
- 24 Sieve
- 25 Salt
- 26 Bottle of olive oil
- 27 Bottle of water
- 28 Glycerin
- 29 Measuring Beaker
- 30 5/10m USB Cable
- 31 A multi-socket extension cord
- 32 Remote control for your cam
- 33 Compressed air
- Go get yourself a toolbox to get organized
- Conclusion
Tools make your food photographer life so much easier
When I started food photography a while ago I began without anything else than a camera and some flashes. I’ve been a people and event photographer for many years, but I really found fast out that food photography isn’t as easy to execute as I thought it would.
Because usually your scene is created in a very small environment you have to work very attentively and precisely. If you only use your hands, you will end up destroying your set.
As simple advice take this: You have to slow down your workflow or you will do the job twice.
Food photography tools nearly cost nothing
I really fast recognized that I need some tools to get things done right. I ended up watching tons of online tutorials and searching the web for information. And to save you time I reveal in a minute which tools will make your life easier and help to optimize your workflow.
The good thing is that I truly believe that most of the stuff is accessible right now for you, you just have to get up and collect it from your household. If you haven’t it already around – don’t worry. You can buy most of the stuff for nearly nothin’ in a dollar or euro shop for a few bucks.
There are a bunch of cheap tools to use for food photography. Most of them can be found in your household. The others are easy and cheap to pick at a dollar/euro store around.
Here are my top 33 pro food photography tool must-haves:
1 Cotton gloves
To avoid any fingerprinting and smears on your plates and mugs. So cotton gloves are the way to go. I got mine for 1.5 Euro at a drugstore. They have them in different sizes. In my experience take one size smaller than you think because they are usually a bit oversized.
2 Tweezers
When I started I got a bunch of cheap plastic tweezers from China. Don’t waste your time and money with these! These are useless and will break in a minute.
Invest a few bucks to get some made from steel. I bought a 10cm long metal tweezer and I use it now for ages.
When I once went to a hardware store I found another really long one (I think 30cm, have a look at the picture above). I think they are usually used for barbecuing. It’s much better than the shorter one because you can pick things with it and get rid of them from your scene.
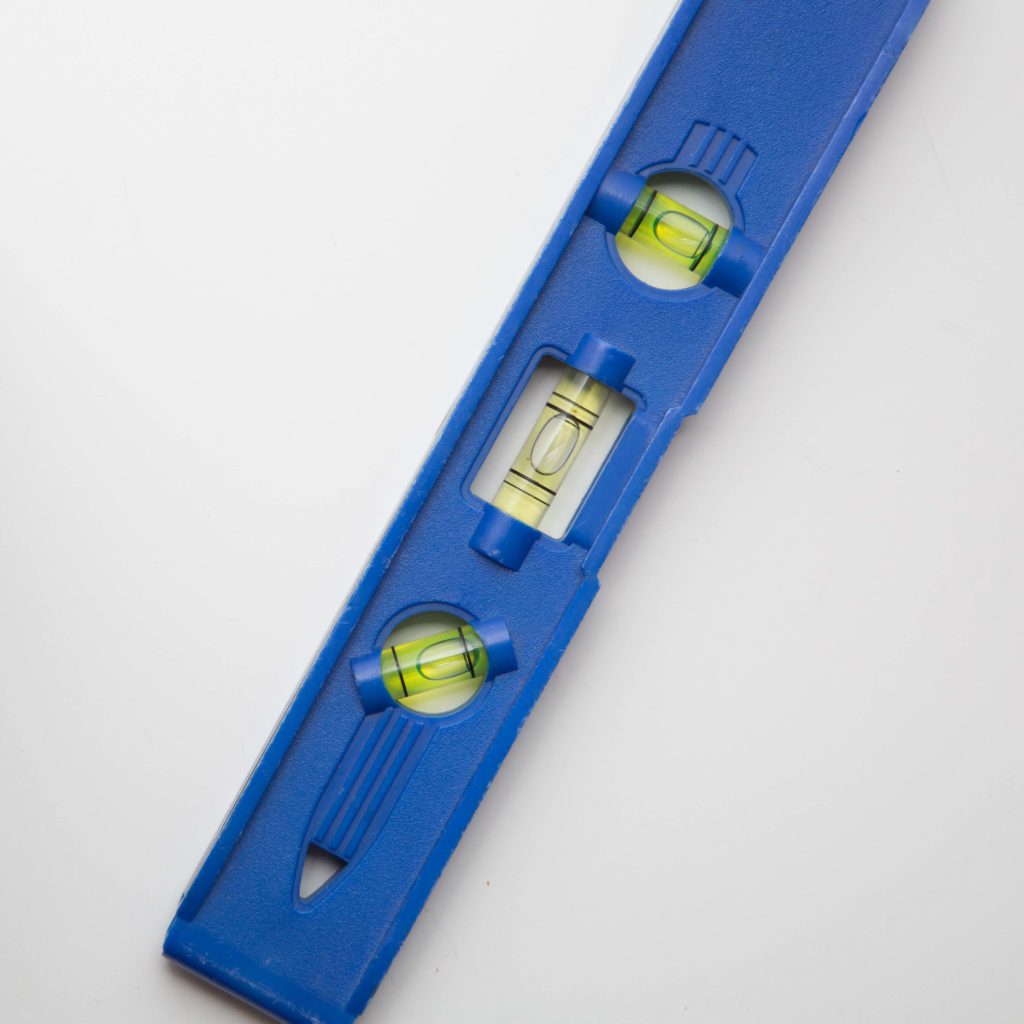
3 Bubble level
What should I say: You don’t want to have some liquids off the level because that looks awful. Every time I shoot some bottles or glasses filled with liquids I check if the surface is leveled.
It’s hard to get it corrected in post-production. It can be done, but it’s time-consuming. So try to avoid it by just leveling it beforehand. Sometimes it’s that easy.
4 Atomiser
Maybe the most useful tool in that list. Fill it with water and there you go. It’s perfect to create freshly looking food images. Just spritz it! I use it on vegetables and greens as often as I can.
It puts that little extra on top of your images to get it sold. But be aware: every atomizer behaves differently because of the nozzles. So try to get different ones and test them before you use them.
5 Q-tips
I’m pretty sure you will find them in your bathroom at home. You can use them to clean unwanted droplets of water or oil on your food.
You can use them to create an awesome sauce styling or you can just use them to throw crumbs out of your scene. they are pretty useful and cheap to get. So get them now!
6 Paintbrush
Another good tool to have is a paintbrush to just “paint” unwanted things out of frame. Don’t buy the cheapest ones, because they will lose some hair. But it’s a good investment because good paintbrushes will last for years.
7 Eye-dropper
That’s maybe more of value for a food stylist, but before you are going to be a food photography hotshot you have to do it by yourself. An eye-dropper is perfect to put droplets of sauce, dressing, or oil on your salads or steaks.
8 Toothpicks
You can nearly bring every dish in a fixed position and you can easily hide them in the food itself. Use it for burgers, sandwiches, and any kind of layered dishes to hold in position.
9 Ring washers
I’m pretty sure you have some ring washers in your toolbox. Get different sizes. They are perfect to bring food into place. Have a look at that roll/burger picture from the last session. I used some ring washers to bring the veggies in place. But please don’t forget to put them out again before eating your here.
10 Blu-tack
You have to fix wonky plates or awry glasses, then you will need Blu-tack. You can stick your bounce cards into position, too. Have a packet of it at hand before you leave for a shoot.
11 Some scissors
If you are doing food photography you often need to cut things, of course. You need them to cut greens and garnish. And you need it to cut your bounce cards. You need it for a zillion things on set, so have always one at hand.
12 Syringes
Ok, that’s maybe another one more for food stylists, but at the beginning, you will have to do it yourself anyway. They are useful for sucking off or filling in liquids of or in jars without leaving any unwanted droplets or smears in them.
I got mine for under a Euro in a drugstore. They are coming in different sizes. If you want to give splash photography a go you can use them to just spritz precise a full syringe into your glass or anything else.
13 Microfiber cloth
I’m pretty sure you have some flying around. If not you can get them cheap everywhere. They are so useful to get rid of messy-looking things like fingerprints or fat smears on plates, glasses, bottles. Just wipe them away.
14 Duct tape/Gaffa tape
I don’t have to say something about that, have I? Just get it! There are a zillion things you can do with it. Feel free to check out my video about that. Just watch the video at the end of that lesson.
15 Kitchen and paper towels
If you are at a client shoot – let’s say for a restaurant – you won’t ask them for their towels for cleaning up your mess. I always have some clean ones in my toolbox. They are cheap to buy and always needed.
16 Florist’s wire
That’s nothin’ you need for every shot, but it’s useful, too. Think of shots like you want to “float” your food. You have then to stretch some layers of florist’s wire on two light stands to put your food onto it.
Of course, you have to retouch them out in post-production later on. From time to time there will be situations where you know that you need it. Good to have it in your toolbox.
17 A sponge
Food photography can get messy very fast. Even when you doing some pouring shots or handling with sauces etc. a sponge is good to clean things up. Nothing else to say. I have always had one in my toolbox.
18 Razor blades
If you are doing beverage photography of some kind razor blades are really helpful. WARNING: But watch out, razor blades are really sharp and you can hurt yourself in no time to handle them with care.
With razor blades, it’s quite easy to get rid of any kind of unwanted labeling on your bottles. Just scratch them down with some sharp razor blades. And if you let the labels soak with warm water it’s getting even more easily.
19 Paper clips
If you bend them up you can use paper clips like toothpicks as described above. They will hold nearly everything in place that otherwise will fall apart. But don’t forget them before you eat your hero!
20 Chopsticks
You can use them like tweezers and you can use them to swirl your liquids – for example, beer – to get this nice carbonation look they always have in beer ads. Very useful to pull things around in your scene too.
21 Tampons
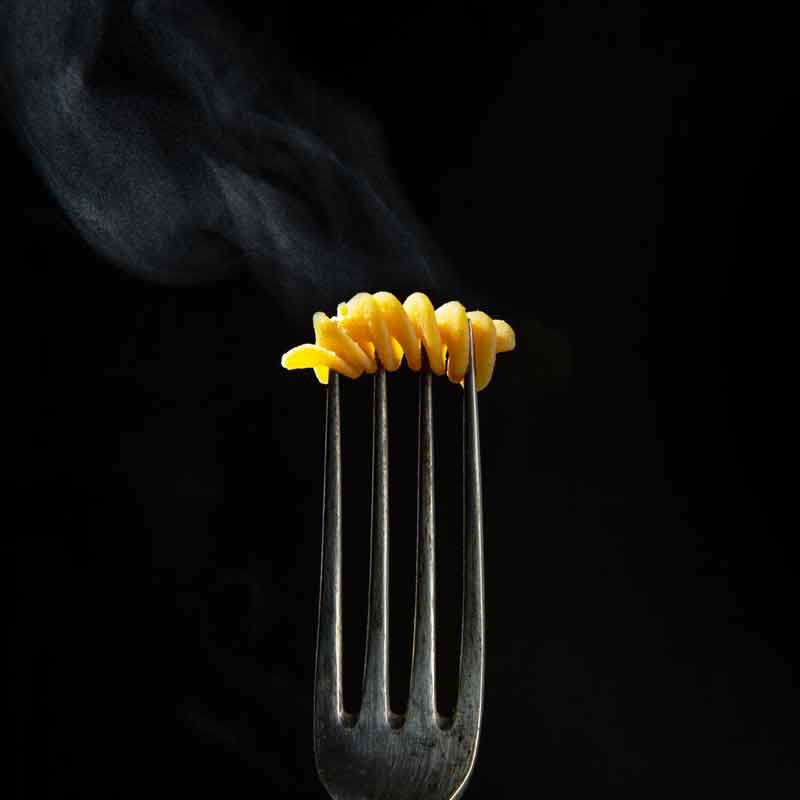
Yes, that’s exactly right, and no mistake. Grab yourself a bunch of tampons, let them soak with water, heat them up in the microwave, and put them behind your dish. They will produce enough steam to let your food look like it’s coming direct from the stove if you put a sidelight kicker on it.
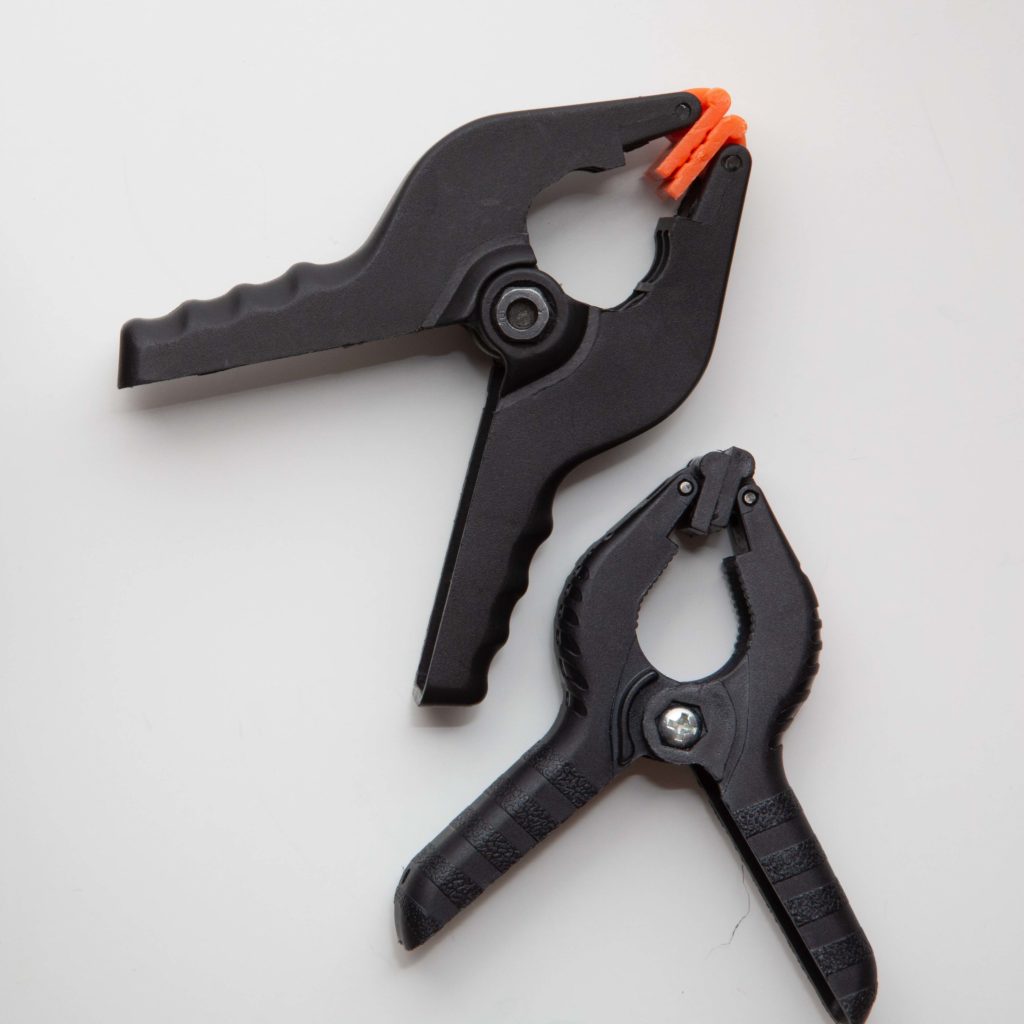
22 A-clamps
It’s always a good idea to have a bunch of them in your toolbox. They are so useful when you need something to stick at a stand or even you can use them as stands for your smaller bounce cards and put them around to bounce or flag some light.
You can also hold a diffusor on a stand with them in no time. They are so useful. Go get yourself some. They are available in every DIY store.
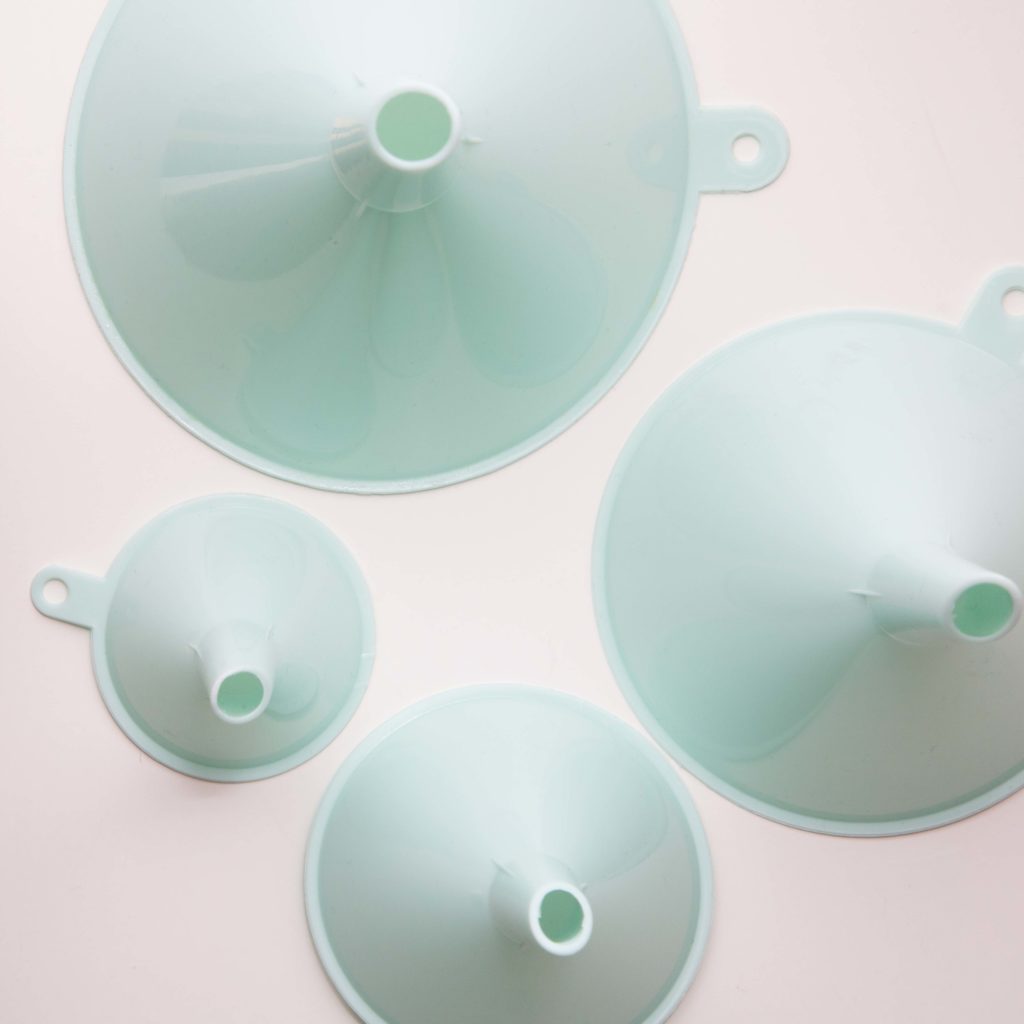
23 Funnels
Another liquid-related household item. I have a collection of them from a one-dollar shop for different-sized glasses and bottles. When you place the liquid in a glass or bottle they can help avoid some unwanted smears and spritz onto your glassware. They cost nearly nothing, but their value is priceless.
24 Sieve
Another often used household item. A sieve is so useful to get powders onto your food like cacao or powdered sugar. Another unusual use is to put them right in front of your lens to get a soft-focus look.
And you can use them in front of your flashes as well to create some interesting structured light beams into your scene.

25 Salt
With a pinch of salt, you can easily bring some dead beer to life again. If you put a pinch of salt into your beer and swirl it with a chopstick you will get a nice beer head again. It’s such an easy and a really secret pro tip here.
26 Bottle of olive oil
In my toolbox, there is always a small bottle of olive oil. You can use it in combination with a brush, an eye-dropper, or an atomizer to bring easily a fresh look back to your food.
27 Bottle of water
As with olive oil, it’s with water. I use it to spritz some freshness onto fruits and vegetables or to give the salad a fresh look.
28 Glycerin
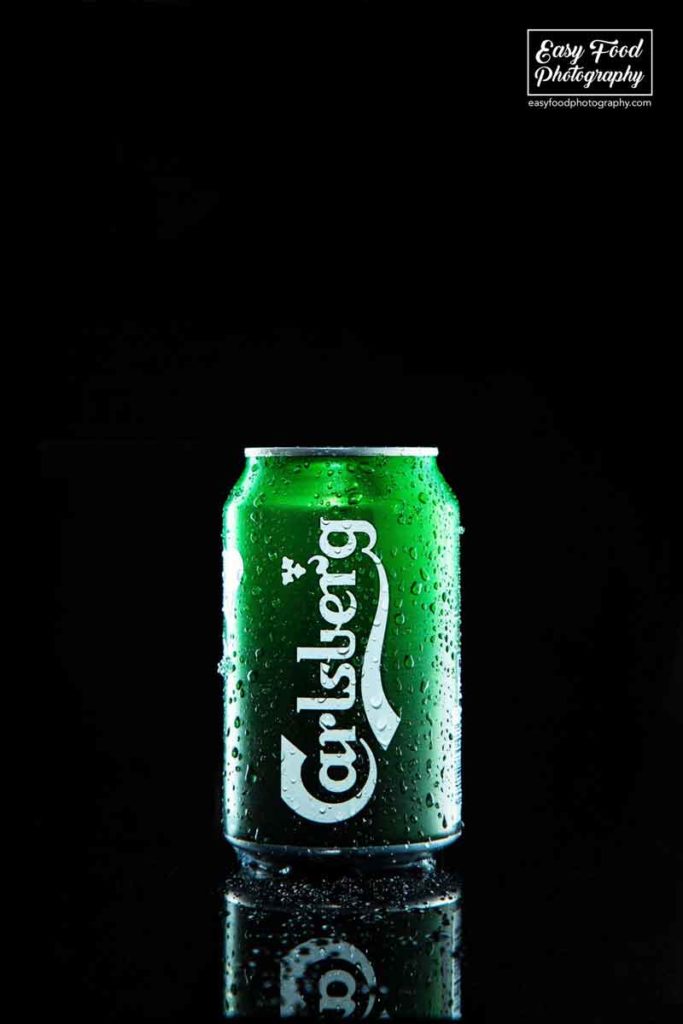
Glycerin is an organic compound. Glycerin is a clear, odorless, and viscous liquid at room temperature. It’S also non-toxic. A 50:50 mixture with water will give you the magic to put droplets onto your food or bottles, glasses, and cans which will stick forever in the same position.
It’s often used in commercial beverage photography to create that fresh “out of the fridge” look on glasses and bottles and cans.
29 Measuring Beaker
From time to time you have to mix liquids together like the water-glycerin mixture described above for long-lasting droplets on your bottles or something else. It’s good to have it in your toolbox for the case that you need it. You can grab it at some drugstore or at a one-dollar shop.
30 5/10m USB Cable
That will cost you a few bucks, but as a food photographer, it is good to shoot always tethered because you can control the shot much better by doing this.
Therefore you want to have a long USB cable to connect with your laptop. I always have two in my toolbox. One is a backup plan because a USB cable can break from time to time.
31 A multi-socket extension cord
It’s always good to have a multi-socket extension cord by hand to put all your chargers for your camera or flashes’ batteries to load. Sometimes you need a mobile hotplate to cook the food on location. Anyways there are multiple situations you will need it for sure.
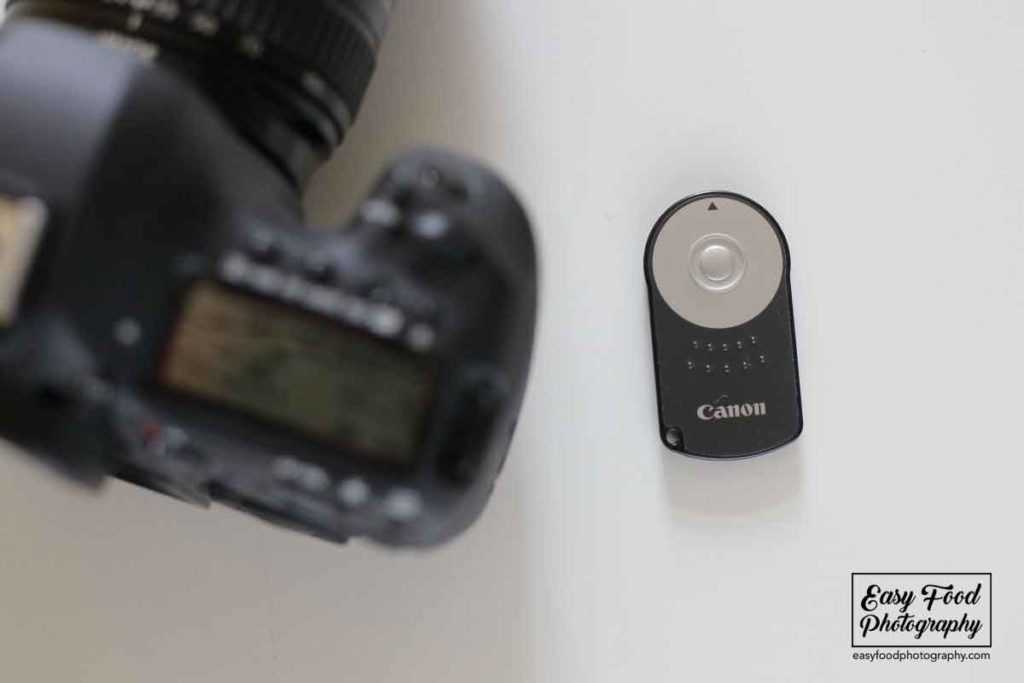
32 Remote control for your cam
My food photography journey was getting so much easier when I mentioned that remote control will make me more flexible. One thing is that if you are triggering your cam by hand the possibility of a slightly defocused image is big because you will cause micro-vibrations by doing it this way.
The other big advantage of using a remote trigger is that you don’t need to stand near the camera and you can, for instance, pour some hot chocolate over your cake or pour some drink in a glass and sons on.
Depending on which system you are shooting the prices can differ, but for most common brands there are cheap third-party remote controls to buy. Just do a quick Google search for that.
33 Compressed air
A can of compressed air can be helping you to get dust and crumbs out of your frame. Just blow things away. If you are doing beverage photography you can use it to blow condensation away. Or you can use it to create nice ripples on any liquid surface.
Go get yourself a toolbox to get organized
A lot of stuff? Go get a toolbox! if you really want to go for food photography you have to think of a place to store all that useful little helpers.
I bought a (really big) toolbox to keep them organized and to have them always in place. When you work with clients you have to be fast and want always to know where your staff is. Because lots of them are tiny you won’t lose them.
Conclusion
If you are really going into food photography you can get a lot of easy approachable and helpful tools right around your home for nearly nothing.
Most of them are already owned by you, some are cheap to buy and the rest is a good investment in your food photography business. If you start to collect all the above-described items try to keep them organized.
Do yourself a favor and get a toolbox for all these. Because on a client shoot you are always under time pressure it is good to have your tools always in the exact same place. That makes it easy for you to grab them without thinking. So for me, a toolbox is key for that.
Hope that was helpful. Take care.
Cheers,

33 MUST-HAVES FOR FOOD PHOTOGRAPHY IN 2022 THAT COST NEARLY NOTHING was written by EasyFoodPhotography founder and editor Alex Fuchs. Alex loves photography and good heavy stoner rock music. His food styling skills are restricted, but he is working on that. When people approach him saying “You can’t do that” his maxim is always: I’ll do it in a minute. He loves to be challenged. Follow his Instagram feed. You read “33 must-haves for food photography in 2022 that cost nearly nothing”.

THIS STORYTELLING TECHNIQUE WILL CHANGE YOUR FOOD PHOTOGRAPHY FOREVER
HOW TO START FOOD PHOTOGRAPHY

10 WAYS TO GET BACKDROPS FOR FOOD PHOTOGRAPHY IN 2022
FOOD STYLING BASICS

HOW TO TURN ANY LENS INTO A MACRO LENS FOR FOOD PHOTOGRAPHY
WHY SHOOTING TETHERED WILL IMPROVE YOUR FOOD PHOTOGRAPHY
HOW TO USE A SNOOT FOR FOOD PHOTOGRAPHY
PLANNING & PREPPING YOUR FOOD GIG LIKE A PRO
THE CHALLENGES OF BECOMING A FOOD PHOTOGRAPHER
CREATING AWESOME FLAT LAYS IN NO TIME
HOW TO START FLASH FOOD PHOTOGRAPHY
15 THINGS YOU CAN DO TODAY WHICH WILL CHANGE YOUR FOOD PHOTOGRAPHY FOREVER
HOW TO ACCESS 10K PROPS FOR FREE

15 HACKS WHICH CHANGE YOUR INSTA FOREVER