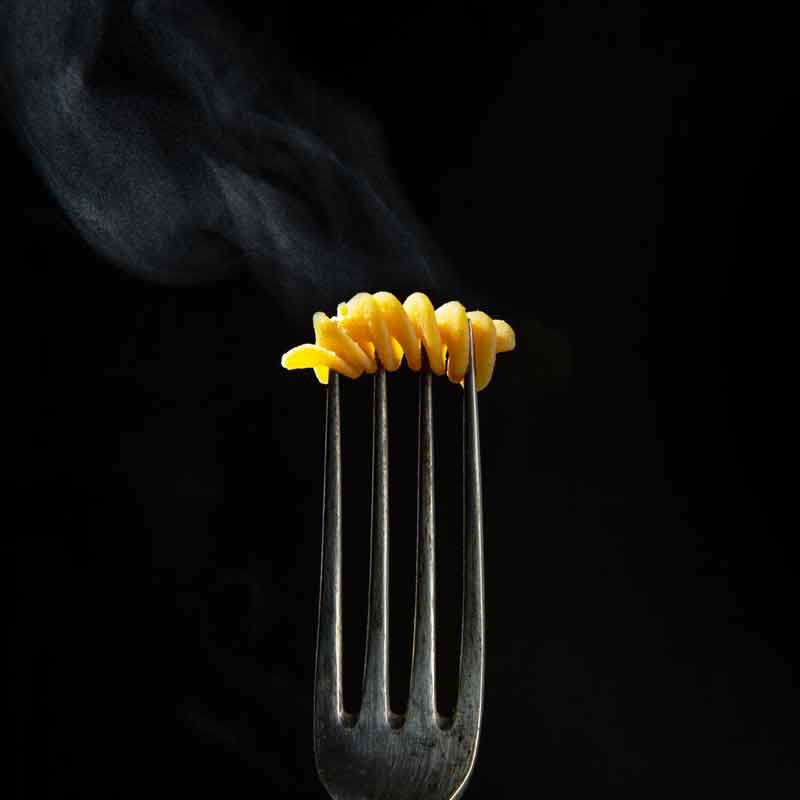
Getting started with flash food photography doesn’t have to be difficult. For many applications, a setup with one flash is usually sufficient. In addition to a flash, you still need a transmitter and a receiver unit to be able to position the flash independently of the camera position, a camera, a tripod for your flash, a light shaper, and, of course, the food. Everything else can be learned quickly.
- Daylight isn’t always available
- Continuous light, portable speedlite & studio strobes
- Constant light can be a good choice at the beginning and can be used for videography too
- Studio strobes vs. speedlites
- Using light former to modify and shape your light
- Use a big octagonal box
- Use a standard reflector dish
- Your food in the spotlight: use a snoot
- Use strip lights to get nice reflections
- Black flags to block the light
- Soft light vs. hard light
- High key vs. low key
- One light set-ups
- Side lighting
- Backlighting
- Combining both
- Conclusion
Daylight isn’t always available
I assume most of all food photographers start with daylight set-ups first. The pro might be that it’s so easy to set up, it’s cost-effective – need nothin’ expect a window and something to bounce for – and it’s nearly everywhere available during the day if you are not a mole.
But there are a few cons about shooting in daylight: The consistency of light changes nearly every second: sunlight changes slightly in color temperature and light intensity over the day from shot to shot. That is making it for instance not the ideal light source for composite together multiple shots in post-production.
One other thing is that sunlight isn’t always available. There will be shoots where the schedule or the location doesn’t allow daylight as a lighting option.
That is some of the reasons why you should learn to shoot in artificial light. The advantage is obvious: you can recall and recreate any kind of lighting situation right on the spot in nearly no time.
Continuous light, portable speedlite & studio strobes
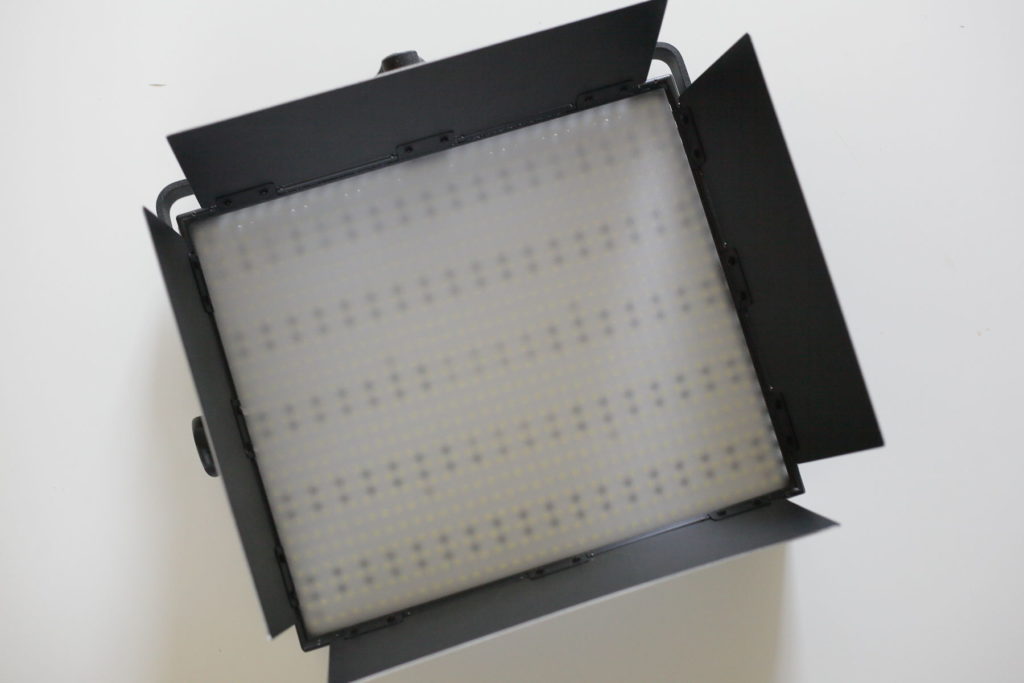
If you decide to go for artificial lighting you have multiple options: You could light your scene with a constant light source such as a LED panel – or you could use a studio strobe with a modeling light option or you could try a
Constant light can be a good choice at the beginning and can be used for videography too
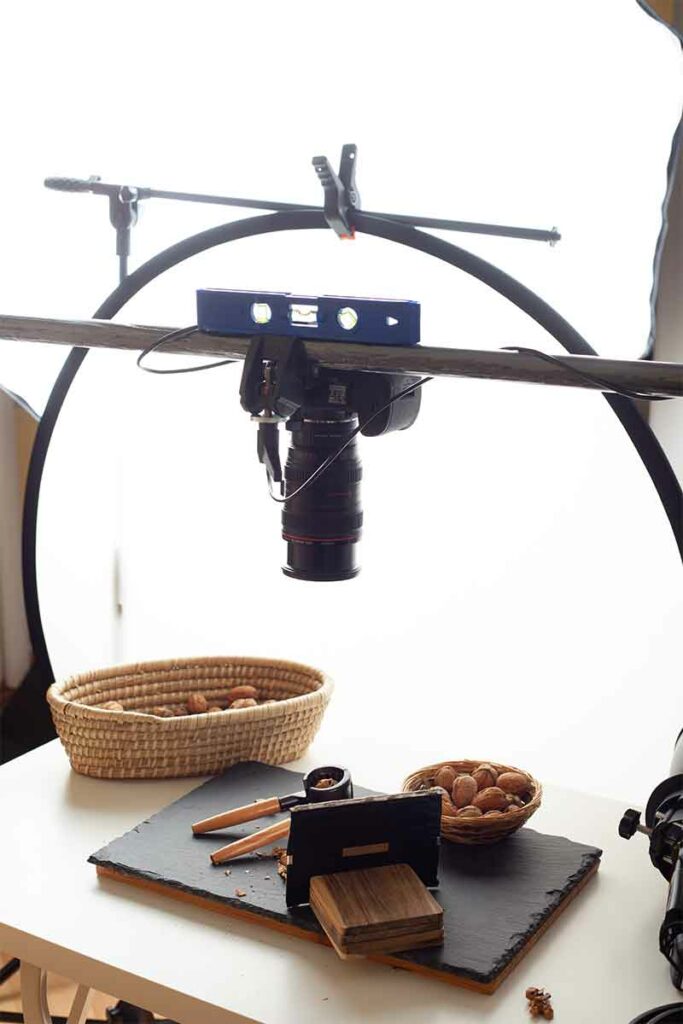
Let’s begin with constant light: The advantage of constant light is that you always see how the light and shadows are falling into your scene and how your final light will look like even when you are making adjustments through the shoot.
Therefore LED panels are usually not very powerful which means probably longer exposure times for what you have to put your camera on a tripod – which you should do always for food photography, by the way.
If you playing around with the idea to do videos as well – maybe you are a food blogger – then a continuous light is good to have for videography too. The problem you may be run into is when you have to work at a location where you can’t shut out the daylight. Because then you usually have to overpower the incoming daylight, which could probably get problematic with a constant light.
It depends on the outcome and the distance to your subject, but in most cases, it will not be possible. So either you close the blinds or use black cotton Molton on the windows where the daylight spill is coming in or you have to go for some kind of strobe light solution instead.
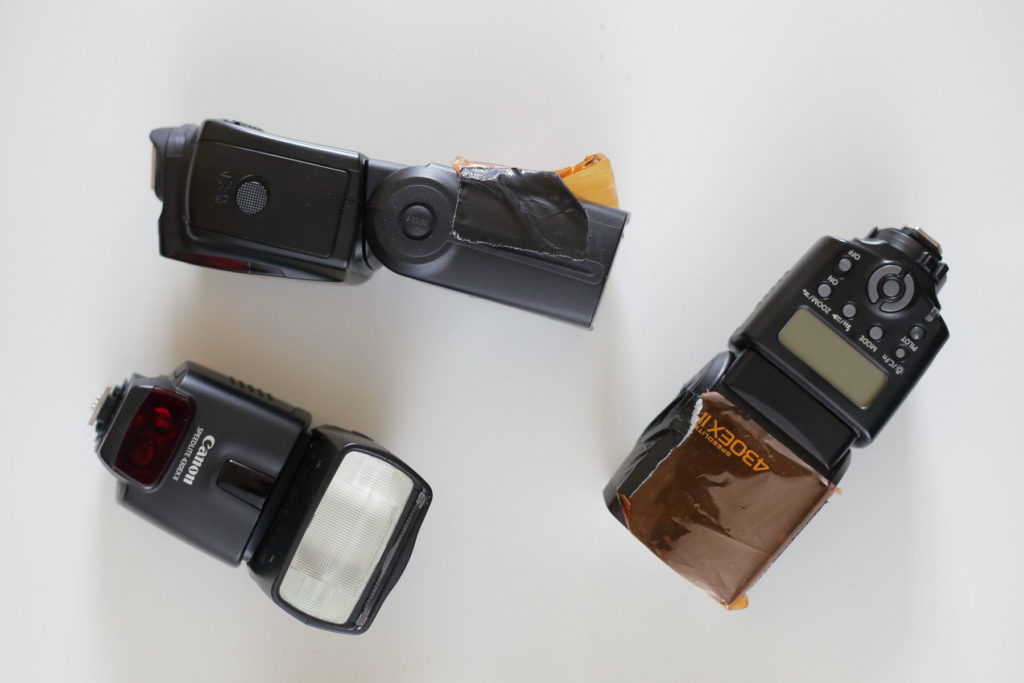
Studio strobes vs. speedlites
There are a few differences between studio strobes and classical
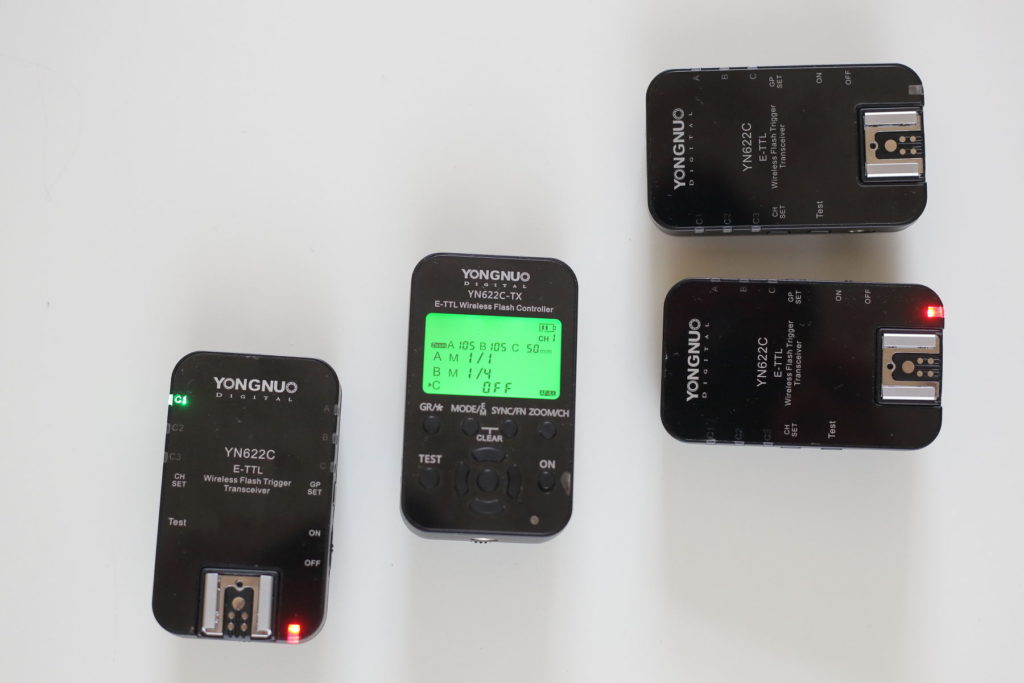
One last word: The handling and the power outcome may be differs, but either you go for constant light or for some kind of flashlight you have the same options in light quality and choices in setting up your light. You probably have to experiment a bit to get the exact same feel, but it should be possible at one point.
Using light former to modify and shape your light
Once you have chosen your light you should start to think of modifying your artificial sunlight. There are a bunch of options you could grab. The most common and easiest way is to just bring some kind of silk diffusor or some white diffusion foil between your subject and your light. This will immediately soften your light.
Think always of your artificial light source as a replacement for your sunlight/window in a daylight setup. So casual sunlight is in most cases a very soft light source, so you will probably try to get your artificial light source as soft as that to imitate it.
One quick notice: One thing a lot of people forget when changing from sunlight to artificial light is to set the white balance right. Every camera should provide a flashlight preset setting.
If you shoot RAW it doesn’t really matter, because you could easily set it right in post-production, but if a client is around and even for you to see if the colors are right you should always go for doing it right if you can.
There are 5-in-1 reflector kits out there for just a few bucks: You can use them usually like white, silver, or golden bounce, as a black flag, or as silk diffusor to shoot through. They are mostly to have in round or squarish forms in different sizes.
I would go for something between 80 cm and 120 cm. This should do in most cases. I also have a 40cm roundish one with me to use as a mid-sized fill.
If bringing some kind of white diffusor in front of your light doesn’t make it as soft as you expected it, you could easily change the distance between your light source and the diffuser to soften it up even more in bringing the light source further away.
Use a big octagonal box
If you want to have a really big and soft light you could go for a 120cm (or bigger) octagonally shaped softbox. If you use
An octabox is a really good sun surrogate. And because the light is shot indirectly against a silver surface and then through one or two layers of white diffusion you can create a really nice and soft key light with sunlight quality.
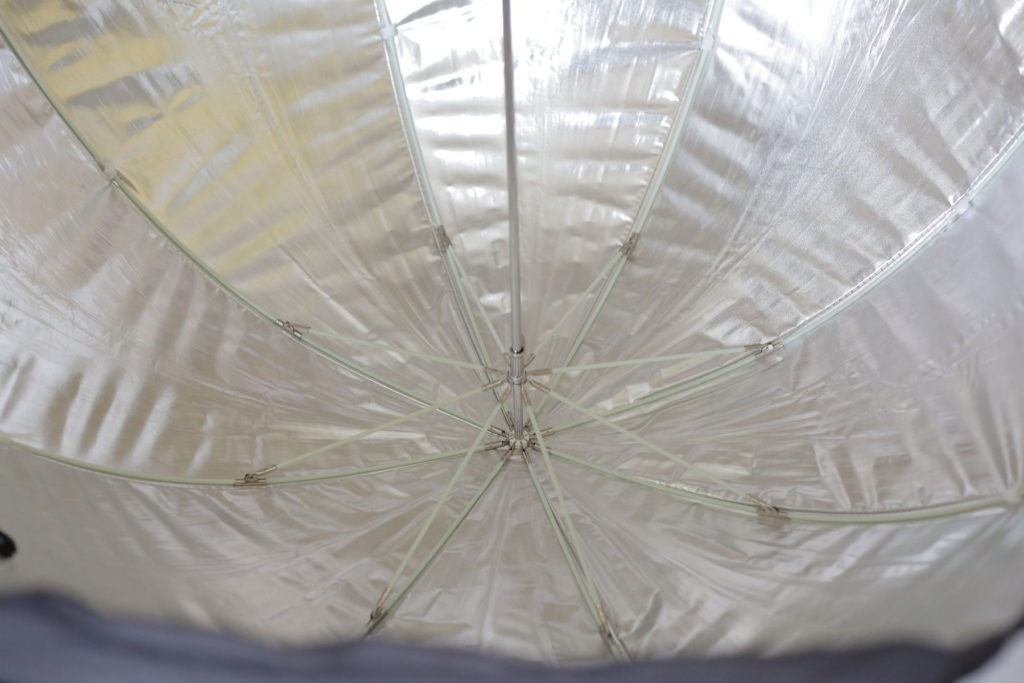
Depending on your style and if you like dark shadows or not you could bring a white or silver bounce from the direct opposite side of it to brighten up the shadows a bit and made your light more three-dimensional and accented.
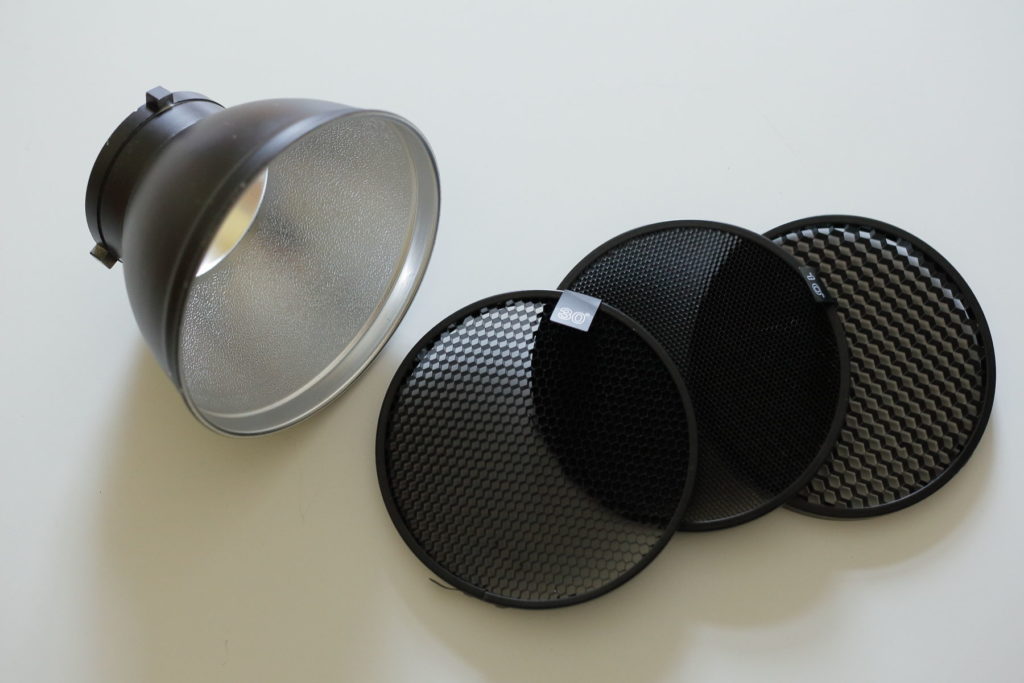
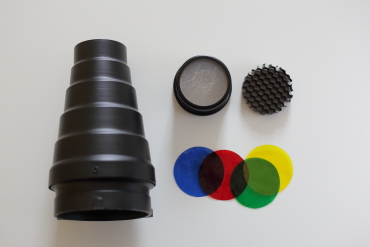
Use a standard reflector dish
Another good tool to have is a so-called standard reflector dish where you can attach honeycomb grids in front to cut off the light and bundle it in different degrees (10 to 50, I would go for a 30-degree honeycomb grid). With that, you can create a bit of contrast in your food photos.
Your food in the spotlight: use a snoot
One of my most used light modifiers is a snoot. It allows me to bundle the light only to a specific spot. It’s creating some kind of spotlight. I usually put that on the food itself to separate and highlight it from the rest of the scenery.
It makes your food outstanding, bright, and shiny. The idea behind that is, that our human eyes are always focusing on the brightest spot in an image. So to direct the viewer’s eye to your food or dish you should always think of guiding the viewer’s eye.
There is one thing that you never forget: Photography is always about control: technical control on one hand to make a perfect image, but even control with your available tools to control the viewer’s eye and give him a roadmap how to watch your images.
You can put a small honeycomb grid to a snoot as well as you can put some diffusion gel to it to soften it. If you want to read more about using a snoot go for “How to use a snoot for food photography”.
Use strip lights to get nice reflections
Another thing you can use is a so-called strip light. These are narrow white softboxes that you can use to get nice reflections on glasses, jars, bottles, and every surface that is shiny.
I usually take two of them when it comes to any kind of beverage shots and put the left and right from my subject. You can soften even that soft light by using some kind of white diffusor in front of it to make it even softer.
Black flags to block the light
I would call them a negative light modifier. Black flags are there to shut off the
I use cardboard in combination with a water-repellent black printing foil for mine. The past showed that these are really hands-on.
Soft light vs. hard light
Another thing to keep in mind when we talk about light is light quality. You can make a light a hard source – means you get very contrasty images with a lot of dark shadows and you can make a light soft by using some fill light to get the shadows to brighten up. What you wanna go for is at the end of the day a creative decision and should be totally up to you.
One trick to remember is that you can make every light source hard or soft – it depends on the distance to your subject. For instance, if you have a hard light on your subject bringing it further away from your subject will soften it and vice versa. In most cases, it is much easier to work with the above-described tools, but if you can’t find them this will work too.
High key vs. low key
Besides light quality, there are different approaches or styles you could go for. The most extreme are high key – which means a very bright scenery with very low contrast – and low key – which means a very contrasty, dark, and moody scenery. And then of course there is everything between these two extreme styles.
One light set-ups
But after we spoke about all your tools you have to shape and form your light we should go on and build our first light set-up. One word before: Every position of your light at a 180-degree angle around your dish will work more or less well.
Please feel free to experiment a bit and find out yourself what angle and what height of your light suits your style most. Photography is simply the art of being creative and just doing things. But a few positions will work for sure.
Side lighting
Bring your light source in from one side. If you are a westerner the left side works even better because we “read” images from left to right as we do for reading. But experiment yourself.
In a matter of height remember me saying that your light source is replacing the sunlight in a daylight set-up. Basically, the sunlight is shining from high above, but it depends on which kind of daylight mood you want to imitate.
For a morning or sunset mood, it would probably be on a bit lower angle as it would for bright sunny midday light. So start thinking about these little details and experiment with the height of your light yourself. Whenever you fire your light from the side try to use some bounce from the direct opposite side to create a little bit of fill.
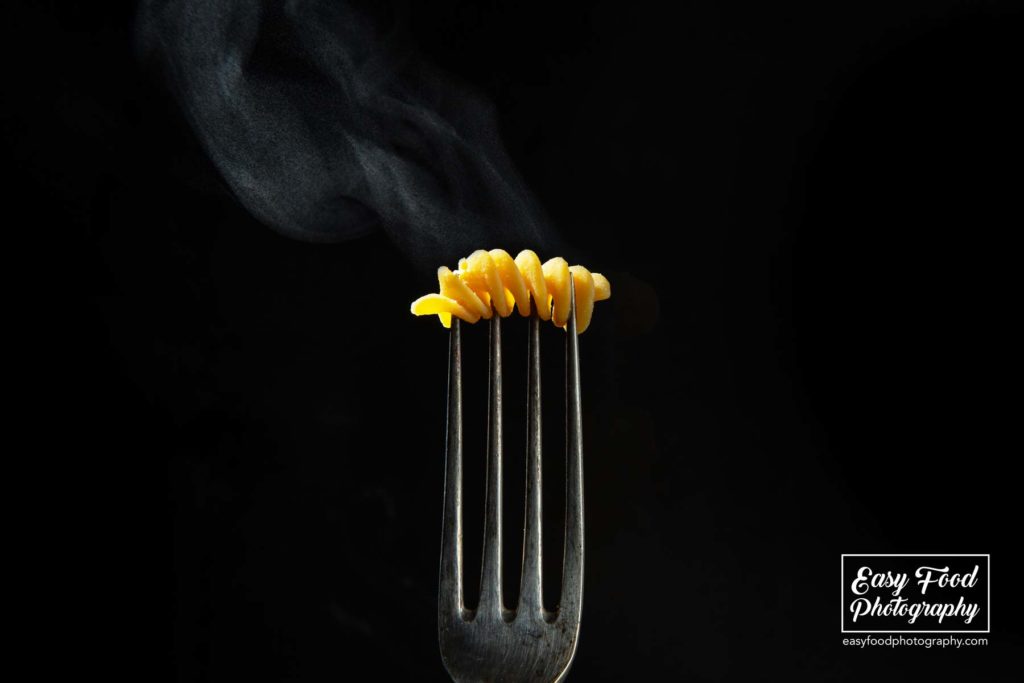
Backlighting
A set-up that works quite often for food photography is to backlit your scene with your light. That will help you to work out the texture of your food and give it a more three-dimensional look. If you shoot some kind of beverage it will help to create some kind of glow in your glass, bottle, or jar.
Try to bring in some fill from the front (a bounce card with a spare whole for your sense could do) or bounce some light back from one side of the camera.
Backlight helps also to bring some glance on watery or shiny surfaces as any kind of liquids or cutlery. Whenever you backlight your scene watch for the highlights not completely to be blown out. One thing to keep in mind is that sometimes backlight can create too much shine on your food (like on fatty pizza or so).
Combining both
What I often use is a side backlighting technique. I position my backlight in a more or less 45-degree angle to my food from the side and bounce some fill back into my scene with a bounce card or reflector from the opposite side.
Mostly I shoot the light in from the left to follow our Western reading logic to guide the viewer’s eye. And that’s it. Just play around with that set-up yourself. And remember to play with different heights to see how your light affects your food from different angles.
Conclusion
When it comes to artificial light set-ups you could go either for constant light or some kind of flash or strobe light. You have a bunch of different options and tools to modify and shape the light to make it hard or soft and even to cut some of it off.
Shooting with artificial light hasn’t to be complicated. Just take it easy and go for one light and bounce in a little fill. It’s often that easy. Learn how the different angles and heights are affecting your shot and try to find your personal style.
But foremost with artificial light, you get the chance to shoot and recreate light situations at any time and in any situation. You should see it as one more tool to have in your toolbox to serve your creativity to fulfill your clients’ wishes best and take care to get booked again.
Using artificial light is no magical thing you only have to learn and understand how to use it properly. Most of it can be learned in a few days, but it needs practice over practice over practice. Again, again and again. Practice is the key.
Have fun creating awesome stuff.
Cheers,

HOW TO START FLASH FOOD PHOTOGRAPHY was written by EasyFoodPhotography founder and editor Alex Fuchs. Alex loves photography and good heavy stoner rock music. His food styling skills are restricted, but he is working on that. When people approach him saying “You can’t do that” his maxim is always: I’ll do it in a minute. He loves to be challenged. Follow his Instagram feed. You read “How to start flash food photography”.

THIS STORYTELLING TECHNIQUE WILL CHANGE YOUR FOOD PHOTOGRAPHY FOREVER
HOW TO START FOOD PHOTOGRAPHY

10 WAYS TO GET BACKDROPS FOR FOOD PHOTOGRAPHY IN 2022
FOOD STYLING BASICS

HOW TO TURN ANY LENS INTO A MACRO LENS FOR FOOD PHOTOGRAPHY
WHY SHOOTING TETHERED WILL IMPROVE YOUR FOOD PHOTOGRAPHY
HOW TO USE A SNOOT FOR FOOD PHOTOGRAPHY
PLANNING & PREPPING YOUR FOOD GIG LIKE A PRO
THE CHALLENGES OF BECOMING A FOOD PHOTOGRAPHER
CREATING AWESOME FLAT LAYS IN NO TIME
33 MUST-HAVES FOR FOOD PHOTOGRAPHY IN 2022 THAT COST NEARLY NOTHING
15 THINGS YOU CAN DO TODAY WHICH WILL CHANGE YOUR FOOD PHOTOGRAPHY FOREVER
HOW TO ACCESS 10K PROPS FOR FREE

15 HACKS WHICH CHANGE YOUR INSTA FOREVER