- What food styling is
- Food styling represents 50 percent (or even more) of food photography
- Develop some basic food styling skills
- The basics are not too hard to learn
- Step 1: Keep it simple
- Step 2: Keep it fresh
- Step 3: Keep an eye on proportions
- Step 4: Be always picky
- Step 5: Control every detail
- Step 6: Think about color tonality
- Step 7: Layer your food
- Step 8: Think about props in relation to your food
- Conclusion: It’s a challenge you can win
What food styling is
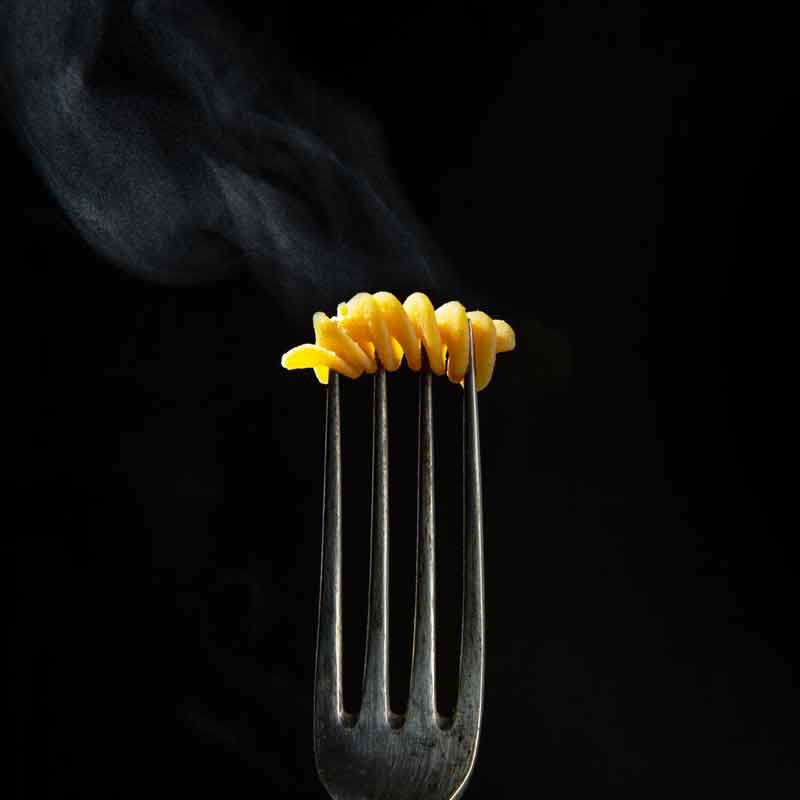
By definition, food styling is the art of representing food. In food photography, it is the connection between the preparation of food and the final produced image. People who are professionally engaged in food styling are called food stylists. They use easy-to-learn techniques for plating you can learn too.
Food styling represents 50 percent (or even more) of food photography
When we are talking about food photography we are usually focused on the photography side of the subject.
But food photography is by name segmented into two main parts: the food part and the photography part.
That’s maybe a no-brainer, but when you look around you see a lot of people sharing food photos and declaring them as food photography, but it seems that they haven’t spent one thought about the food itself. This is important because it makes up 50 percent or more of the job.
Let’s be honest: Nowadays everybody can take a picture. You don’t have to be a professional photographer to create stunning images. That’s for sure. But if your subject looks shitty it really doesn’t matter if you are skilled or not. The outcome will look shitty, too. That’s where food styling comes into play.
On a professional food shoot, you usually have at least one food stylist around who is prepping all the fantastic and gorgeous-looking food and dishes for you. And you are only the trigger-happy guy who is here and there pushing the button. Sounds weird to you? Yeah, it’s more or less like that.
Ok, as a photographer you are in charge of the lighting setup, too. But if you put your dish in front of a big window you are more or less already set and only pushing triggers.
Develop some basic food styling skills
But anyways. If you work as a food photographer you should have a basic understanding of food styling. Out of two main reasons:
Reason 1 is a no-brainer: If you are starting as a food photographer there will be for sure no food stylist around. So if you want to create stunning food images you have to develop some basic food styling skills yourself.
Of course, I hear you saying, but I could ask a friend who has a better understanding of food styling than me to do it. You are right, but you should then go on for reason 2.
Reason 2 is as important: When you have a bigger reputation you might get jobs where you have to work with food stylists together as a team (or you asked a friend to do the food styling for you).
When you work in a team you have exactly to know what your team members are doing and what their job exactly is and whatnot.
Otherwise, you will run into different problems – exceedance of one’s level of competency is one of them. Well, to avoid any problems you need a basic understanding of food styling. So here we go.
The basics are not too hard to learn
In principle, it’s not too hard to learn the basics of food styling. But on the other hand, it takes time, work, and practice over practice. And failings. And then the courage to go on and on to reach your goal and to overcome one’s weaker self.
You can break it down into 8 easy steps. Try to get these 8 points into your head and keep them always in mind. Then you are ready to go for the photography part of food photography:
- Keep your food styling always simple
- Always process only hyper-fresh food
- Be aware of the proportions of the different ingredients itself
- Be always picky with your food
- Watch out for the fiendish details
- Think about the right color tonality when you combining different food
- Layer your food and think about it
- Think about the props you want to bring into your image, too
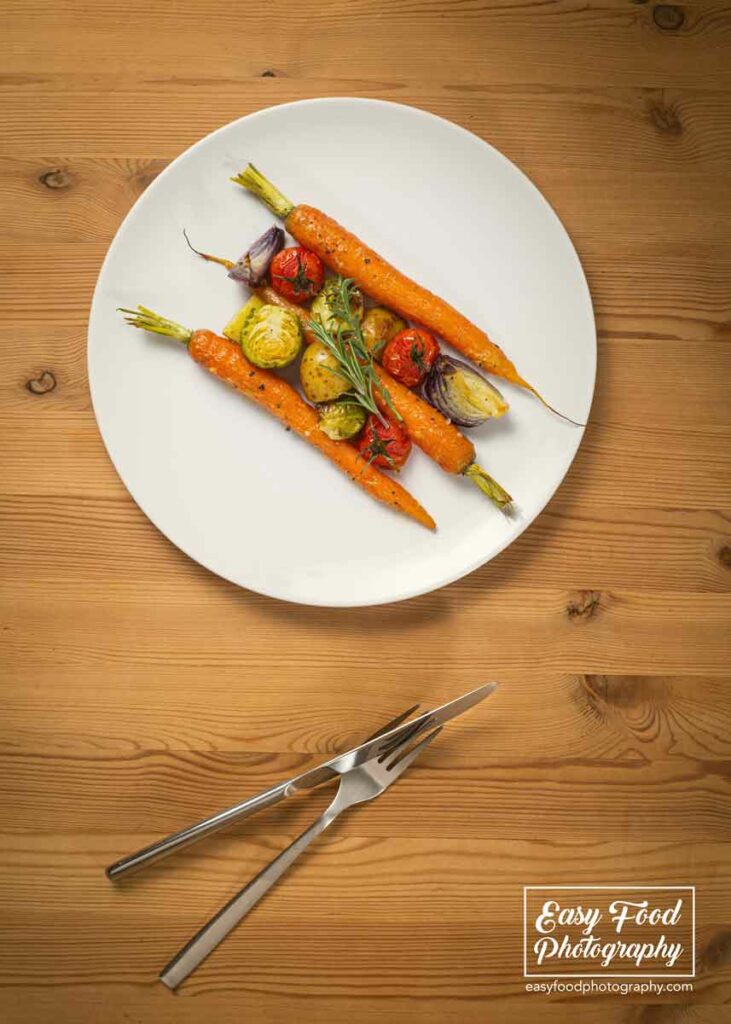
Step 1: Keep it simple
Do what all professionals do: Keep it simple! The first step is maybe the most obvious one. If you are not good at something just try to keep it as simple as it goes to get the thing running. Am I right?
The same thing with food styling. Think about easy concepts. Don’t think you have to compete with the food stars at the beginning. We have a saying here in Germany: Others are still boiling with water, too. I don’t know if this makes any sense to you, but it means that you can learn every procedural method.
Do research by yourself on easy food stylings. There are tons of good and simple food stylings on the web. Go find them and try to reproduce them. And do yourself a favor don’t think to complicate. Take it easy.
Step 2: Keep it fresh
Maybe another no-brainer: Always, really always, just process fresh food for your food photography. I tell you a quick anecdote: Once I wanted to cook beetroot soup. But because I was short on time and a little bit lazy I bought pre-cooked beetroots. The finished soup wasn’t worth a shot, it looked like diarrhea. Nothing else to say.
So don’t learn it the hard way. Just use fresh and unprocessed food of good organic quality. If you use fresh ingredients and learned your lesson on how to execute the technical side of the job, you are seeing the light at the end of the tunnel.
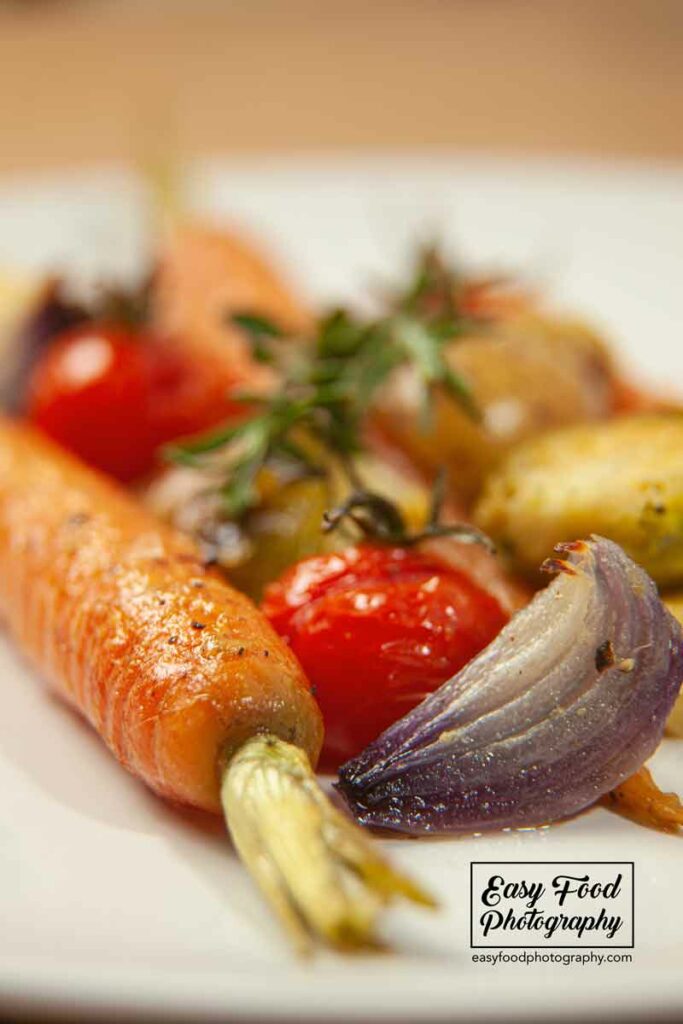
Step 3: Keep an eye on proportions
Every food item is different. For instance grab you a bunch of potatoes: every single one of them are slightly different. And when you take organic quality you will see it even more.
Every single food item is different in size, look, shape, and slightly in color, too. You have big ones and narrow ones. You have wide ones and small ones etc. Depending on what dish you are preparing start instantly thinking of which ones you can use the best for your final dish.
Every dish sets the rhythm for the proportional ratio of its ingredients. So start thinking about it. And when you mix different ingredients together you have also to watch and be aware of their proportion to each other.
And there is another thing related to the right proportion. There are many ways to hackle and dissipate food: you can quarter things, you can slice ’em up, you can cube things, etc. I think you get the idea.
What I’m often doing is asking myself what is the usual way to do it and then I’m looking for an alternative way of doing it. That’s the part where you really can get creative.
Step 4: Be always picky
Maybe another no-brainer: Be always picky. Be aware of everything you throw onto your final hero plate. Examine every piece you put on your dish. Don’t put any unfresh or unattractive piece of food onto your final plate.
If you ask me to know if you have really to examine for instance every leaf of your salad for the next shoot I would scream out loudly YES.
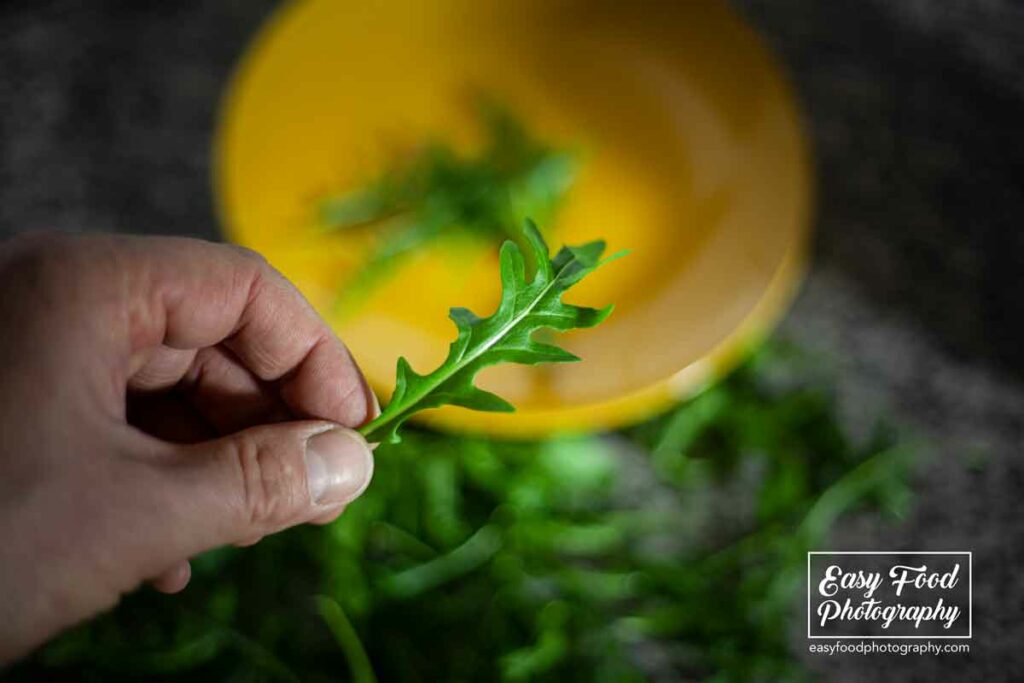
You put such an effort into generating these stunning food images that you need to go for that in such away. Photography is about controlling every part of the process. You are photographing food – so you have to control every piece of food as well. Being picky should be your new mantra!
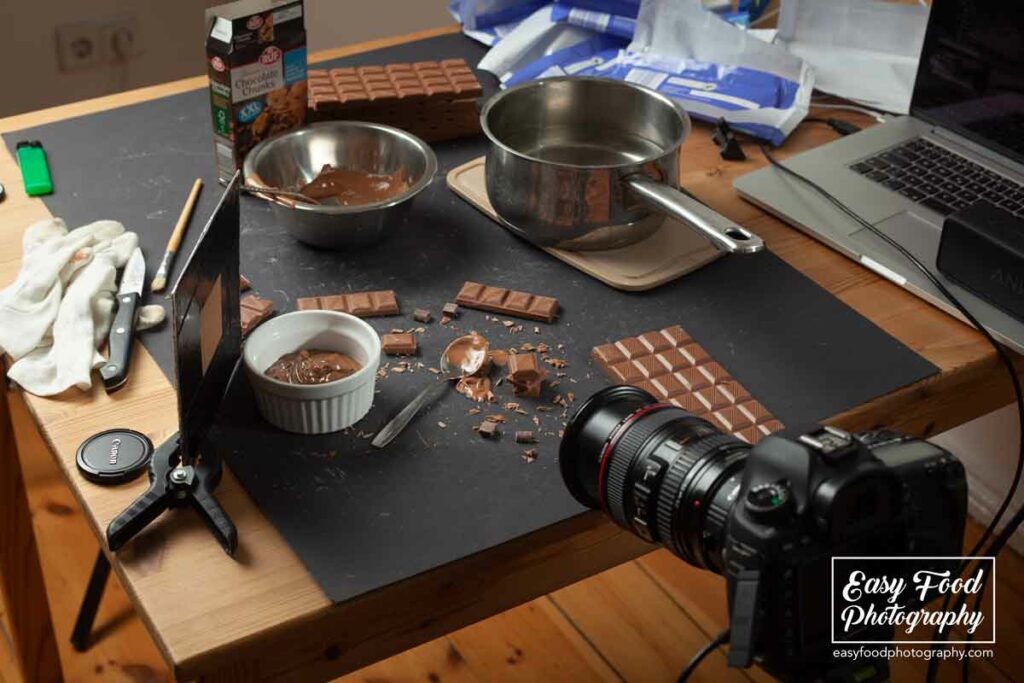
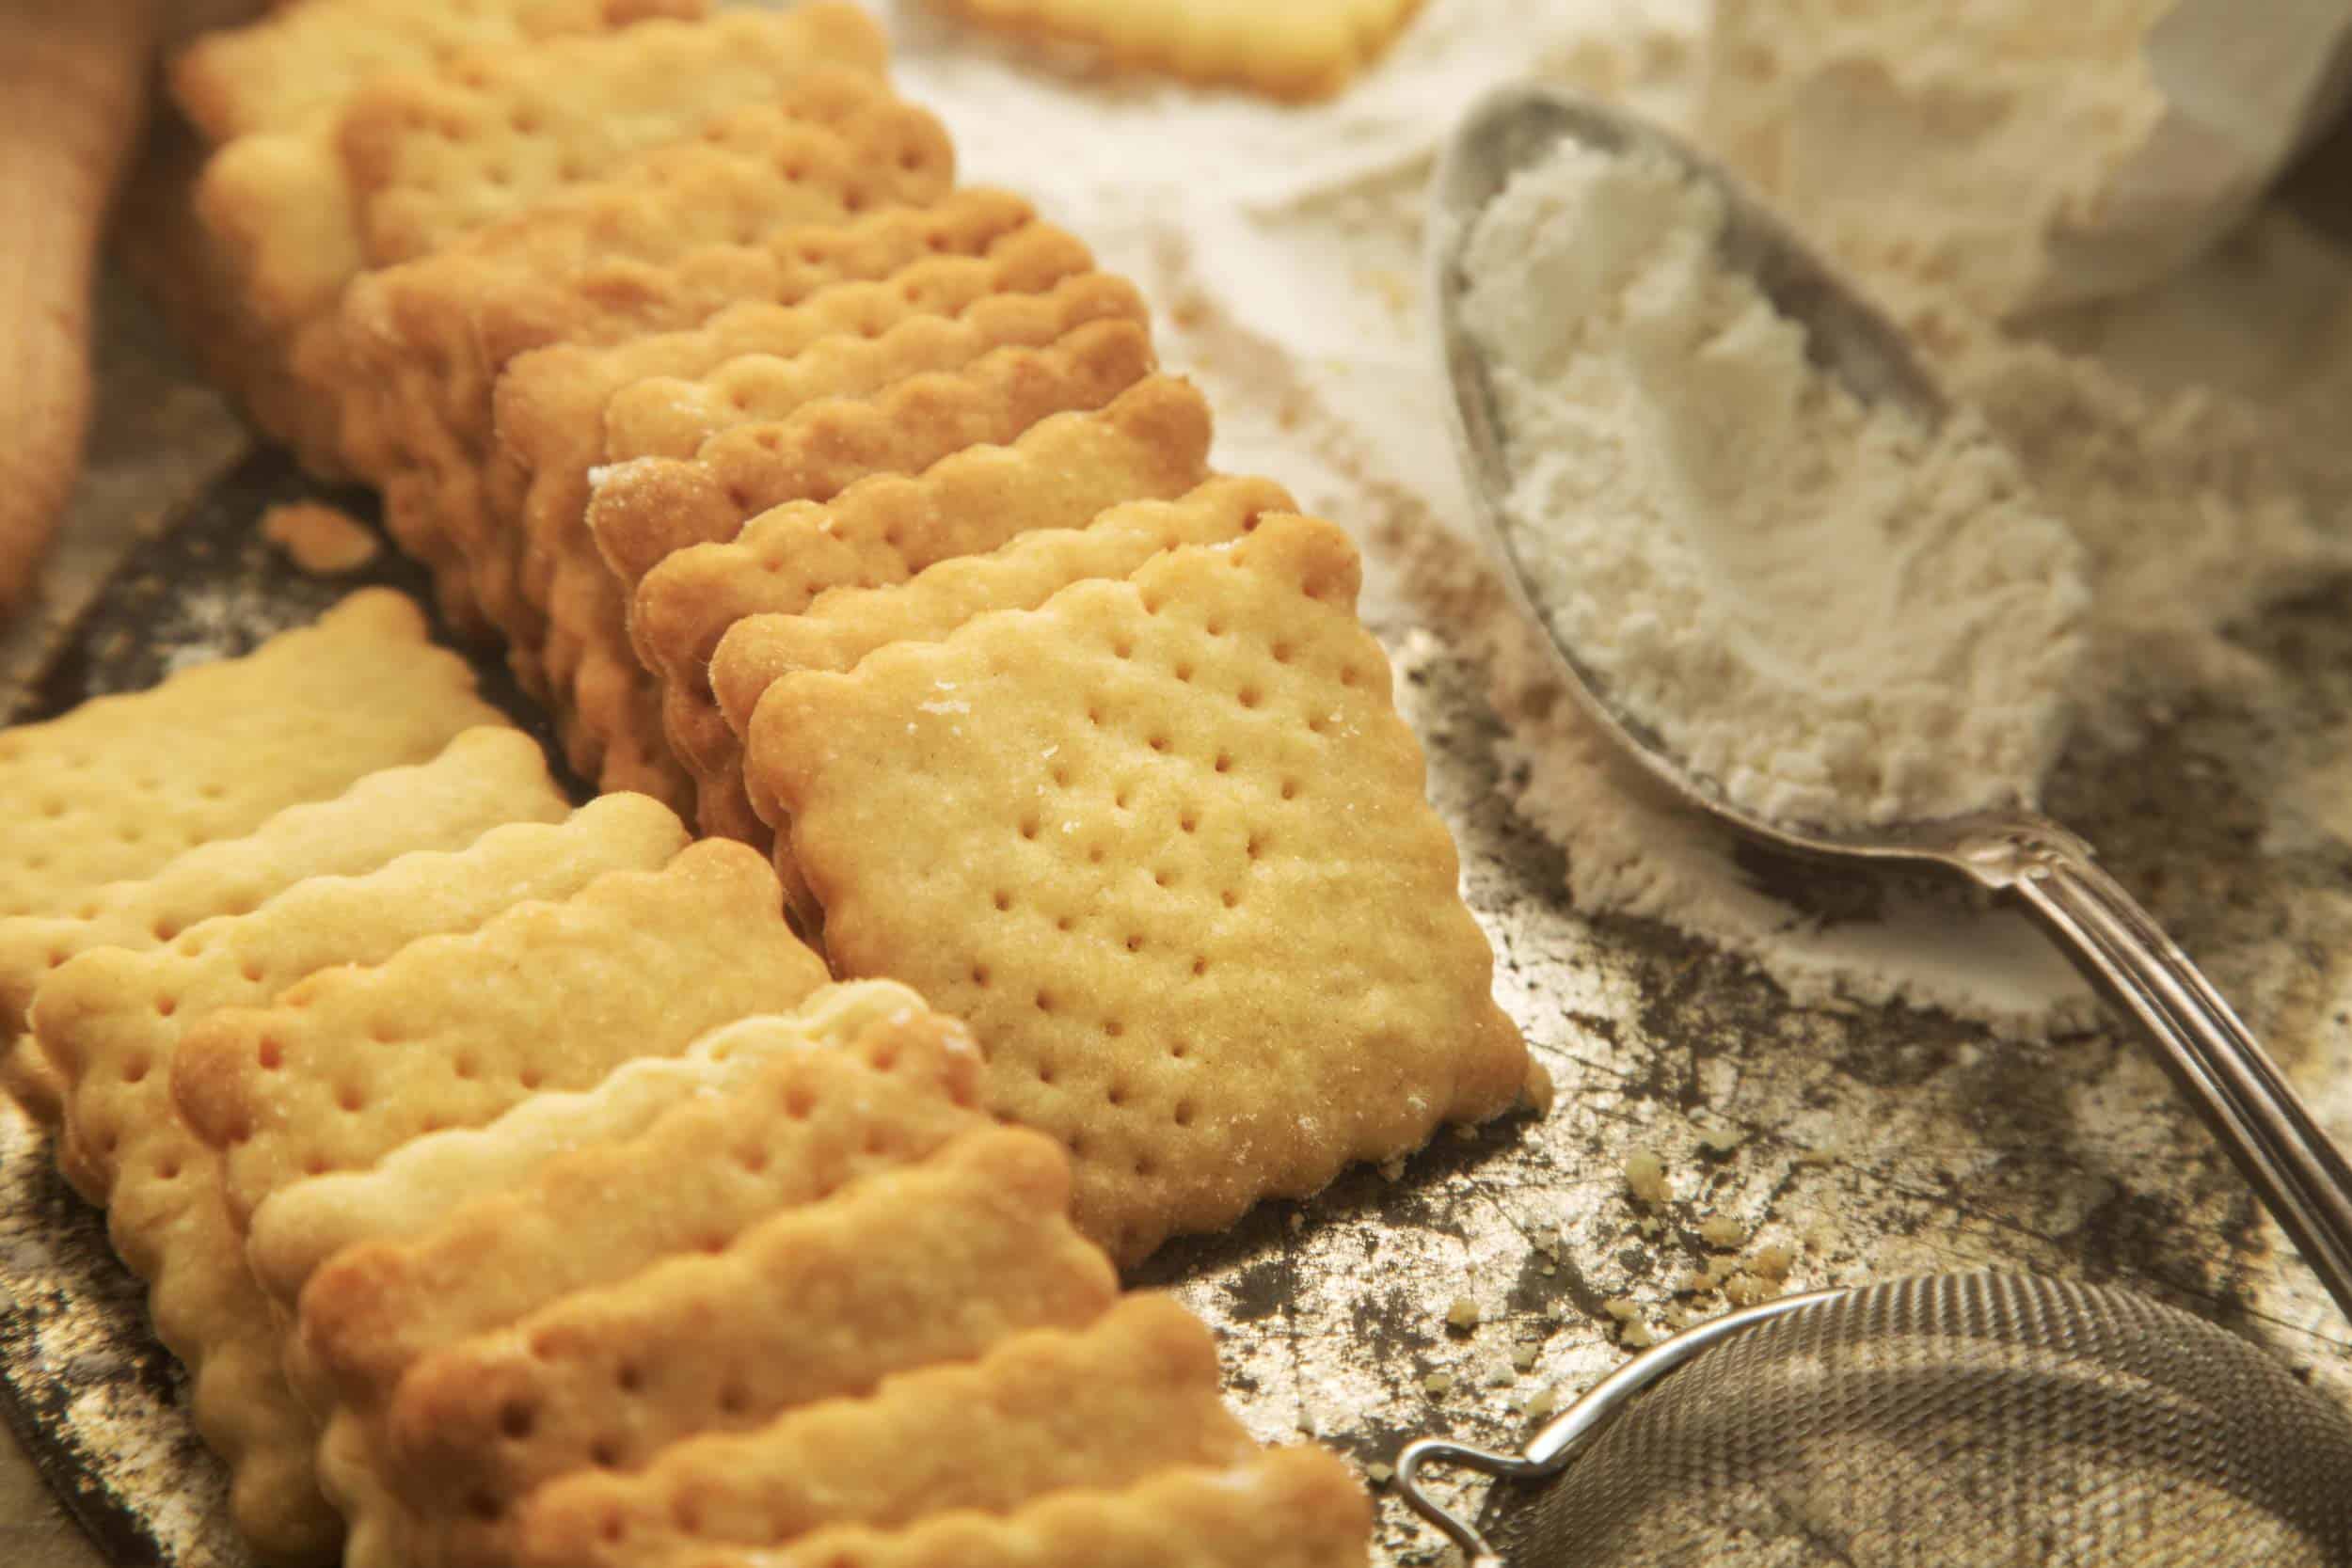
Step 5: Control every detail
In food
Maybe you think I’m crazy, but you are responsible for every single crumb in your final image. If it’s there it should have a good reason to be there – otherwise, get it off from your scene.
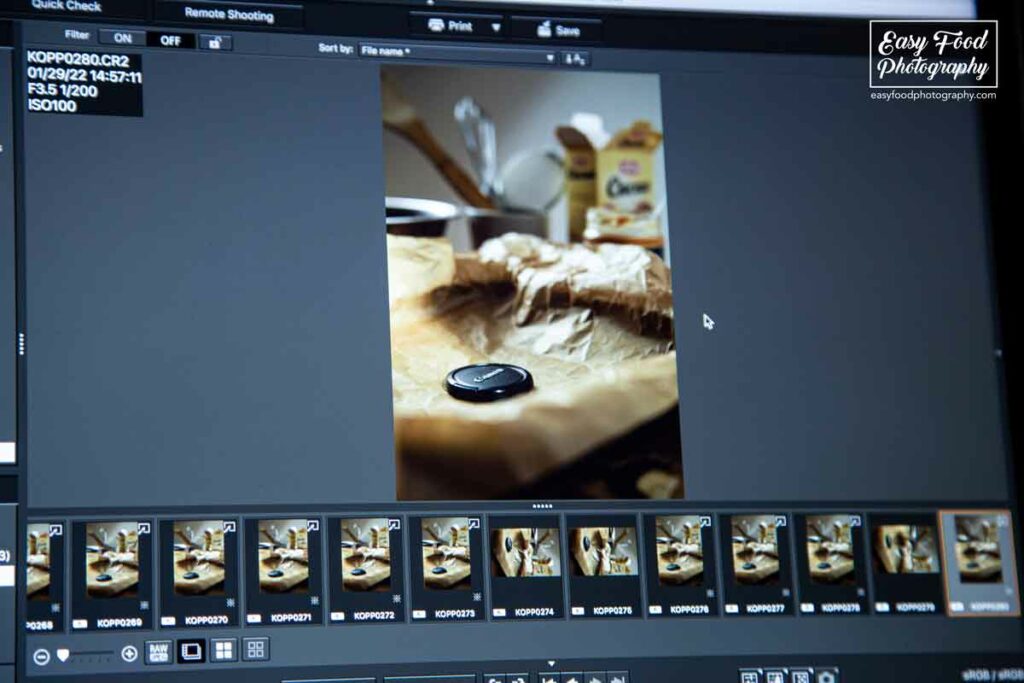
In the beginning, you can easily oversee such small details as crumbs or others. For that, I recommend putting your camera on a tripod. So you can easily follow the development or your scene and go back and forth.
Why you should do that and other things why food photography can be challenging can you read in my article “The Challenges of becoming a food photographer”?
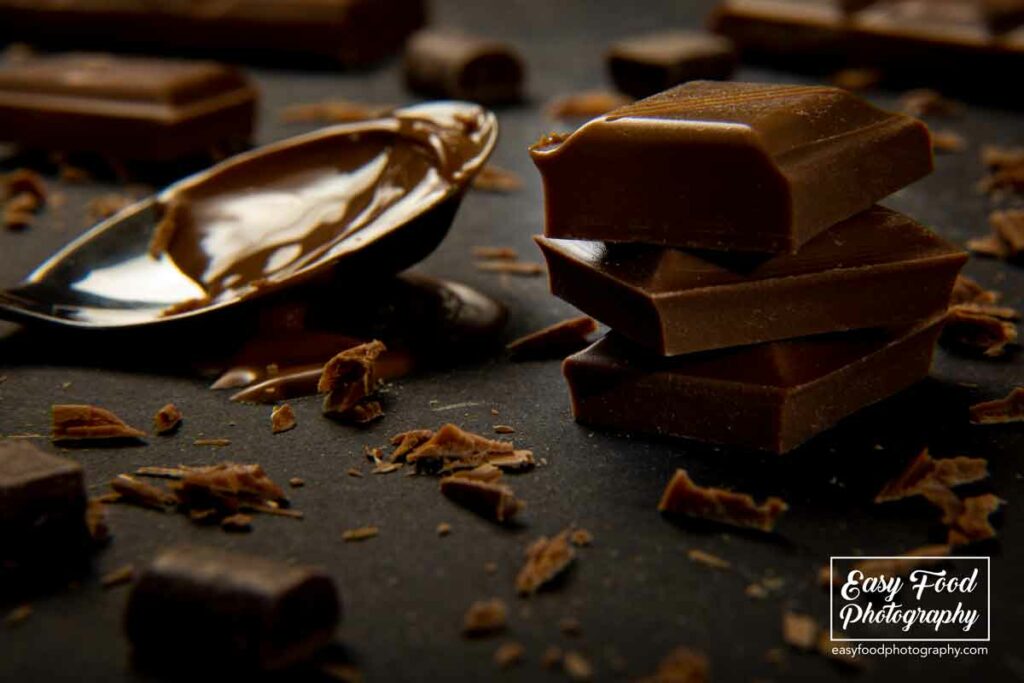
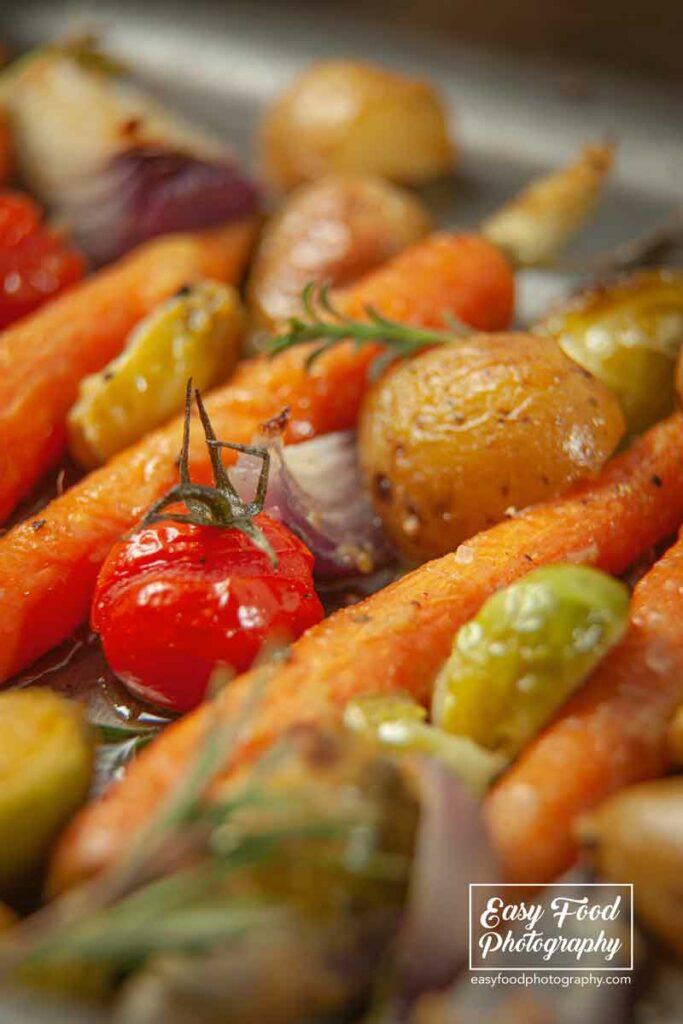
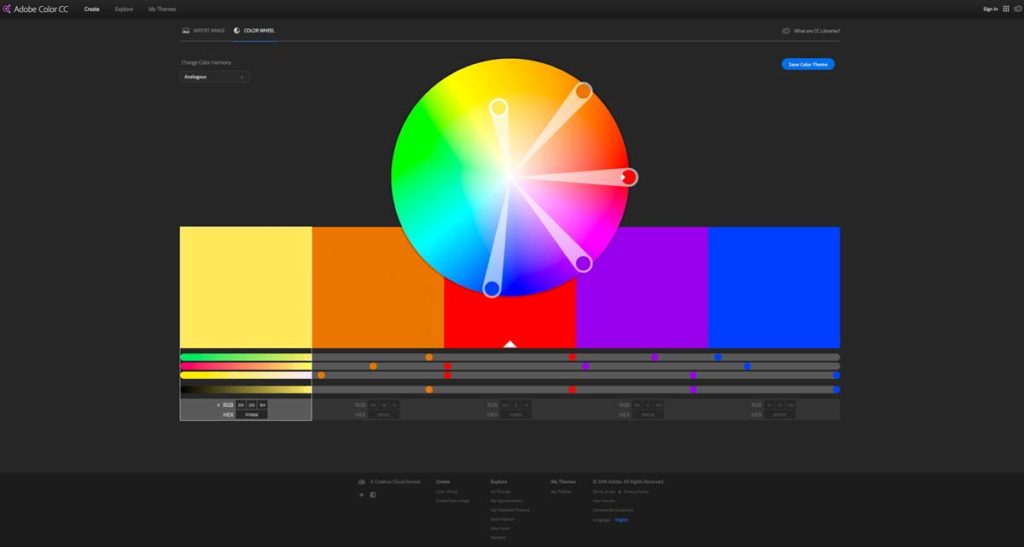
Step 6: Think about color tonality
That’s something you should have in mind, too. Every food item has some kind of color. Think about color and tonality before you mix different colors together.
I usually create color schemes for client shoots using tools like Adobe’s color wheel to find out really fast which colors match together.
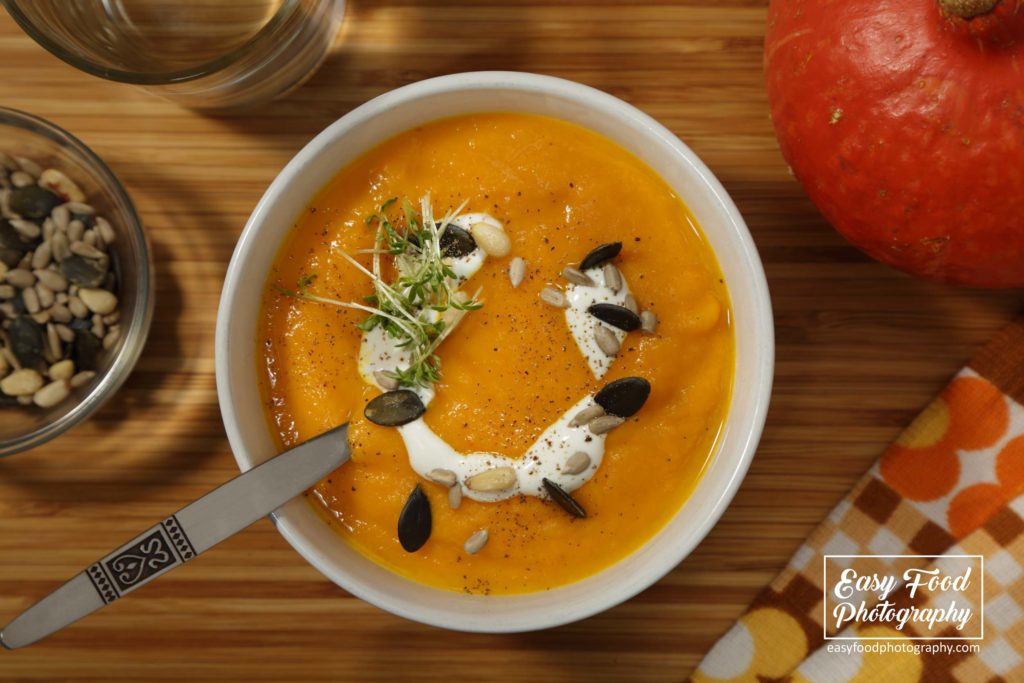
Step 7: Layer your food
Ok – let’s talk a bit about building up your final hero. Usually when we are prepping everyday food that’s normal for most of us a not very conscious matter. But for food styling, it is absolutely necessary that you develop a sense to consciously build up your food.
You have to start to think about the cooking or baking or whatsoever process your food is going through.
As a simple example let’s take a pizza: Do you put the cheese before or after the other ingredients? In most cases, I would put the cheese under the other ingredients, because it will melt in the process and if it’s on top I possibly can’t see the other ingredients.
Ok, if your client wants to have his double cheese pizza shot – that could be a reason to put it on top. It always depends.
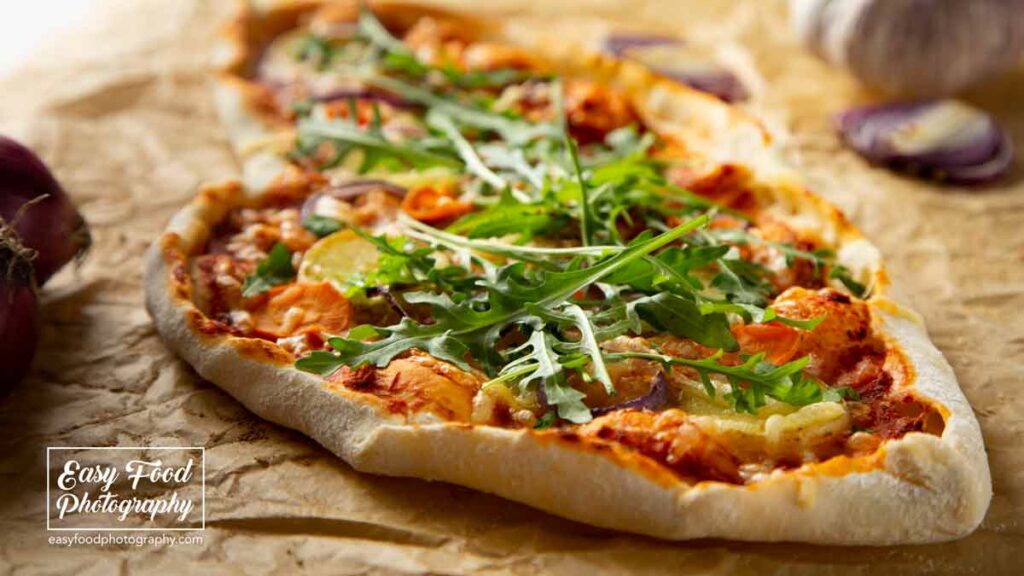
So start to think in layers like in photoshop. As in Photoshop the order of layers matters to the final product. Build every layer calm and precise and think about the cooking or baking process your food is going through. With that layer thinking technique, I’m sure you can improve your food styling skills in no time.
The last thing to mention about this technique is that you should not overdo it. Remember me telling you in step 1 to keep it always simple?
As a basic rule, you could take “Less is more”. Don’t throw too many ingredients and too much of everything on your dish. Remember these very expensive restaurants where they only put nearly nothing on your plate and charge you a little fortune? That’s it. You got it. Less is
Step 8: Think about props in relation to your food
Step 8 is related to the scene you are going to shoot and less about the dish itself. But if you want to show some ingredients of your dish in the scene it’s part of the food styling process.
In commercial photography, you will find someone besides the food stylist who is building the scene for you. Remember me saying that we food photographers are mostly buttons-pusher?
But if you have to do it by yourself you should think about food props in relation to your hero dish. How and what can underline and round your scene? Which ingredient matches the color tonality of your intended idea? Start to think about it like that.
Conclusion: It’s a challenge you can win
Everything comes with a learning curve, so food styling. You can learn and you should develop some basic food styling skills if you want to be a food photographer.
Get familiar with any kind of food. Develop a sense of the different proportions and textures of each food. Try to keep your food styling ideas at the beginning simple, so that it’s nearly impossible to mess them up. Only use hyper-fresh organic quality food because food photography intends to picture the food as good as possible.
Think of the concept of less is more. Don’t overdo your styling in quantity and keep always an eye on the details and scrutinize their importance. Get lost in every detail which makes no sense for you. Try to develop a color scheme for your images before your shoot as well. Get use of the layering technique. Build your hero step by step. And start to think of props in relation to your dish.
And always remember: Rome wasn’t built in a day – so your food styling skills won’t grow overnight. The key to food styling as for food photography as or any kind of profession isn’t genius – it’s practice over practice over the practice. I think you got me. I wish you fun. Hope that article is helpful. If you want to dig deeper into the field of food styling and how to tell a story with food photography you could go on reading by “This storytelling technique will change your food photography forever”.
Feel free to join the forum and discuss your learning curve with me and the community.
Cheers,

FOOD STYLING BASICS was written by EasyFoodPhotography founder and editor Alex Fuchs. Alex loves photography and good heavy stoner rock music. His food styling skills are restricted, but he is working on that. When people approach him saying “You can’t do that” his maxim is always: I’ll do it in a minute. He loves to be challenged. Follow his Instagram feed. You read “Food Styling Basics”.

THIS STORYTELLING TECHNIQUE WILL CHANGE YOUR FOOD PHOTOGRAPHY FOREVER
HOW TO START FOOD PHOTOGRAPHY

10 WAYS TO GET BACKDROPS FOR FOOD PHOTOGRAPHY IN 2022

HOW TO TURN ANY LENS INTO A MACRO LENS FOR FOOD PHOTOGRAPHY
WHY SHOOTING TETHERED WILL IMPROVE YOUR FOOD PHOTOGRAPHY
HOW TO USE A SNOOT FOR FOOD PHOTOGRAPHY
PLANNING & PREPPING YOUR FOOD GIG LIKE A PRO
THE CHALLENGES OF BECOMING A FOOD PHOTOGRAPHER
CREATING AWESOME FLAT LAYS IN NO TIME
33 MUST-HAVES FOR FOOD PHOTOGRAPHY IN 2022 THAT COST NEARLY NOTHING
HOW TO START FLASH FOOD PHOTOGRAPHY
15 THINGS YOU CAN DO TODAY WHICH WILL CHANGE YOUR FOOD PHOTOGRAPHY FOREVER
HOW TO ACCESS 10K PROPS FOR FREE

15 HACKS WHICH CHANGE YOUR INSTA FOREVER