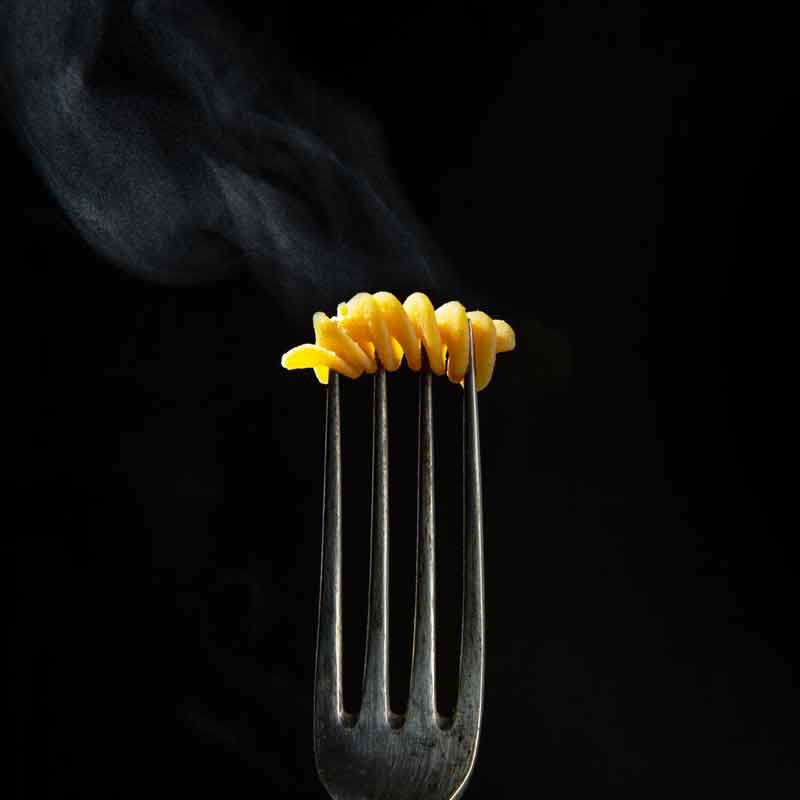
Food photography can generally be reduced to composition, proper lighting, and food styling. In each of these areas, basic knowledge is necessary to achieve improved photographic results.
If you want to start with food photography, all you need are a few simple things: a camera (or your phone), some food, and a window for incoming daylight.
You can easily build your own silver and black bounce cards to reflect or block extra light into your composition. Reading a few articles on basic photographic composition techniques like the rule of thirds or using negative space will also help you to improve your skills in making better food photos.
A lot of people run into food photography these days. They are dedicated to cooking or baking and want to show and share their work on social media with their friends. Maybe they want to start a food blog.
When you are reading this I’m pretty sure you are one of them. So let me help you to start your food photography journey.
Social media especially Instagram is full of zillion food imagery. So you maybe want to be part of that circus and start sharing your food photographs but you ask yourself how other food bloggers create these stunning images?
If so, this post is for you. So stay put and enjoy the reading. I’ll explain everything to you.
To get started you only need some food, a camera or your mobile phone, and a window in daylight.
- What you really need for food photography
- The right white balance draws the thin line between awesome and disgusting looking in food photography
- 1 The technical requirements
- 2 The most basic lighting setup to start food photography
- 3 Develop some basic food styling skills
- 4 Learn some basic photographic composition methods
- Conclusion
What you really need for food photography
The good thing when it comes to food photography is that you can start immediately right on the spot. The technical basis of food photography can be kept really simple at the beginning.
To get started you only need some food, a camera or your mobile phone, and a window in daylight. And that’s basically it.
Where you want to start is up to you. Do you just want to take some stunning snapshots of your food for sharing on social media or with friends or do you want to start a business as a food photographer and make a living in the long run out of it?
Anyways. Before you invest a lot of money in all the photography accessories like lenses, cameras, tripods, etc., I highly recommend you start simple first and figure out if food photography is really a lasting concern for you or just a temporary thing without substance.
Once you figure out that you enjoy food photography, you can always invest in the more expensive widgets and gimmicks.
But whatsoever. In the beginning, you will have to develop a few new skills.
Your need to improve these 4 skills
- Familiarize yourself with the technical requirements of food photography.
- Learn how to light a basic daylight scene.
- 50 percent of food photography is about food styling. Learn some plating tricks to present your food best.
- Make yourself comfortable with some basic photographic composition methods.
Let’s talk about all these steps in detail, but before that, I want to talk about the biggest mistake people make when it comes to food photography.
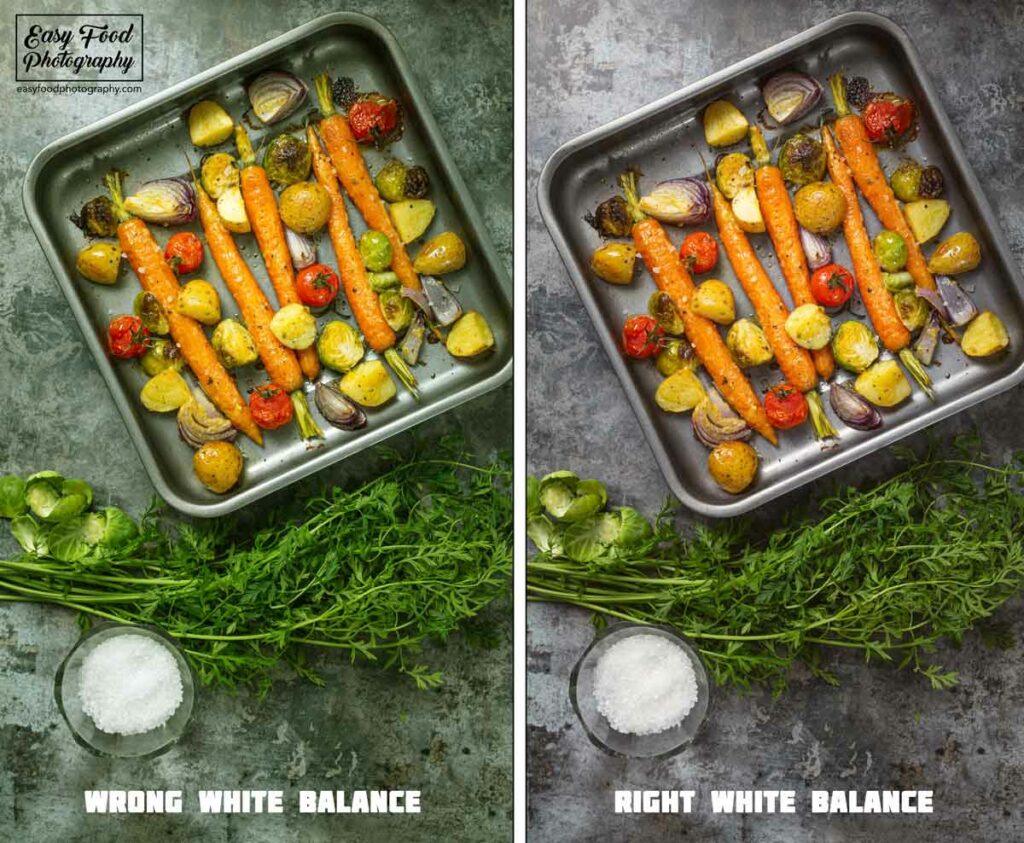
The right white balance draws the thin line between awesome and disgusting looking in food photography
If you stroll around Instagram looking for food-related photographs you often see well-made dishes and meals, but they are far away from looking yummy.
And that’s only because the photographer missed to set the right white balance right.
What is white balance in digital food photography about and why is it so important?
Setting the right white balance is crucial when it comes to food photography. Your camera needs a reference point as to which color in your image should be interpreted as natural white. In relation to that, it interprets all the other colors of your image.
In practice, it means if you shoot your food on a white plate, the plate should look really white and not yellowish, bluish, or with any other color cast.
How to set the white balance right
Nowadays every digital camera and even the cameras of mobile phones have a bunch of presets to set the white balance.
Usually, you have different presets for daylight, cloudy daylight, tungsten, fluorescent, and on high-end digital cameras, you often have the possibility to set your white balance manually. This process can be different. You should have a look at your cam’s manual for that.
The color of the daylight changes during the day
But why is white so different? That’s easy to answer.
Think of daylight: At sunset, the sunlight is much more orange than during the day. This has something to do with the angle of the sunlight falling to earth and how it’s reflected back to the sky.
At noon the sun has the highest peak falling nearly direct at a 90-degree angle on the surface.
That’s why the sunlight is bounced back from the oceans (80% of the earth’s surface is covered by them) and lets the sky look blueish. Of course, it makes the light more blueish too.
Setting the right white balance is crucial when it comes to food photography. Ohterwise the food looks unappetizing.
At dawn when the angle of the incoming sunlight becomes flatter the light gets more and more orange again.
And after sundown and before sunlight the light has the most bluish share of the day. This time of the day is also called the Blue Hour among photographers.
The color shift is measured as the color temperature in Kelvin. Daylight is averaged at 5200 Kelvin and tungsten light at 3200 Kelvin. Sometimes you find these numbers instead of daylight or tungsten preset at your cam’s menu.
If you set the white balance wrong you usually get a more blueish or a more yellowish tint at the end. Both tints are letting your food look very unusual and sometimes really disgusting.
To recap. Get your white balance right before shooting your food. We, humans, have a very precious picture in mind when it comes to food.
Setting how and choosing the right white balance is the first step to becoming more professional and yummy-looking pictures at the end.
Changing the white balance in post-production
If you are shooting in a RAW file format you can easily change a wrong set white balance in post-production with just a click. If you don’t know what RAW is I recommend this article about “Why shooting RAW is mandatory in food photography”.
But to give a short answer here as well: RAW is a file format that captures every information your picture sensor is able to fetch during your trigger release for the length of your shutter speed.
This means you have the most information possible and a broad basis to manipulate your image with some image manipulation software like Adobe Lightroom or Photoshop, Gimp, or Darktable (just to name two free ones too).
Never ever use one of these fancy Instagram filters for your food photography
Another good piece of advice for food photography is that you should never (and never means never) use one of these fancy Instagram filters on your food. It usually makes it unappetizing looking.
But what to do after setting the white balance right?
1 The technical requirements
As said before keep it simple at the beginning. Just learn how to use your DSLR, mirrorless, or mobile phone camera.
For food photography, it is best to learn how to handle your cam in manual mode too. If you are shooting in daylight under overcast conditions, you will probably need to shoot with long exposure times, which will require the use of a tripod to achieve sharp results.
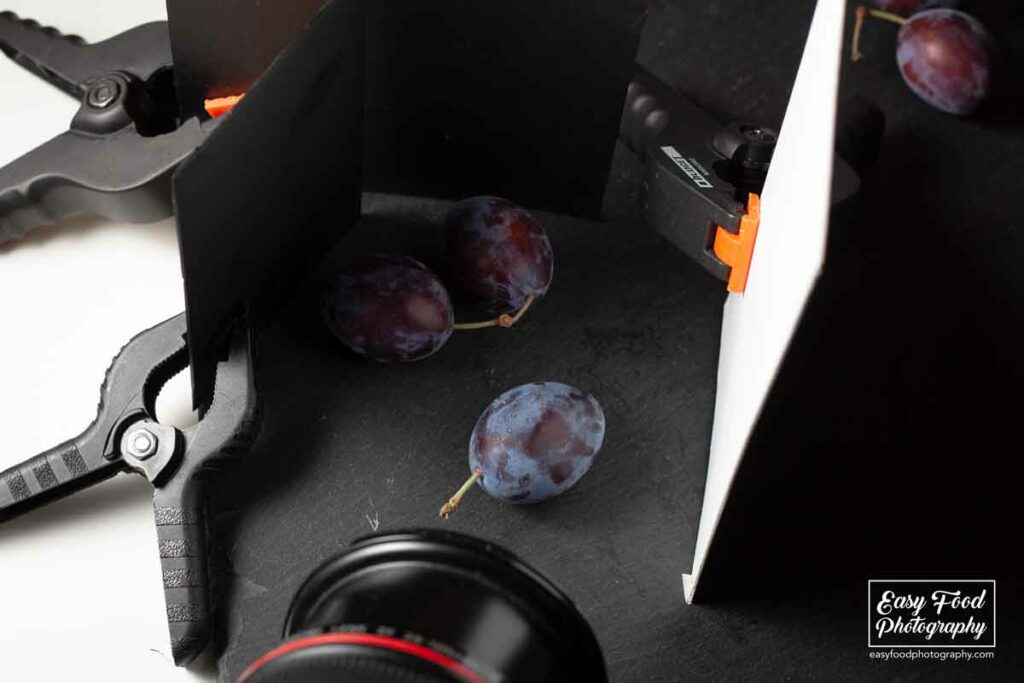
Make yourself a bunch of white, silver, and black cards out of some cardboard. Use printing paper, kitchen foil, and some black tape to create your cards. Get some A-clamps and use them as stands to block or bounce in some light into your food scene.
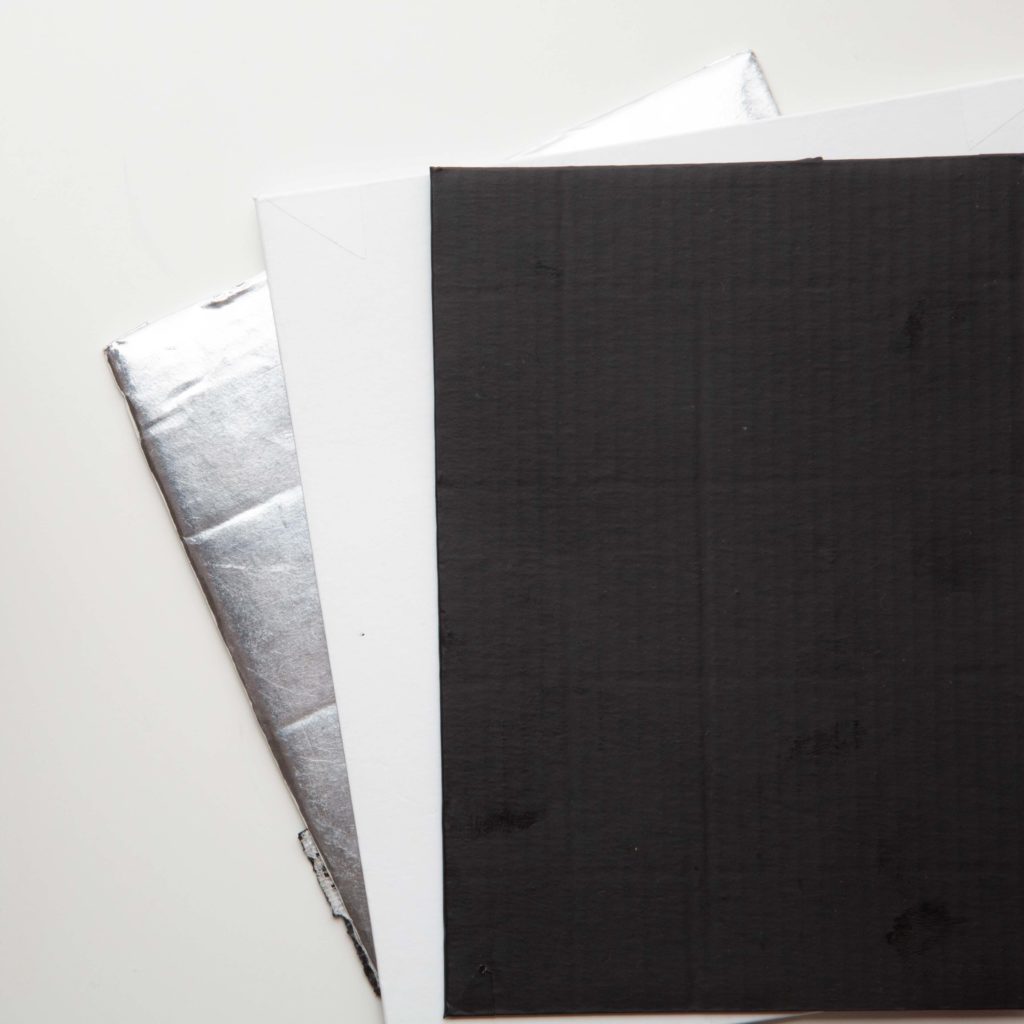
Once again, for the record: To begin your journey into food photography you will need the following:
- some kind of camera (DSLR, mirrorless or mobile phone)
- a tripod
- white & silver bounce cards
- black cards
- a few A-clamps
There is no such thing as wrong or right. It’s all about your taste.
2 The most basic lighting setup to start food photography
I can’t tell you enough to keep it simple at the beginning. You shouldn’t make life too difficult for yourself and start with a simple daylight setup. You can create stunning pictures with it if you learn how.
As a first rule take this: Try to avoid full-frontal lighting. It makes the picture flat and let your food look not very yummy. Go for back or sidelight or a combination of both. That’s the key to good-looking food photography.
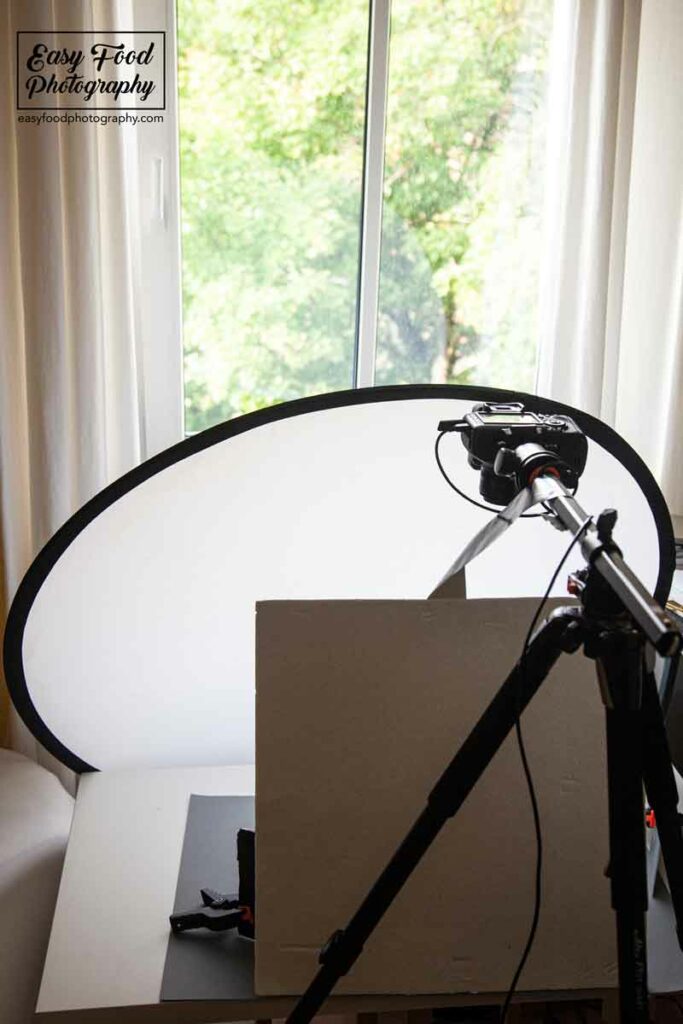
Use a window and sunlight at the beginning
Shoot your first food photo in front of a large window with daylight streaming in. Take a table and put it in front of the window. Now put your food on the table.
Get yourself a piece of parchment paper and tape it to the window. This will make your light more diffused and it will soften the shadows. In the end, you will get a very smooth light.
Go for back- or side-lighting
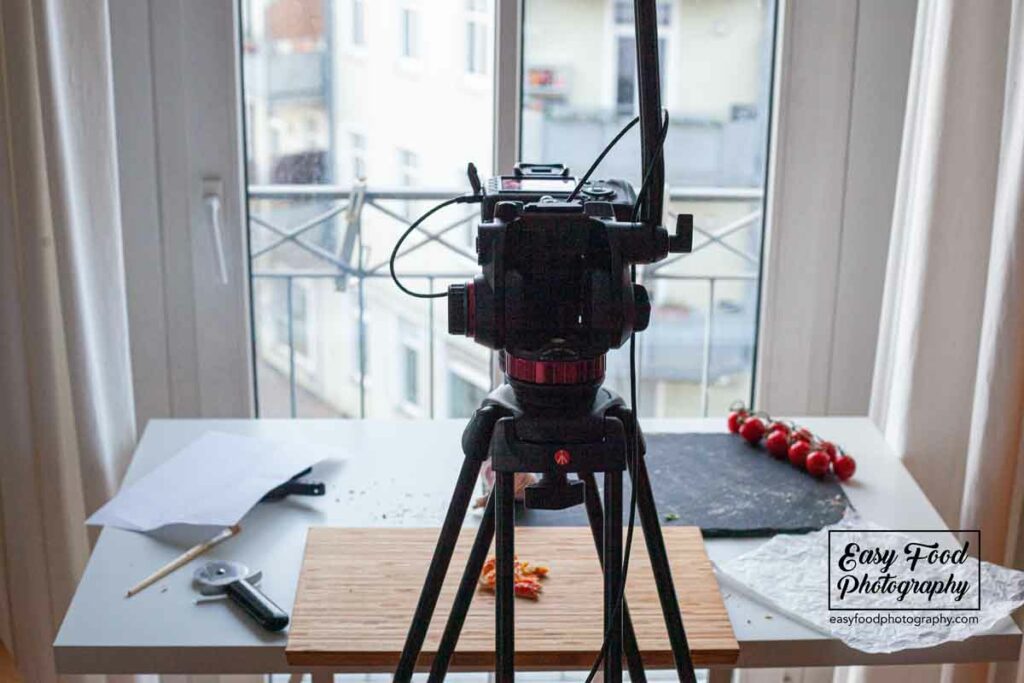
The next step to do is to decide if your main light (the sunlight through the window) should be used as a backlight, which means put your cam and your tripod on the opposite side of our window.
As an alternative, you could use the sunlight as sidelight as well. If ask put your cam on a tripod at a 45-degree angle to your window.
The next thing to do for you is to look at your shot and decide if there are spots that you want to darken a bit. Use your black cards to block some light. You can use an A-clamp as a stand for the cards.
Bounce some extra light onto your food
Then have a look at your composition. Use a white or a silver card to bounce some light directly on your main subject. This extra light will separate your food from the rest of your composition. This will guide the viewer’s eye directly to the point of interest. It’s an easy, but very effective trick to do.
Practice, practice, practice
Be aware: there is no such thing as wrong or right. It’s just about you and what you like most. Start to experiment with this setup and put your cam here and there.
Use a low and a high angle and look at what’s happening. This will grow your basic understanding of light and composition over time.
Key is here – as always – practice, practice, practice. And believe me, if you really want to give food photography a try it’s really fun.
3 Develop some basic food styling skills
Now that you mastered the basic techniques and lighting setup it’s time to talk about basic food styling. It’s part of the game too.
You can have the best technical skills, but your images will look shabby if you don’t learn how to present your food or dish at its best.
To be honest, I’m not the best food stylist myself. So I developed my own approach to it over time. What is a really good thing to do is to think about your dish.
Is it flat like pizza or is it high like a cake? It’s always a good thing to layer your food. If you are interested in that layering technique go read this article about “Food Styling Basics”.
Try to avoid full-frontal lighting.
Don’t overdo it
It may annoy you, but try to keep it simple here too. Don’t overdo your food styling. Often less is more and looks more exclusive than overdoing it. Don’t fill your plate with loads of food.
Think about these crazy expensive restaurants. They only put a bite on a plate. Think about an interesting garnish for your dish.
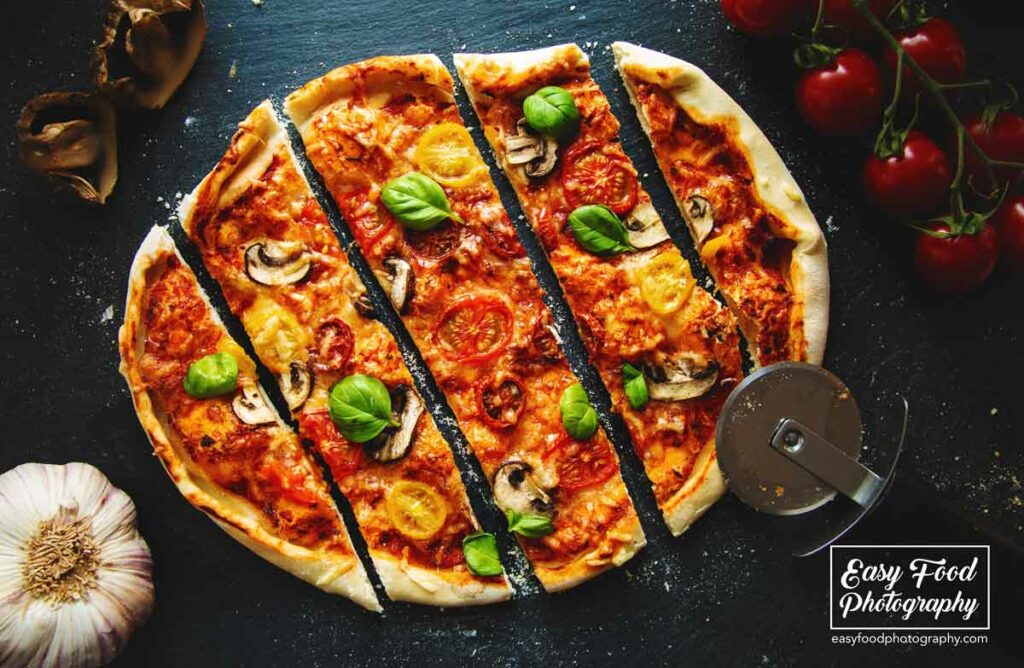
Go experiment with different shapes etc. Try to make your plate interesting-looking. Try different cutting methods.
As a first guideline goes for this:
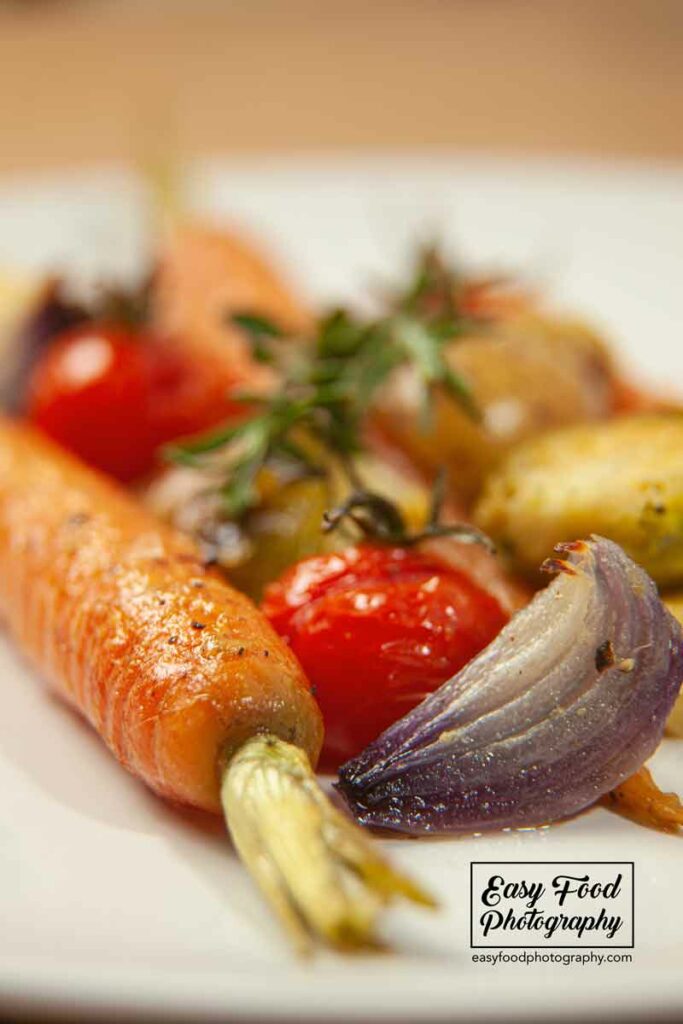
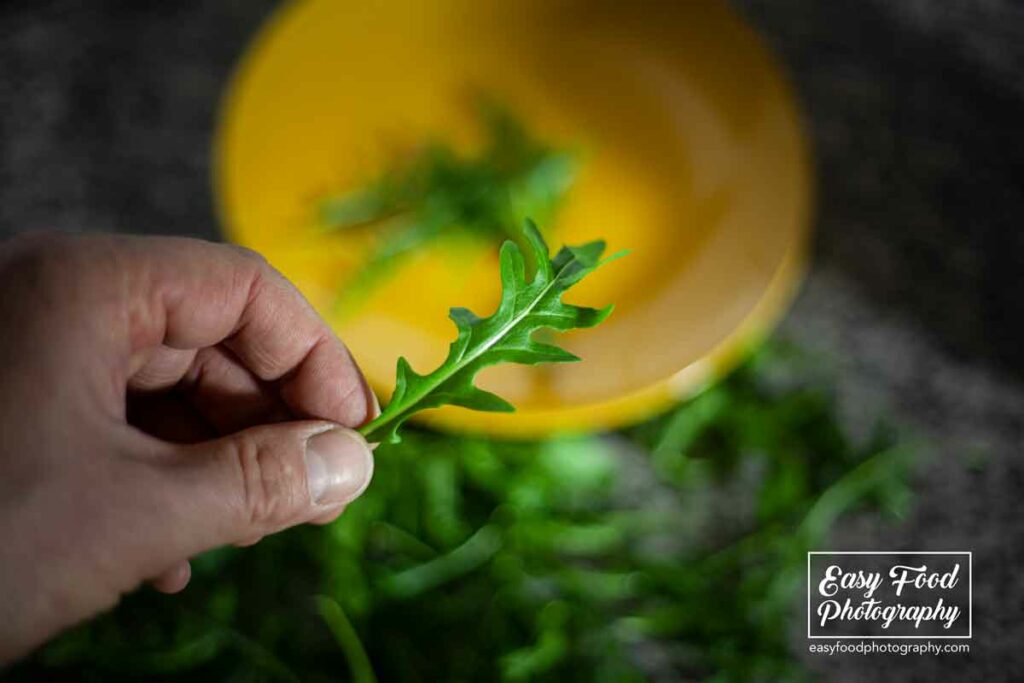
- Only process hyper-fresh food
- Keep your food styling simple at the beginning
- Take care of the different proportions of your ingredients
- Watch out for the fiendish details
Use some props, but make sure they don’t shine too brightly in your composition and steal the show from your food.
4 Learn some basic photographic composition methods
Now that you already mastered handling your cam, your light, and your food styling it’s time to talk a bit about composition.
There are a lot of different theoretical approaches to photographic composition. Go and learn a few of them.
Have you heard already of the rule of thirds? It’s the most common approach to photography at all and most of the cameras are able to put it by preset over your image to make it easier for you to compose your shot. Just go through your cam’s menu and look for an overlay grid.
The rule of thirds
You have to divide your image into equal thirds by using two vertical and two horizontal lines. This will get you nine equal rectangles and create a grid with four intersection points.
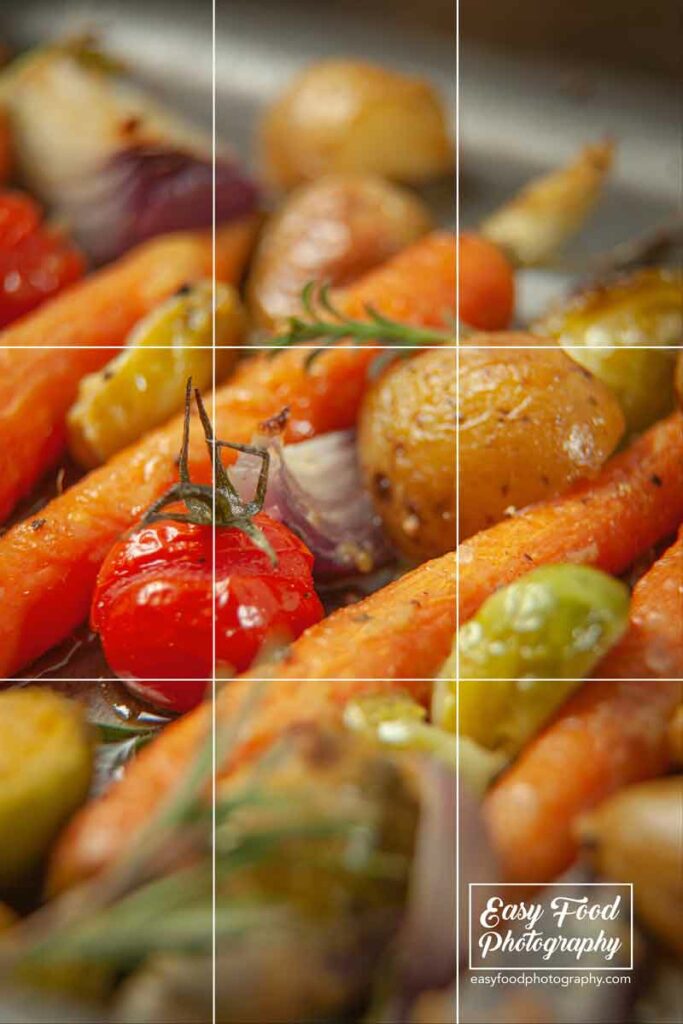
These intersection points are an important part of your image. Try to put your main subject here and you will create something which looks good at the end. It’s that easy and the end of the story.
Use negative space
Another effective and easy method is to use the so-called “negative space” in your photographs. That’s really easy to execute because it means that you leave most of your frame empty.
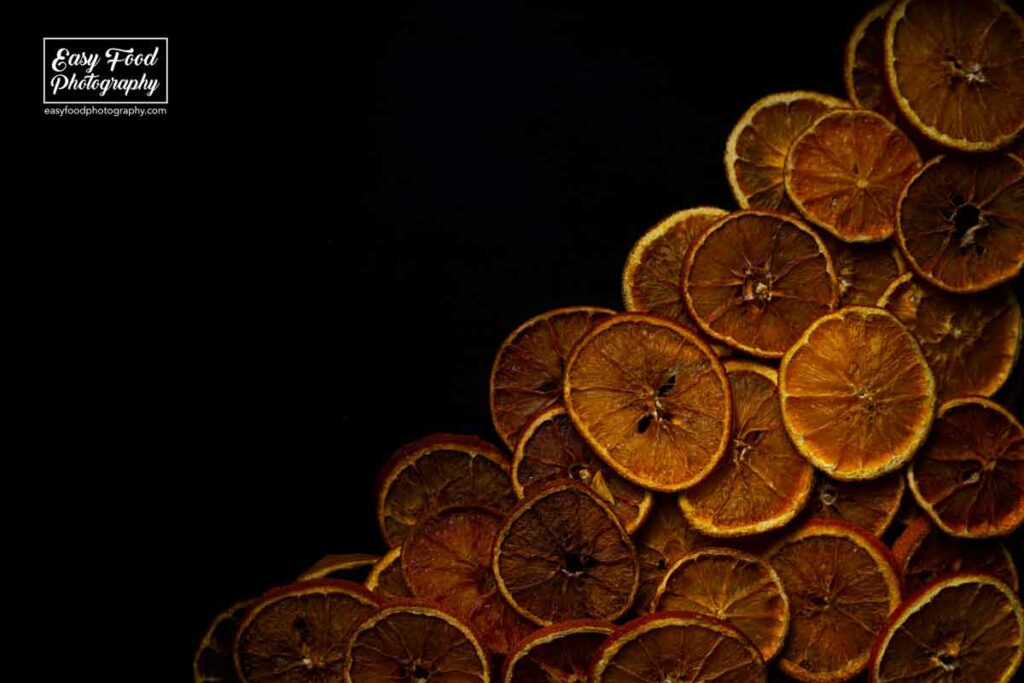
It’s so effective because the lack of information will force the viewer’s eye directly to your food because it’s the only thing to look at.
And of course, combine the rule of thirds with some negative space and you will create a stunning picture at the end.
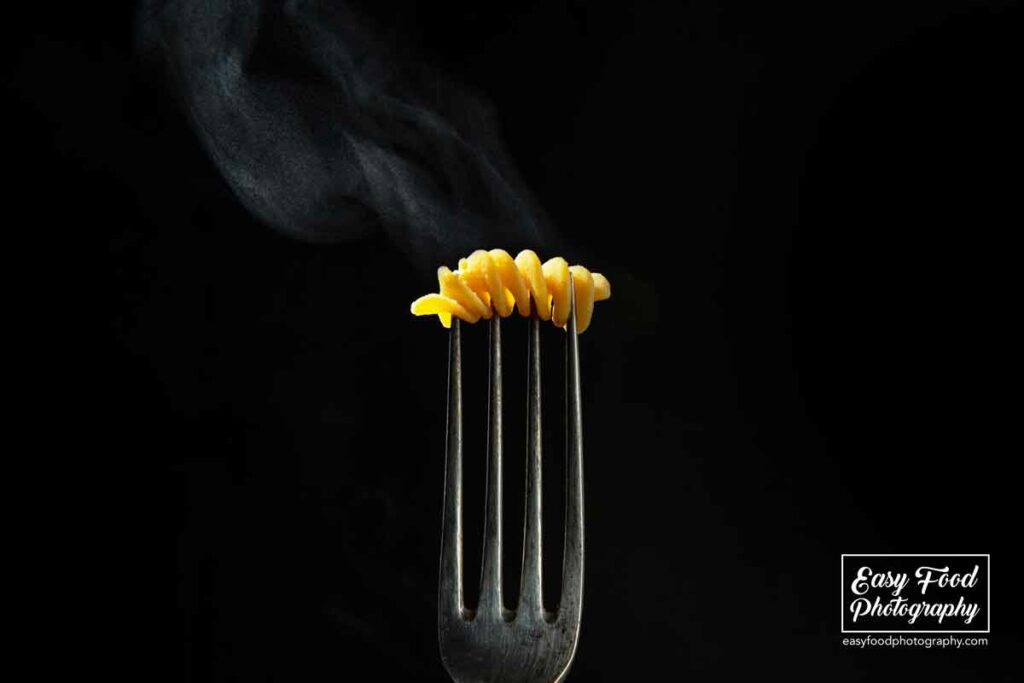
Use centred symmetry
Another really simple technique is to put your food symmetric into the center of your frame. Easy, but very effective. Nothing else to say.
Leading lines
The concept of leading lines is a strong and effective way to guide the viewer’s eye through your picture. In food photography, this means that you can easily do that by putting some cutlery or some wooden spoons, etc. into your frame and creating some guiding lines to draw attention to your main subject which will be your food itself.
Rule of odds
Another very popular approach for photography in common is the so-called rule of odds. The rule of odds assumes that a picture is more visually appealing if you have an odd number of subjects in the frame. In theory, an odd number of subjects seems to be more natural for us as humans.
Believe it or not. To be honest, I’m not really sure about that rule, but with an odd number of plates, bowls, etc. you can draw imaginary triangles around your picture which creates some leading lines and guide the viewer’s eye through your picture. Just try it out and decide if it’s something for you.
Conclusion
There are a ton of compositional rules and concepts you could go for. If you want to dive deeper into that go find yourself a good book about photographic composition or find it out yourself by try and error.
With that knowledge, you are now prepared for your first food photography shoot. Just try the described techniques above and have fun. And don’t get too frustrated at the beginning. Everything comes with a learning curve. And Rome wasn’t built in a day as well.
I‘m really curious about what you will create. I would like to see your finished pictures. You may want to post it on the Easy Food Photography Forum to get feedback. Just register for free. Or put them in your Instagram feed and tag them #easyfoodphotography so that our community can find them easily.
If you found this article helpful, please feel free to share and spread the word. This will help me to write more articles for you.
Cheers,

HOW TO START FOOD PHOTOGRAPHY was written by EasyFoodPhotography founder and editor Alex Fuchs. Alex loves photography and good heavy stoner rock music. His food styling skills are restricted, but he is working on that. When people approach him saying “You can’t do that” his maxim is always: I’ll do it in a minute. He loves to be challenged. Follow his Instagram feed. You read “How to start food photography”.

THIS STORYTELLING TECHNIQUE WILL CHANGE YOUR FOOD PHOTOGRAPHY FOREVER

10 WAYS TO GET BACKDROPS FOR FOOD PHOTOGRAPHY IN 2022
FOOD STYLING BASICS

HOW TO TURN ANY LENS INTO A MACRO LENS FOR FOOD PHOTOGRAPHY
WHY SHOOTING TETHERED WILL IMPROVE YOUR FOOD PHOTOGRAPHY
HOW TO USE A SNOOT FOR FOOD PHOTOGRAPHY
PLANNING & PREPPING YOUR FOOD GIG LIKE A PRO
THE CHALLENGES OF BECOMING A FOOD PHOTOGRAPHER
CREATING AWESOME FLAT LAYS IN NO TIME
33 MUST-HAVES FOR FOOD PHOTOGRAPHY IN 2022 THAT COST NEARLY NOTHING