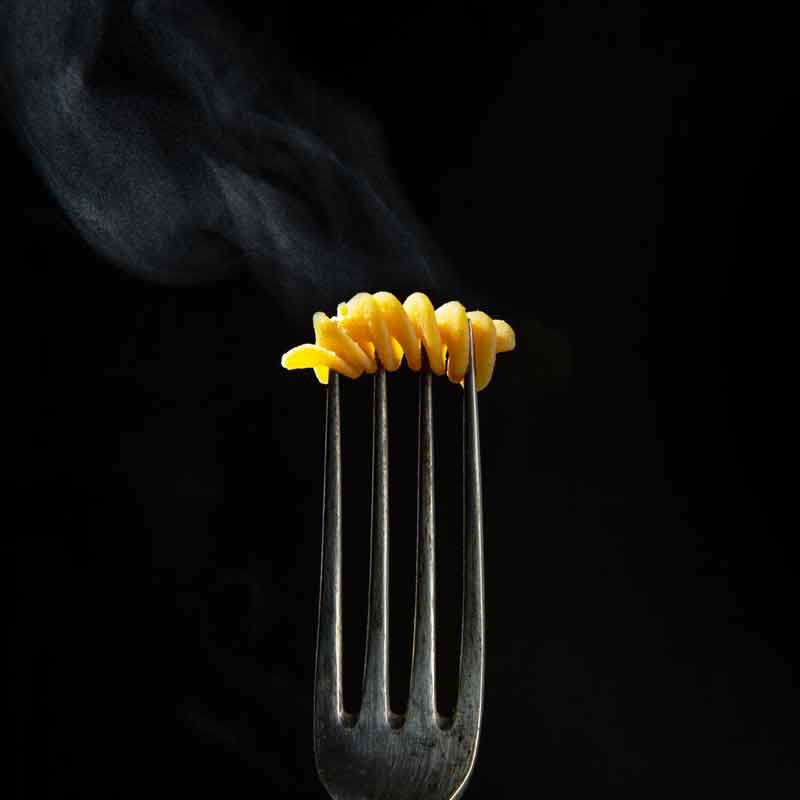
- Food photography can be a pain at the beginning
- Put your cam on a tripod
- Food photography has its own peculiarities and difficulties
- The key to food photography is foremost to understand what it’s for
- Food photography is a process
- Use focus stacking to increase your depth of field
- Go tethered to keep control
- Get use to post-process your pictures
- After you defined and mastered your technical workflow your food photography journey will just truly begin
- There is no right or wrong: there’s only you doing your thing. You can learn it!
Food photography can be a pain at the beginning
The challenges in food photography get obvious at the moment you do it the very first time. Even if you have been a professional photographer before you will immediately run into issues.
The biggest issue for me was a very essential and basic thing: I had to think about where to put focus or rather at what f-stop I should shoot the dishes?
Because we are talking about macro photography when we are talking about food photography, we are facing a
That’s where focus stacking comes into play, but let’s talk about that later on. If you decide to shoot at a nearly closed aperture to get all the food in the right focus, you have to think about where all the light is coming from.
Put your cam on a tripod
That leads to the next big issue which is related to focus and sharpness, too. I started doing food photography handheld, but that isn’t the best way of doing it. Because you need much more light when you are shooting at a higher f-stop number you have to put your camera on a tripod because you will have to shoot with longer exposure times. Which is doable if you are working with daylight.
But then you have to put your camera on a tripod. And this will help you avoid micro-vibrations caused by the mirror at the moment you are releasing the trigger, too. If you are shooting with a DSLR. If you are shooting mirrorless this isn’t a big issue. But it doesn’t really matter because of the longer exposure time you should put your camera on a tripod anyway.
Food photography has its own peculiarities and difficulties
When I had my first gig as a food photographer – it just happened by chance when I worked as a media consultant for a company and they fired their food photographer a few days before which was my luck – I only brought my Canon 5D, two
It was my classical basic setup for photography jobs I did before.
But I couldn’t have been more foolish! I recognized already after a few minutes that this shoot would be getting more challenging for me than I cared for, because of the issues described above.
But I was lucky to have a really nice chef at hand who made the food and the styling because I was really challenged to address all the technical issues. But it was his first real food shooting, too.
From today’s review, we made a lot of beginner’s mistakes. But you know what – that’s called a learning curve. So don’t get too frustrated when things not going as you think they should.
The key to food photography is foremost to understand what it’s for
After that more or less eye-opening – or should I say depressing – first gig experience I mentioned that I had to learn a whole new world if I wanted to integrate food photography into my professional repertoire.
So I went out to find as much information about it as I could get. I found a few really good resources out there. What I really can recommend is Rob Grimm’s tutorial on food photography at RGG EDU. It cost a few bucks (and it was even more pricey at the time I bought it but it’s worth every penny), but in my opinion, it’s one of the best tutorials on food photography out there with really high production value, too.
Rob is such a good and calm tutor and his lessons saved me a ton of time figuring things out myself – which you can also do, but then your learning curve will take much longer. You can find a few other good resources in the link section.

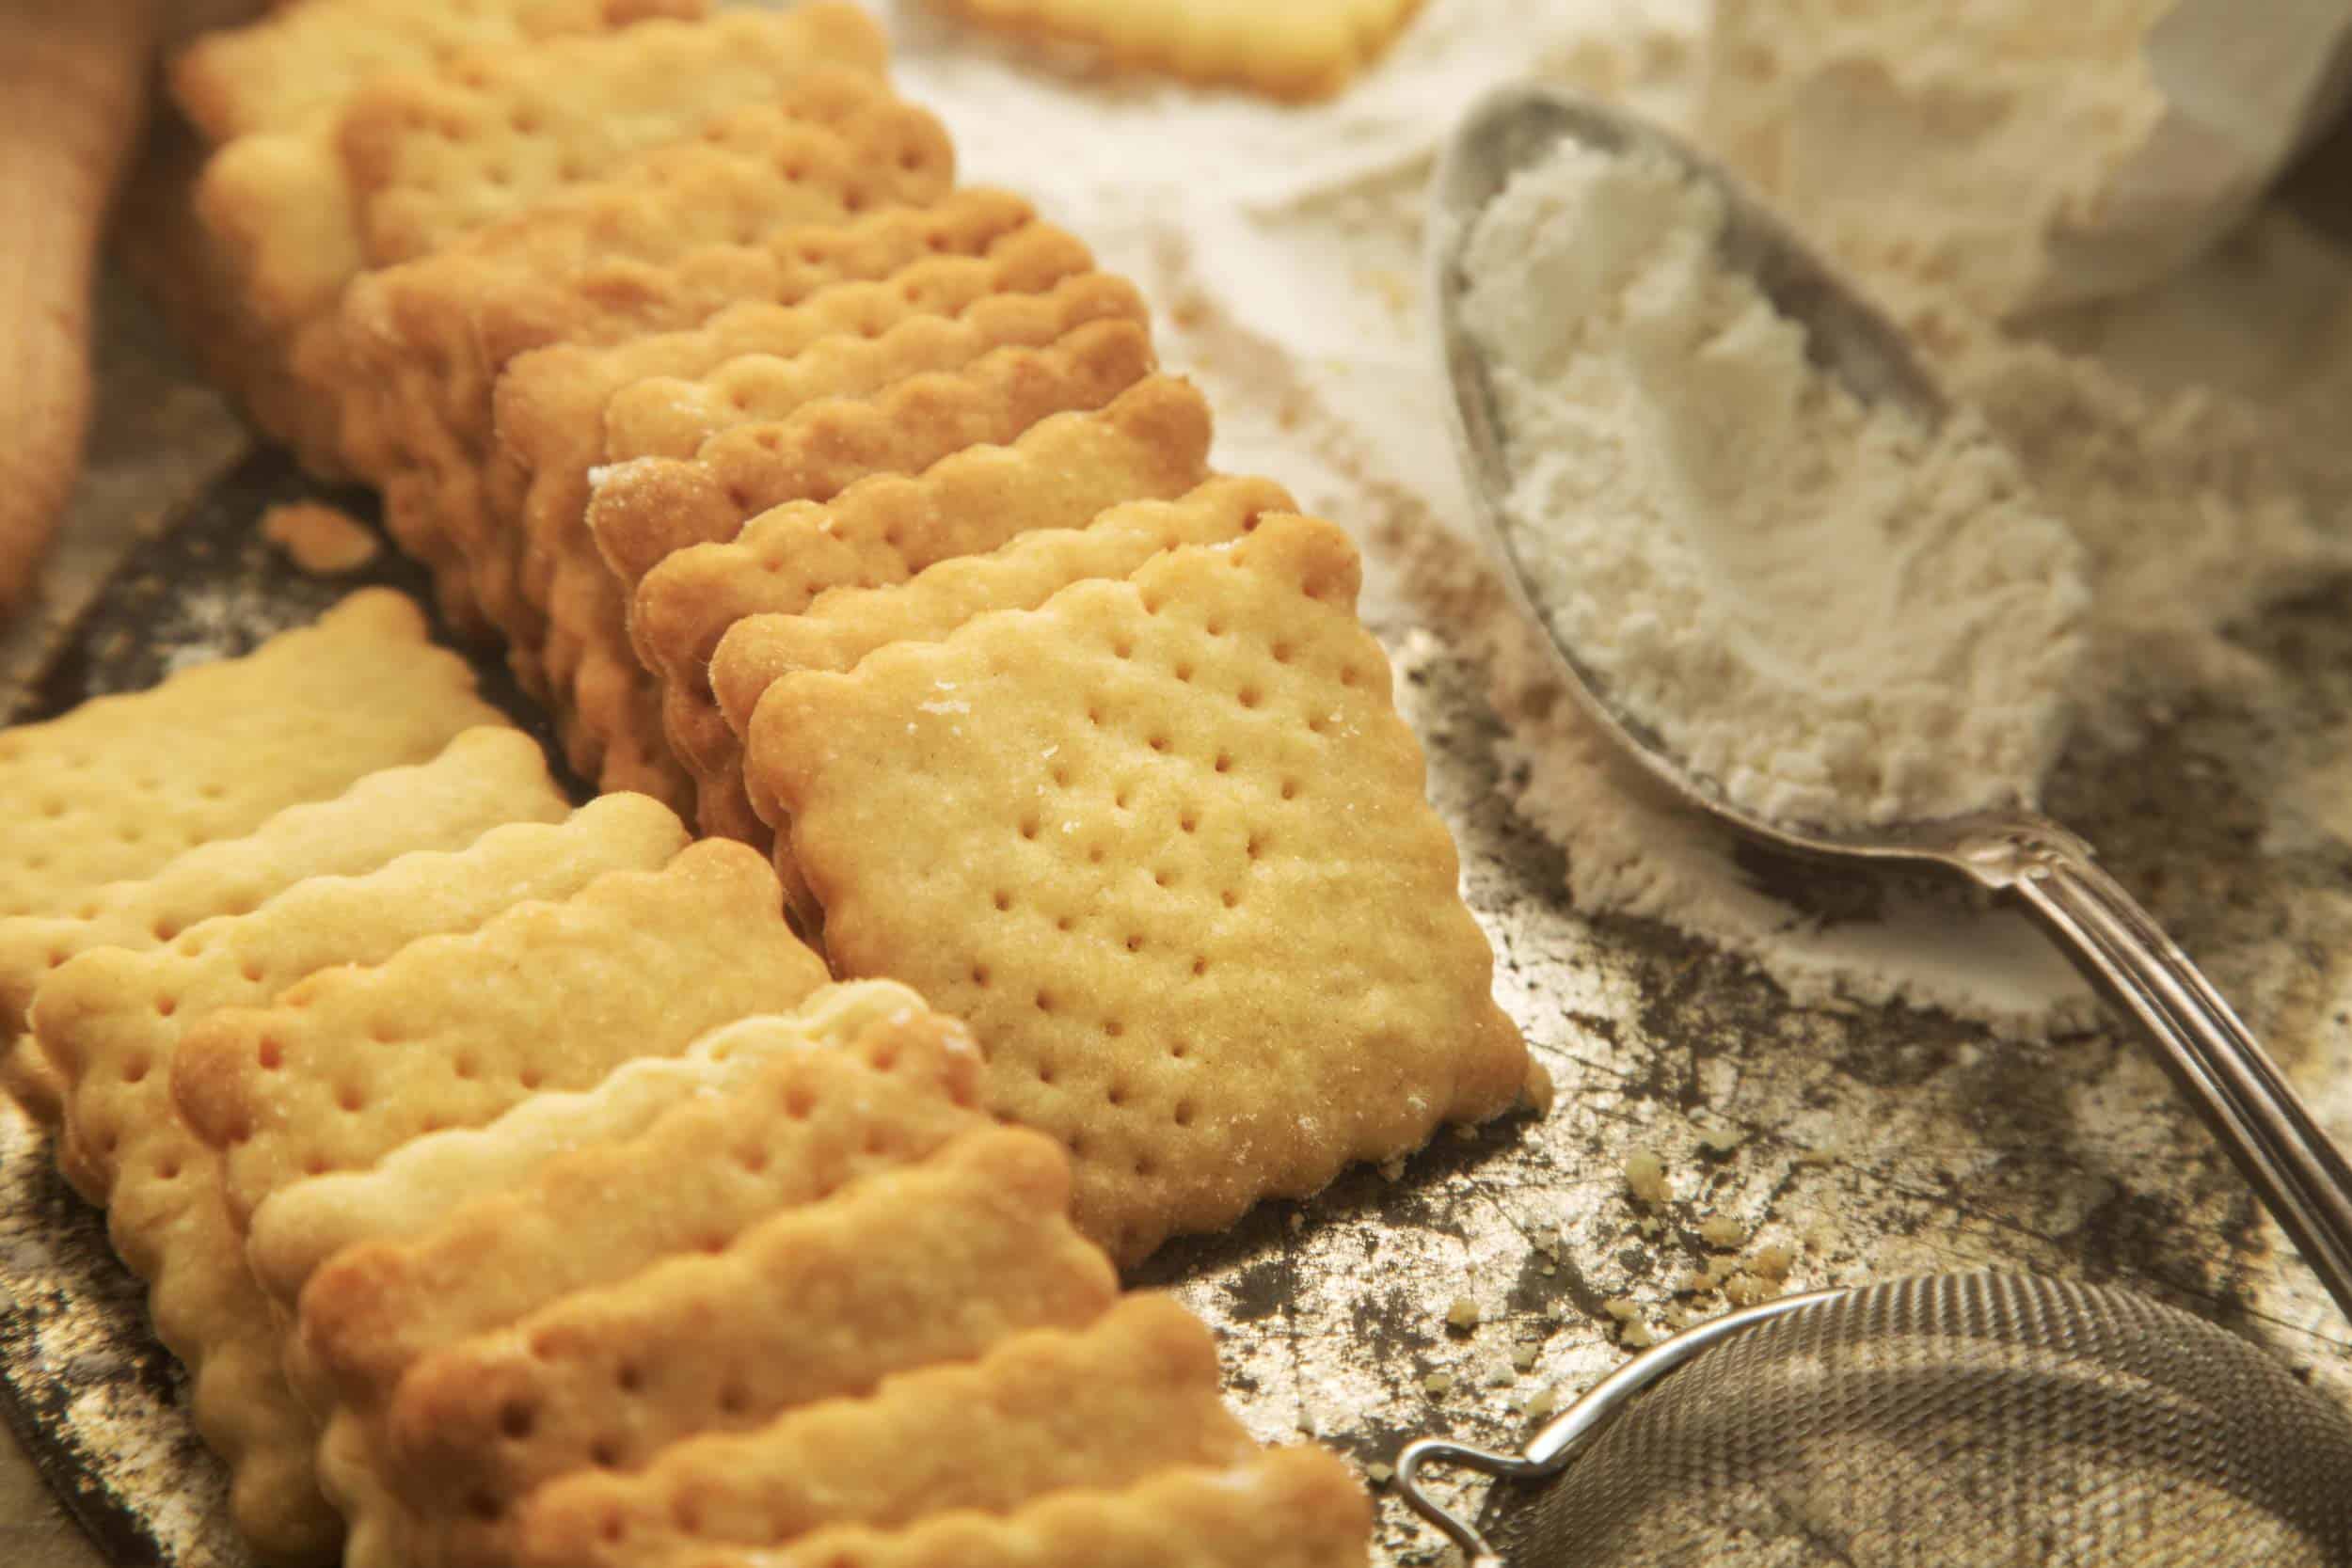
The first thing to learn about food photography is that it’s a very special niche from product photography. And as such it’s about selling. And if you want to sell something you should try to make it as shiny as possible – not in a literally photographic sense. It means that you should start to care about every single detail of your image. You even should start to think about every single crumb in your frame!
Food photography is a process
And that’s another reason why you should put your camera on a tripod. Food photography is a process. You have a picture idea in mind and it often changes in detail when you are executing it. And to make the development visible – especially for your client – you want to go back and forth.
The best way of doing it is to put your camera on a tripod and just toggle back and forth to see if your changes suit you or not. If you doing all your stuff only handheld it’s hard to build up a composition because every shot will be slightly different in perspective and angle etc.
Use focus stacking to increase your depth of field
And there is another really good reason why you should put your camera on a tripod. Remember me talking about focus stacking at the beginning?
Depending on lens and distance it can sometimes be necessary to increase the depth of field manually by using a popular photographic technique called focus stacking (also known as focal plane merging and z-stacking or focus blending).
What you do here is to combine a couple of shots by slightly changing the focus distance to your subject in such a way that you can increase the focus of your subject by comping it in Photoshop.
Because you are layering multiple shots up in Photoshop you have to have your camera on a tripod to make the process smooth and easy.
Go tethered to keep control
But for that, you should think maybe about a tethered workflow where you don’t have to put a hand on your cam when executing shots. If shooting tethered is too complicated for you, you can use a little remote trigger as well.
But the advantages of shooting tethered are obvious:
1) you don’t have to put a hand on your cam which can be relaxing when you just have a fancy low or high angle where it is complicated to check the viewfinder of your camera because you can release the trigger through your computer,
2) You can promptly check your image on a bigger screen and check if the focus and sharpness is right,
3) you can better see details and your ongoing progress on a computer screen than on that little camera’s back display and 4) if a client is around they can promptly see if they buy your shot or if they want some kind of improvement.
Get use to post-process your pictures
And here we come to another really important thing that should happen after your shot: Post-processing. If you want to make your living with food photography it’s absolutely necessary that you are diving more or less deeply into Photoshop.
You have to learn a few basic procedures like how to mask things in or out, how to layer shots, how to use different blend modes, how to match
Clients are cosseted nowadays. On average we all see about 4000 (!) advertisements a day. You can take for granted that every single ad is post-processed with Photoshop.
And yes, you could start using free software like Gimp or Darktable, but face it: Photoshop is the industry standard for photography. And to start with software where the workflows are different is making no sense to me and switching later on to Photoshop makes no sense to me at all.
After you defined and mastered your technical workflow your food photography journey will just truly begin
Once you figure out how the technical workflow works the best for you, you will start to mention that there is even more to learn. You will start to care about the food and its presentation itself.
Because you probably won’t have the chance like me to have the first gig under real conditions, you have to start thinking about being your very own food stylist.
What I learned the hard way: less is always more in food photography! Start with easy dishes you can handle yourself.
It depends on your very own food styling skills, but not every food photographer is a good food stylist, too. That’s maybe a no-brainer, but keep it simple in the beginning.
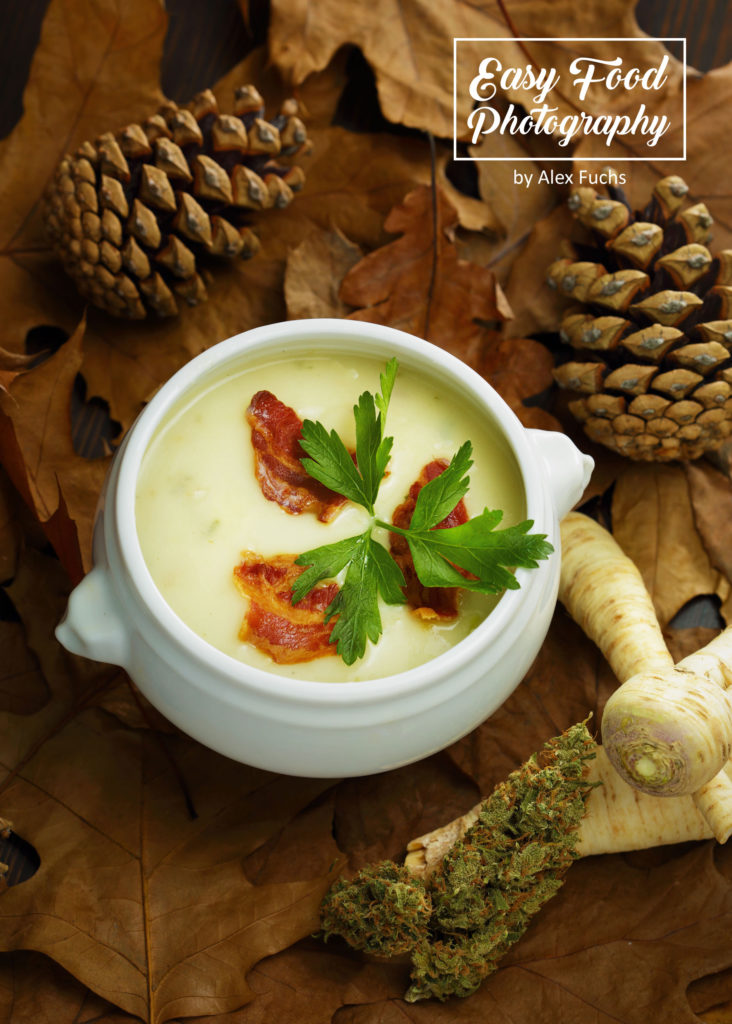
Start with for instance with only one vegetable or fruit in combination with some easily approachable props like cutlery and put a kitchen towel under your bowl or cup. That’s it. Or start with easy meals such as pasta, pizza, soup or french fries with sausage or something like that.
It
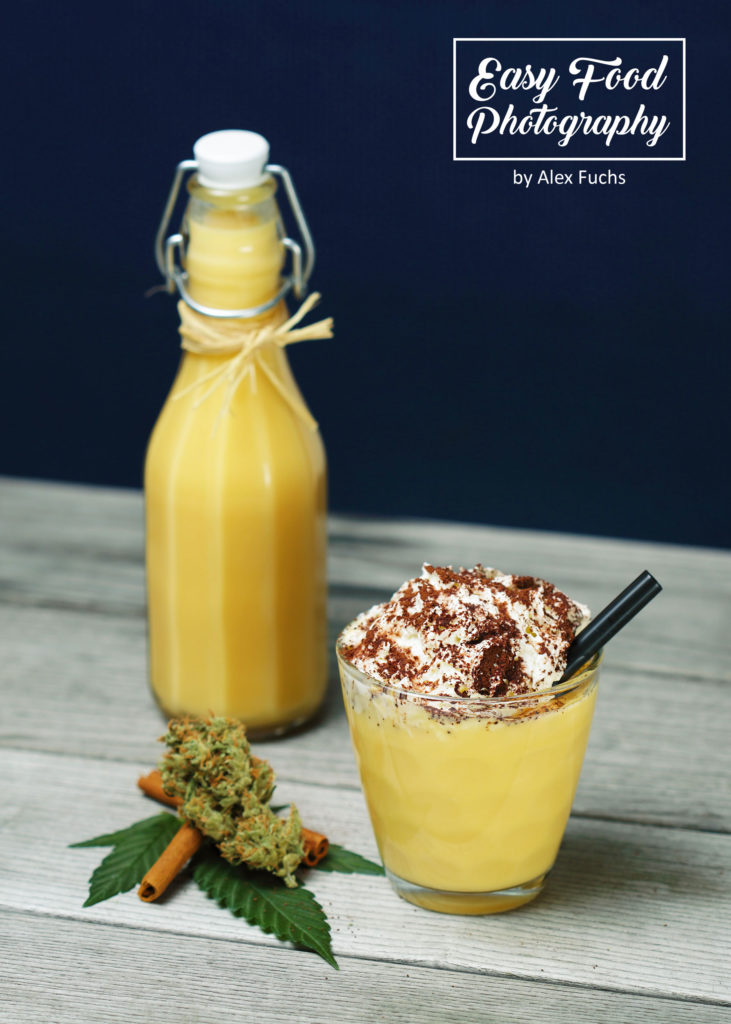
There is no right or wrong: there’s only you doing your thing. You can learn it!
Food photography has its own peculiarities and difficulties for newbies. You have to understand that you are dealing with macro photography where you often shoot with high f-stop numbers to get subjects fully in focus.
This leads to long exposure times when you are shooting only at available daylight. So put your camera on a tripod to get your shots rocksteady and crystal clear.
You have to practice over and over again to get develop your very own workflow of doing it. There are some standards you should have in your toolset. You have to know which angles to use to present the food at its best.
You should learn a few basic Photoshop techniques to
Strobes and
So everything described above can be easily learned and completed in a few months from now. But the thing which is the most important is: keep going and going and going. And there will be many ups and downs in your learning curve. But that’s totally usual.
You have to get over it by just going on and on and on. Feel also free to join the forum for free where the community and I discuss different strategies and can give you constructive feedback if you want. Got it? Then food photography can be really fun!
Cheers,

THE CHALLENGES OF BECOMING A FOOD PHOTOGRAPHER was written by EasyFoodPhotography founder and editor Alex Fuchs. Alex loves photography and good heavy music. His food styling skills are restricted, but he is working on that. When people approach him saying “You can’t do that” his maxim is always: I’ll do it in a minute. He loves to be challenged. You read “The challenges of becoming a food photographer”.

THIS STORYTELLING TECHNIQUE WILL CHANGE YOUR FOOD PHOTOGRAPHY FOREVER
HOW TO START FOOD PHOTOGRAPHY

10 WAYS TO GET BACKDROPS FOR FOOD PHOTOGRAPHY IN 2022
FOOD STYLING BASICS

HOW TO TURN ANY LENS INTO A MACRO LENS FOR FOOD PHOTOGRAPHY
WHY SHOOTING TETHERED WILL IMPROVE YOUR FOOD PHOTOGRAPHY
HOW TO USE A SNOOT FOR FOOD PHOTOGRAPHY
PLANNING & PREPPING YOUR FOOD GIG LIKE A PRO
CREATING AWESOME FLAT LAYS IN NO TIME
33 MUST-HAVES FOR FOOD PHOTOGRAPHY IN 2022 THAT COST NEARLY NOTHING
HOW TO START FLASH FOOD PHOTOGRAPHY
15 THINGS YOU CAN DO TODAY WHICH WILL CHANGE YOUR FOOD PHOTOGRAPHY FOREVER
HOW TO ACCESS 10K PROPS FOR FREE

15 HACKS WHICH CHANGE YOUR INSTA FOREVER