When you start food photography you can run pretty fast in serious beginner mistakes. This post is about how to avoid most of them and let your Instagram feed shine even more by using a few hacks.
- Food photography hack 1: Put your focus point where it belongs to and guide the viewer’s eye
- Food photography hack 2: The right white balance makes the difference between yummy and disgusting
- Food photography hack 2: Give your food a little kicker by building yourself a silver or white bounce card
- Food photography hack 3: An interesting backdrop can make the difference between averageness and awesomeness
- Food photography hack 4: Never use fully frontal lighting because food look disgusting this way
- Food photography hack 5: Undercook your food a bit to preserve their colours to pop
- Food photography hack 6: Try these angles because they work for nearly every dish
- Food photography hack 7: Minimize your colour palette
- Food photography hack 8: Double the main colour from your food and place it around somewhere else
- Food photography hack 9: Put attention to the details because they make the difference
- Food photography hack 10: Make your light as soft as a baby’s bottom
- Food photography hack 11: Show some yummy ingredients
- Food photography hack 12: Toothpicks can hold everything in place
- Food photography hack 13: Use lemon juice to avoid oxidation
- Food photography hack 14: Food shines most on bright or dark plates
- Food photography hack 15: If you want to make fresh looking food pictures always use only fresh ingredients
Food photography hack 1: Put your focus point where it belongs to and guide the viewer’s eye
That’s maybe the most obvious no-brainer, but I see so often very good food compositions, but they are not looking very professional because the focus point is not set right. Think about it like that: With the focus, it is easy to lead the viewer’s eye through your composition.
As humans, we are trained to put the first and foremost attention to the part of the image which is in focus. So think about that before you take your food photo. The focus or so-called depth of field relates directly to your aperture.
It will create a shallow depth of field at a higher aperture (lower f-stop number) – which means you have more blurriness between the sharpest point in your image and the most defocused – or less blurriness – means at higher f-stop numbers (a bigger area in your images will be sharp). Think about what food or part of it should be in focus.
Food photography hack 2: The right white balance makes the difference between yummy and disgusting
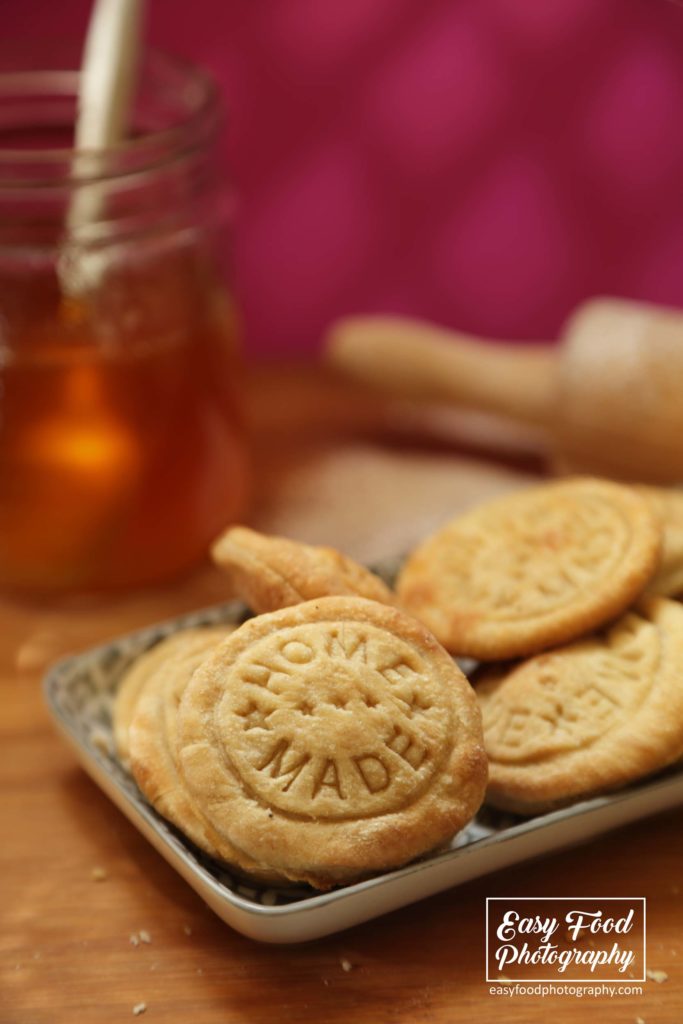
That’s maybe a no-brainer and the most obvious hack, but that’s maybe the most common mistake made by people I’ve seen on Instagram. Without the right white balance food images often don’t look very yummy. And even worse – with the wrong white balance food often looks really disgusting.
So get your white balance right. Tell your camera which part of the image it should interpret as white. Every nowadays camera has built-in presets for daylight, tungsten, fluorescent and so on.
As a simple rule: If you shoot in daylight take daylight preset (often represented by 5200 Kelvin) if you shoot in artificial light choose the tungsten preset (often represented by 3200 Kelvin).
If you have a mixed light situation try to take your food in daylight or tungsten only. This will make it easier for you to make a good photo. The right white balance will make your food shinier and your images will look much more yummy. And in the end, you will attract more people to follow your feed.
Food photography hack 2: Give your food a little kicker by building yourself a silver or white bounce card
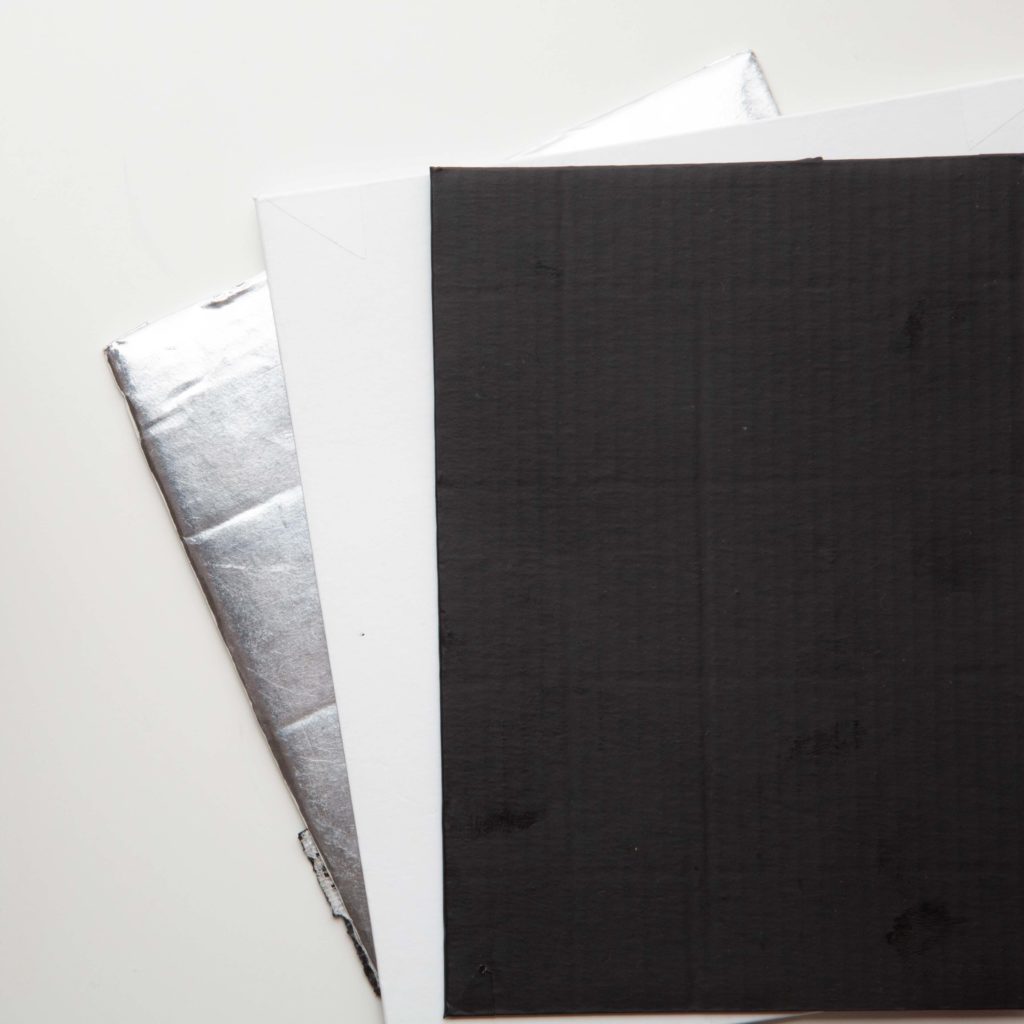
Get yourself a piece of cardboard. Start with a size around 10x15cm (4×6 inches). Glue some white stuff (printing paper or better water repellent printing foil) on one side and some silver stuff (aluminium kitchen foil will do) on the other.
Use the finished card to bounce some light into your scene and try to put an extra light onto the main subject in your picture – which will be the food itself of course.
Food photography hack 3: An interesting backdrop can make the difference between averageness and awesomeness
Backdrops are essentials and can be found everywhere at your home. As a good starting point, you should look around you and watch for any kind of interesting surface: it can be a kitchen table, a worktop, the floor tiles or maybe some forgotten wooden plank in the garage or something else.
I’m pretty sure you can find some interesting around you. Use this at no cost and improve your food photography skills immediately. Good backdrops too are wooden cutting boards, slate plates, craft paper, baking or parchment paper (crumble it to give it a bit more texture), old baking pans, kitchen linens, napkins or any kind of cloth, printed photo backdrops or IKEAS Linnmom tabletop for a few bucks.
If you want to know more about choosing the right backdrop you could read also my article about “Backdrops in food photography”.
Food photography hack 4: Never use fully frontal lighting because food look disgusting this way
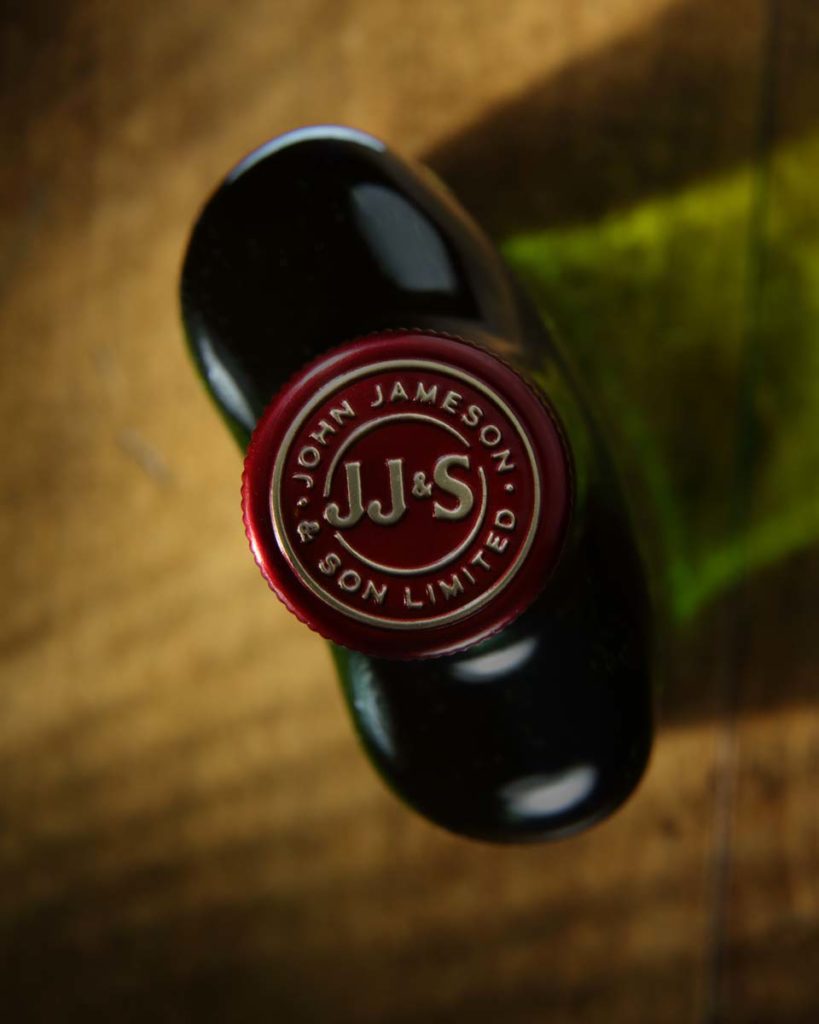
As a simple rule just never ever take a photo of your food with fully frontal light because this flattens the image and leads immediately to a non-yummy looking end result. So don’t use your camera built-in flash.
Instead, put your dish in front of a window. Use the window as a backlight and take your self-made bounce card from above to use the backlight bounce as a front fill light. It’s just that easy. With the right white balance setting, the end result should look very yummy and mouthwatering. If you want to learn more about this lighting technique check out “How to start food photography”.
Food photography hack 5: Undercook your food a bit to preserve their colours to pop
That’s more of a cooking tip here. Try to undercook your food always because it is losing colour if it’s cooked too long. Especially veggies, pasta and noodles are losing colour really fast and look not very delicious if cooked too long.
Food photography hack 6: Try these angles because they work for nearly every dish
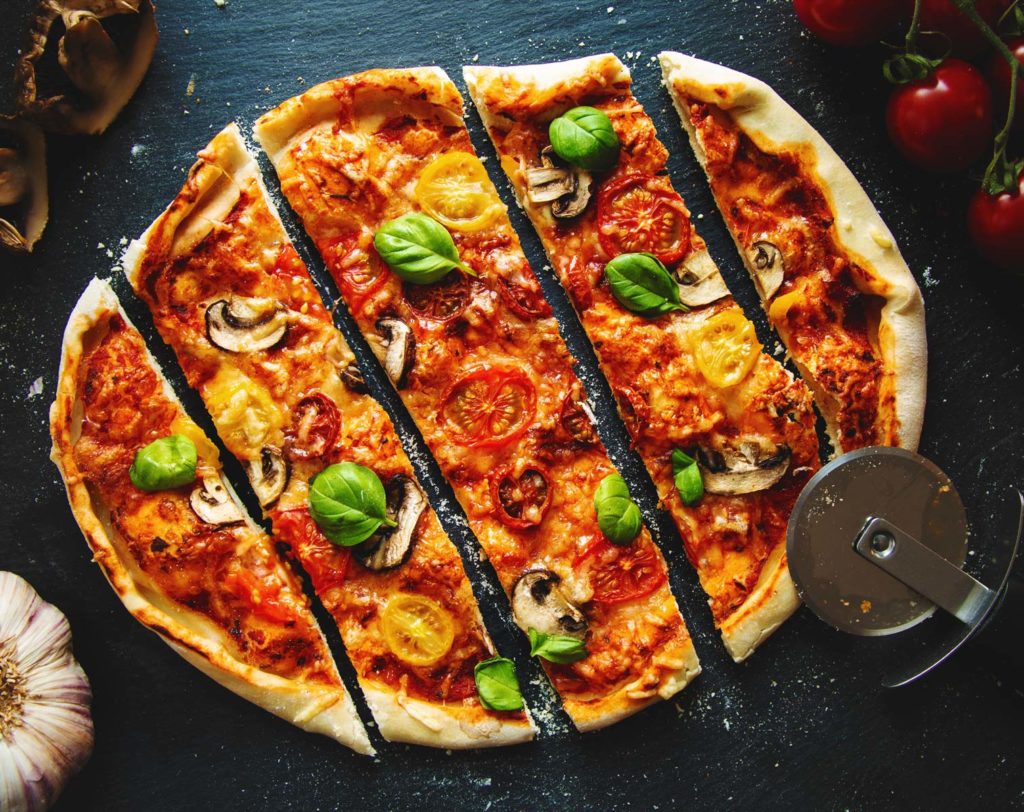
The best two angles for food photography are the typical 90-degrees flat lay from above and the 45-degree shoot from the side. But be aware: for a perfect flat lay, you should use a bubble level to avoid focal distortions. The 45-degree angle shot is best for food that has a height.
Food photography hack 7: Minimize your colour palette
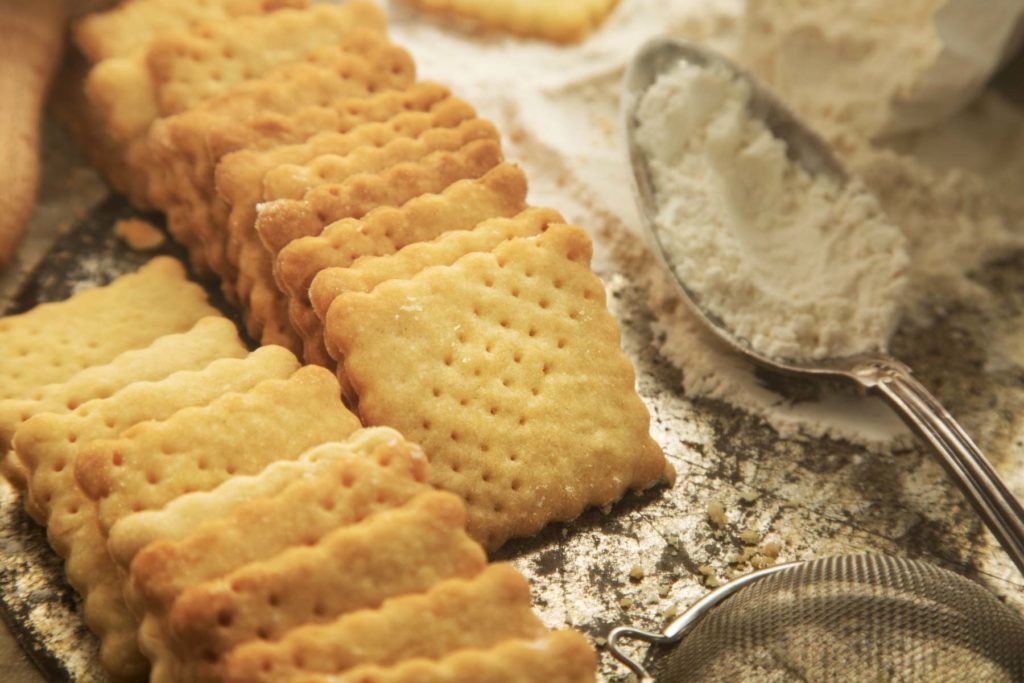
When it comes to tonality and mood it is often wise to minimize the colour tonality of your picture. I figured out for my style that using a maximum of three different colours are enough for most of the pictures. Of course, this is a matter of taste and style.
If you want to go colour crazy and that’s your style that’s of course ok. You can use tools like Adobe’s colour wheel to match your colour palette for the shot.
Food photography hack 8: Double the main colour from your food and place it around somewhere else
The next hack is related to colour too. Often it is a good idea to match the main colour of your food or dish somewhere in the image.
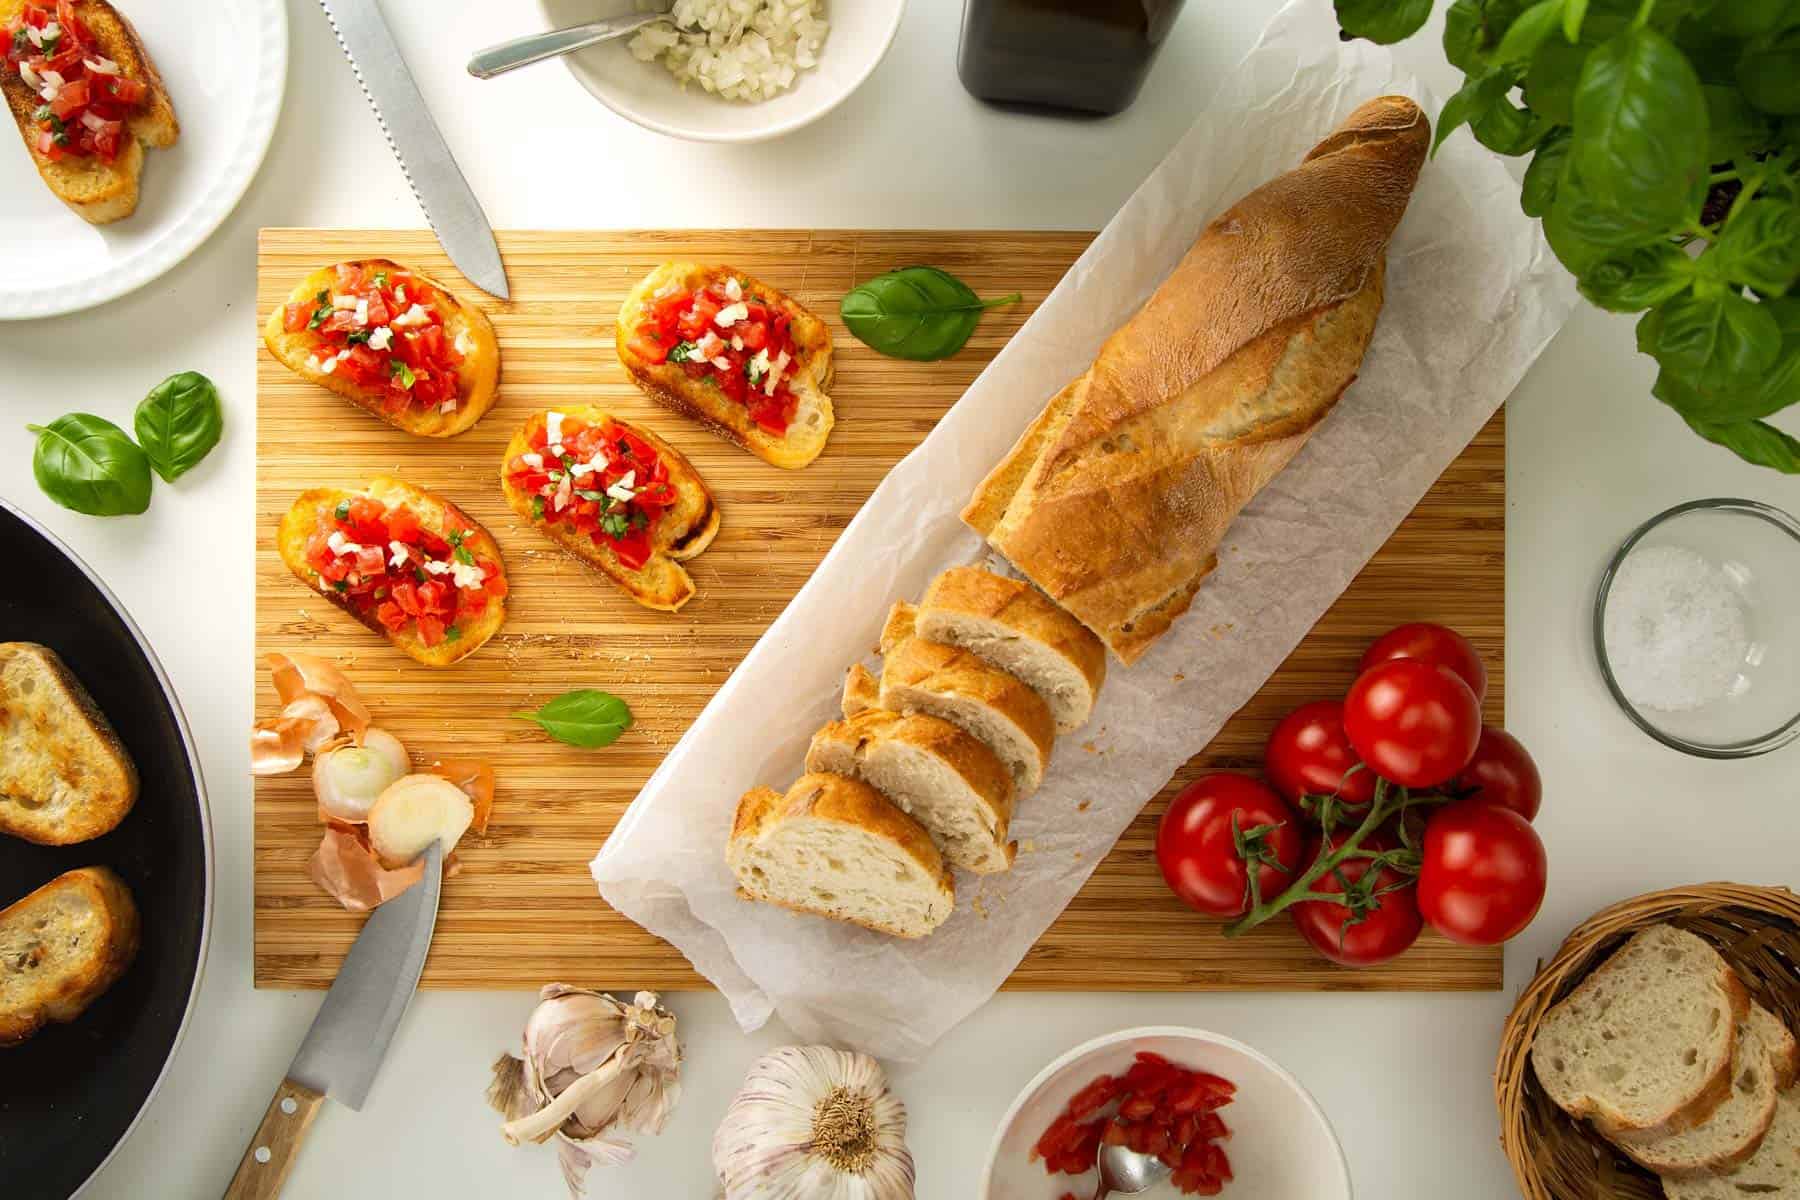
So for example, if you have some salad with red tomato in it place some red tomatoes somewhere in the back- or foreground of your image. It will put extra attention to that specific colour and your food will pop even more.
Food photography hack 9: Put attention to the details because they make the difference
I often see on Instagram feeds pretty good images, but with a closer look you find out that the images could be even more stunning when the creators would have put more attention to the details.
For example: don’t use dirty glasses for your beverage shot fingerprinted plates for your hero dish or other fine details in the frame.
Be aware that you can level up the awesomeness of your images by putting attention to the small details which divide your image from averageness to the hall of fame in food photography.
Food photography hack 10: Make your light as soft as a baby’s bottom
That hack is related to up-level your lighting skills. Use some kind of diffusor between the incoming sunlight of your window and your dish to soften the light.
Pros use some kind of white diffusion gels, but you can try to stick some parchment paper to your window to create an even more diffused light. It will create a really smooth light that suits your food and lead to even more stunning results.
Food photography hack 11: Show some yummy ingredients
It can really look good to place some ingredients around your dish as props. Nothing else to say.
Food photography hack 12: Toothpicks can hold everything in place
That’s a good hack related to food styling. To hold things in place you can simply use toothpicks. But be aware of it if you want to eat the food afterwards. Don’t hurt yourself. And watch out if kids are around!
Food photography hack 13: Use lemon juice to avoid oxidation
For sure you know that. You are cutting fruits or potatoes or other food items and they will rapidly be getting brownish and oxidate when getting in contact with the oxygen in the air. To avoid or better to say to slow down the process of oxidation you can use lemon juice. Just brush them on your food and they will stay fresh for a very long time.
Food photography hack 14: Food shines most on bright or dark plates
Put your food on unique white or dark plates to feature it best because the food looks best on these. Nothing else to say.
Food photography hack 15: If you want to make fresh looking food pictures always use only fresh ingredients
Another obvious no-brainer ignored by a lot of peeps out there. Food photography is part of product photography. And product photography is part of commercial photography.
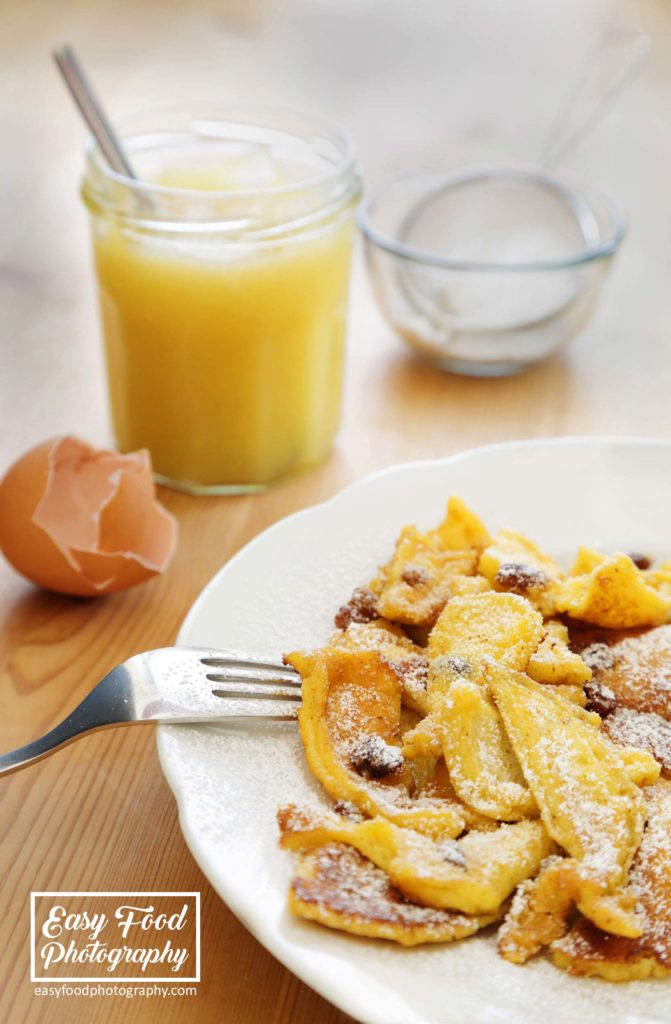
And if you shoot commercials the directive is always to show the best possible product. This means, that it is absolutely necessary to use the freshest and best-looking food you can grab.
Hope that was helpful for you.
Cheers,

15 HACKS WHICH CHANGE YOUR INSTAGRAM FOOD PHOTOGRAPHY FOREVER was written by EasyFoodPhotography founder and editor Alex Fuchs. Alex loves photography and good heavy stoner rock music. His food styling skills are restricted, but he is working on that. When people approach him saying “You can’t do that” his maxim is always: I’ll do it in a minute. He loves to be challenged. Follow his Instagram feed. You read “15 mind-blowing hacks to which change your Instagram food photography forever”.
